On-OTA Mounting Kit for ZWO ASIAIR Plus / Pro and a Belt Drive for ZWO EAF


Some while ago I designed a mounting kit supporting various lenses. It is available in my shop and I kept using it on my portable setup. While using it, I came up with an idea of how to make it more compact, avoid using 3rd party mounting elements but still keep it universal and fit to a range of lenses I use. This page describes this new design. It is now also available in the shop.
Features
The mounting kit is based on two hexagon-formed rings. These rings consist of two parts, one at the bottom and one on top. Each of the ring halves has an insert made of TPU.
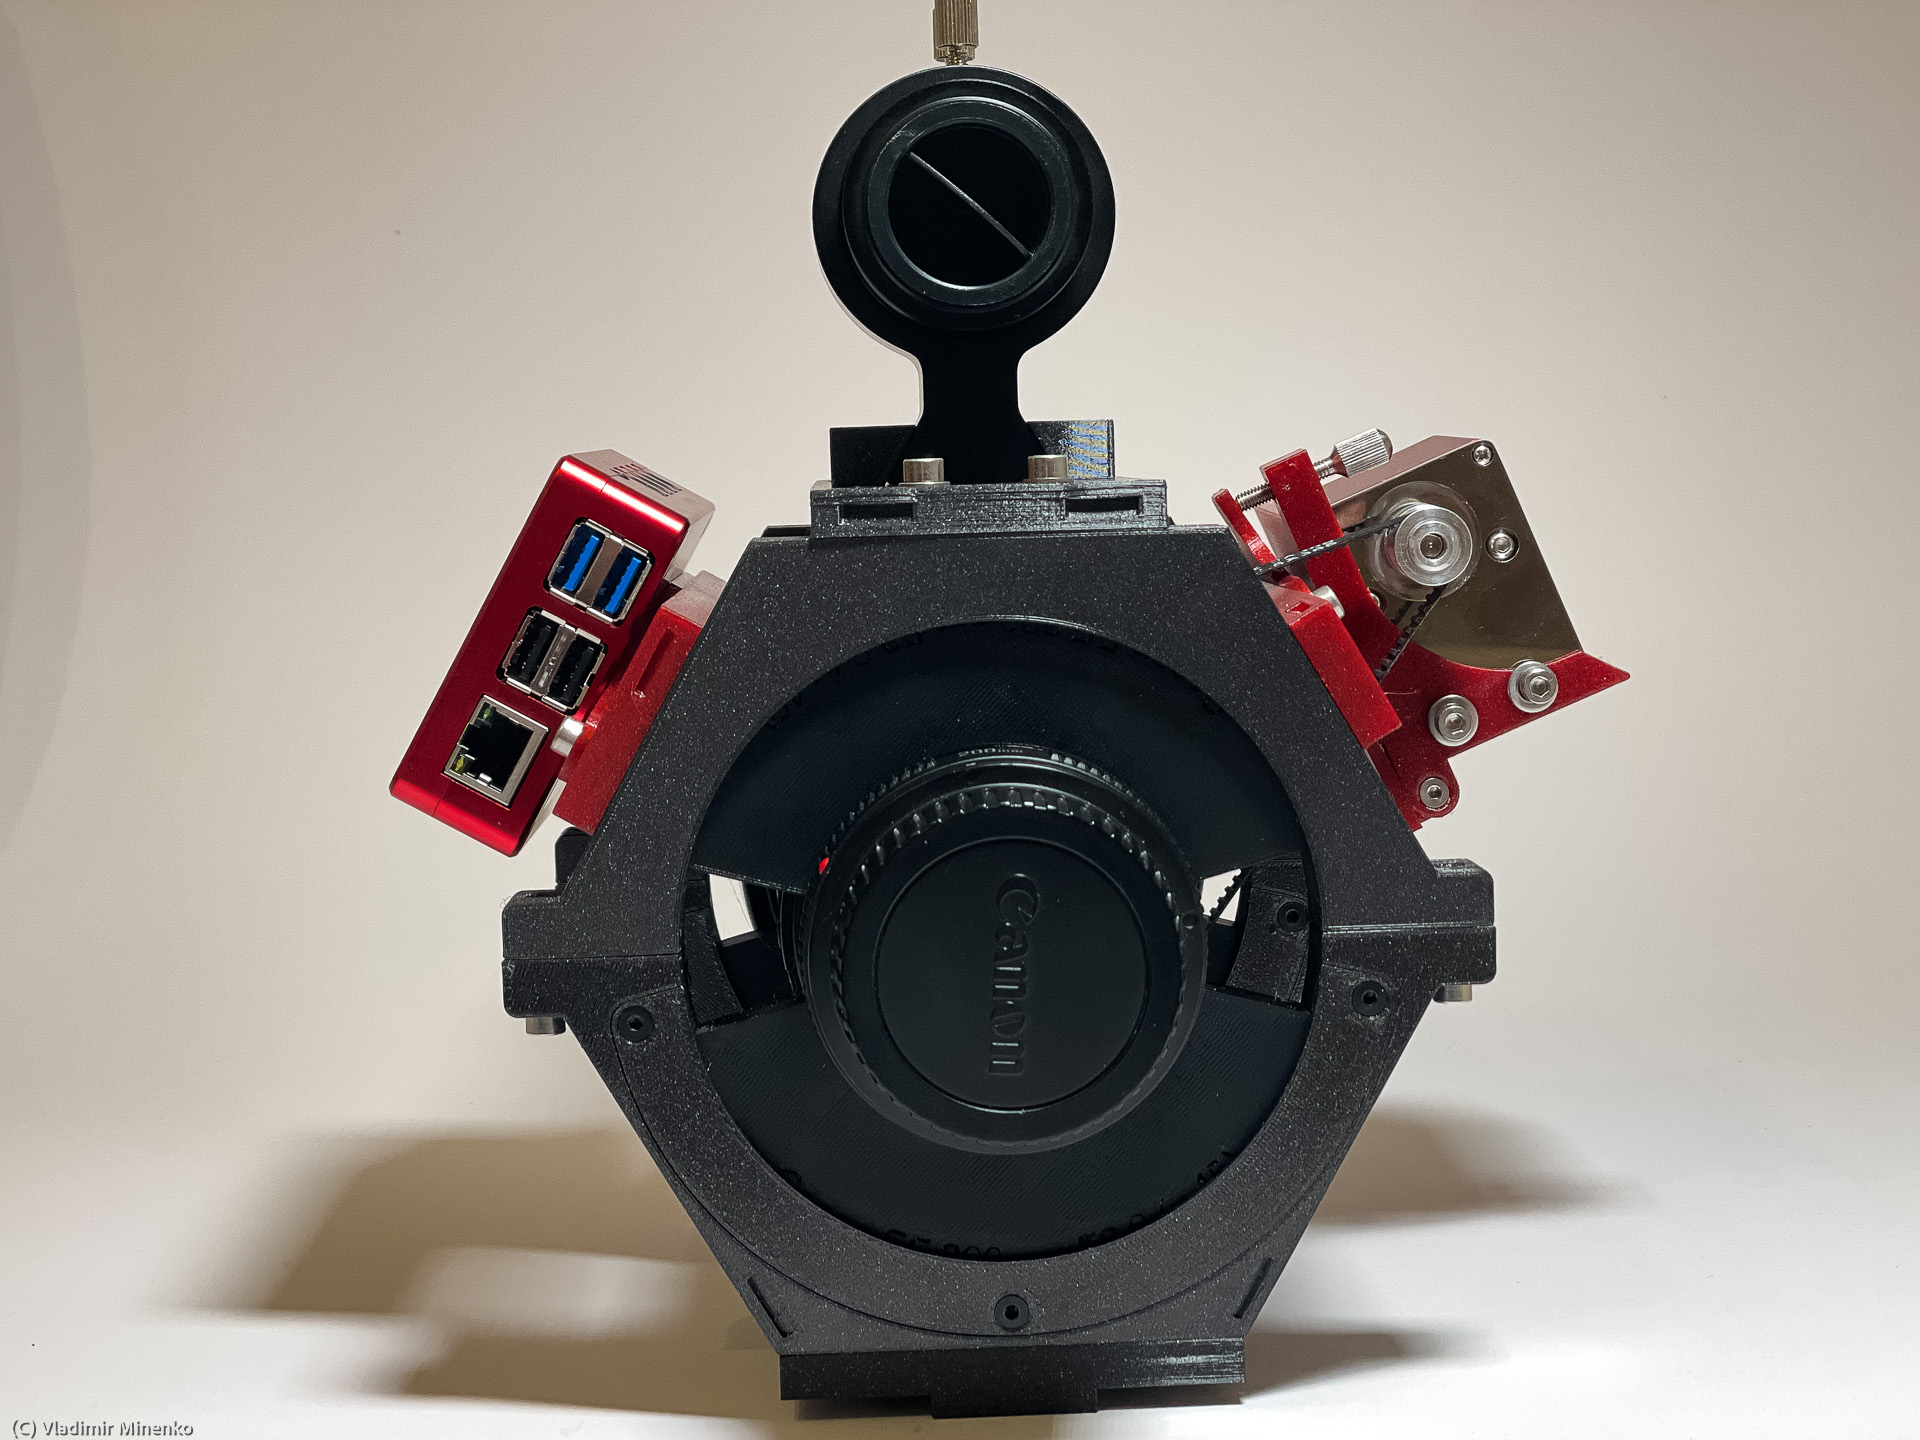
The size of the inserts is selected so that the lens or a small telescope (also called OTA – optical tube assembly) can be clamped between them.
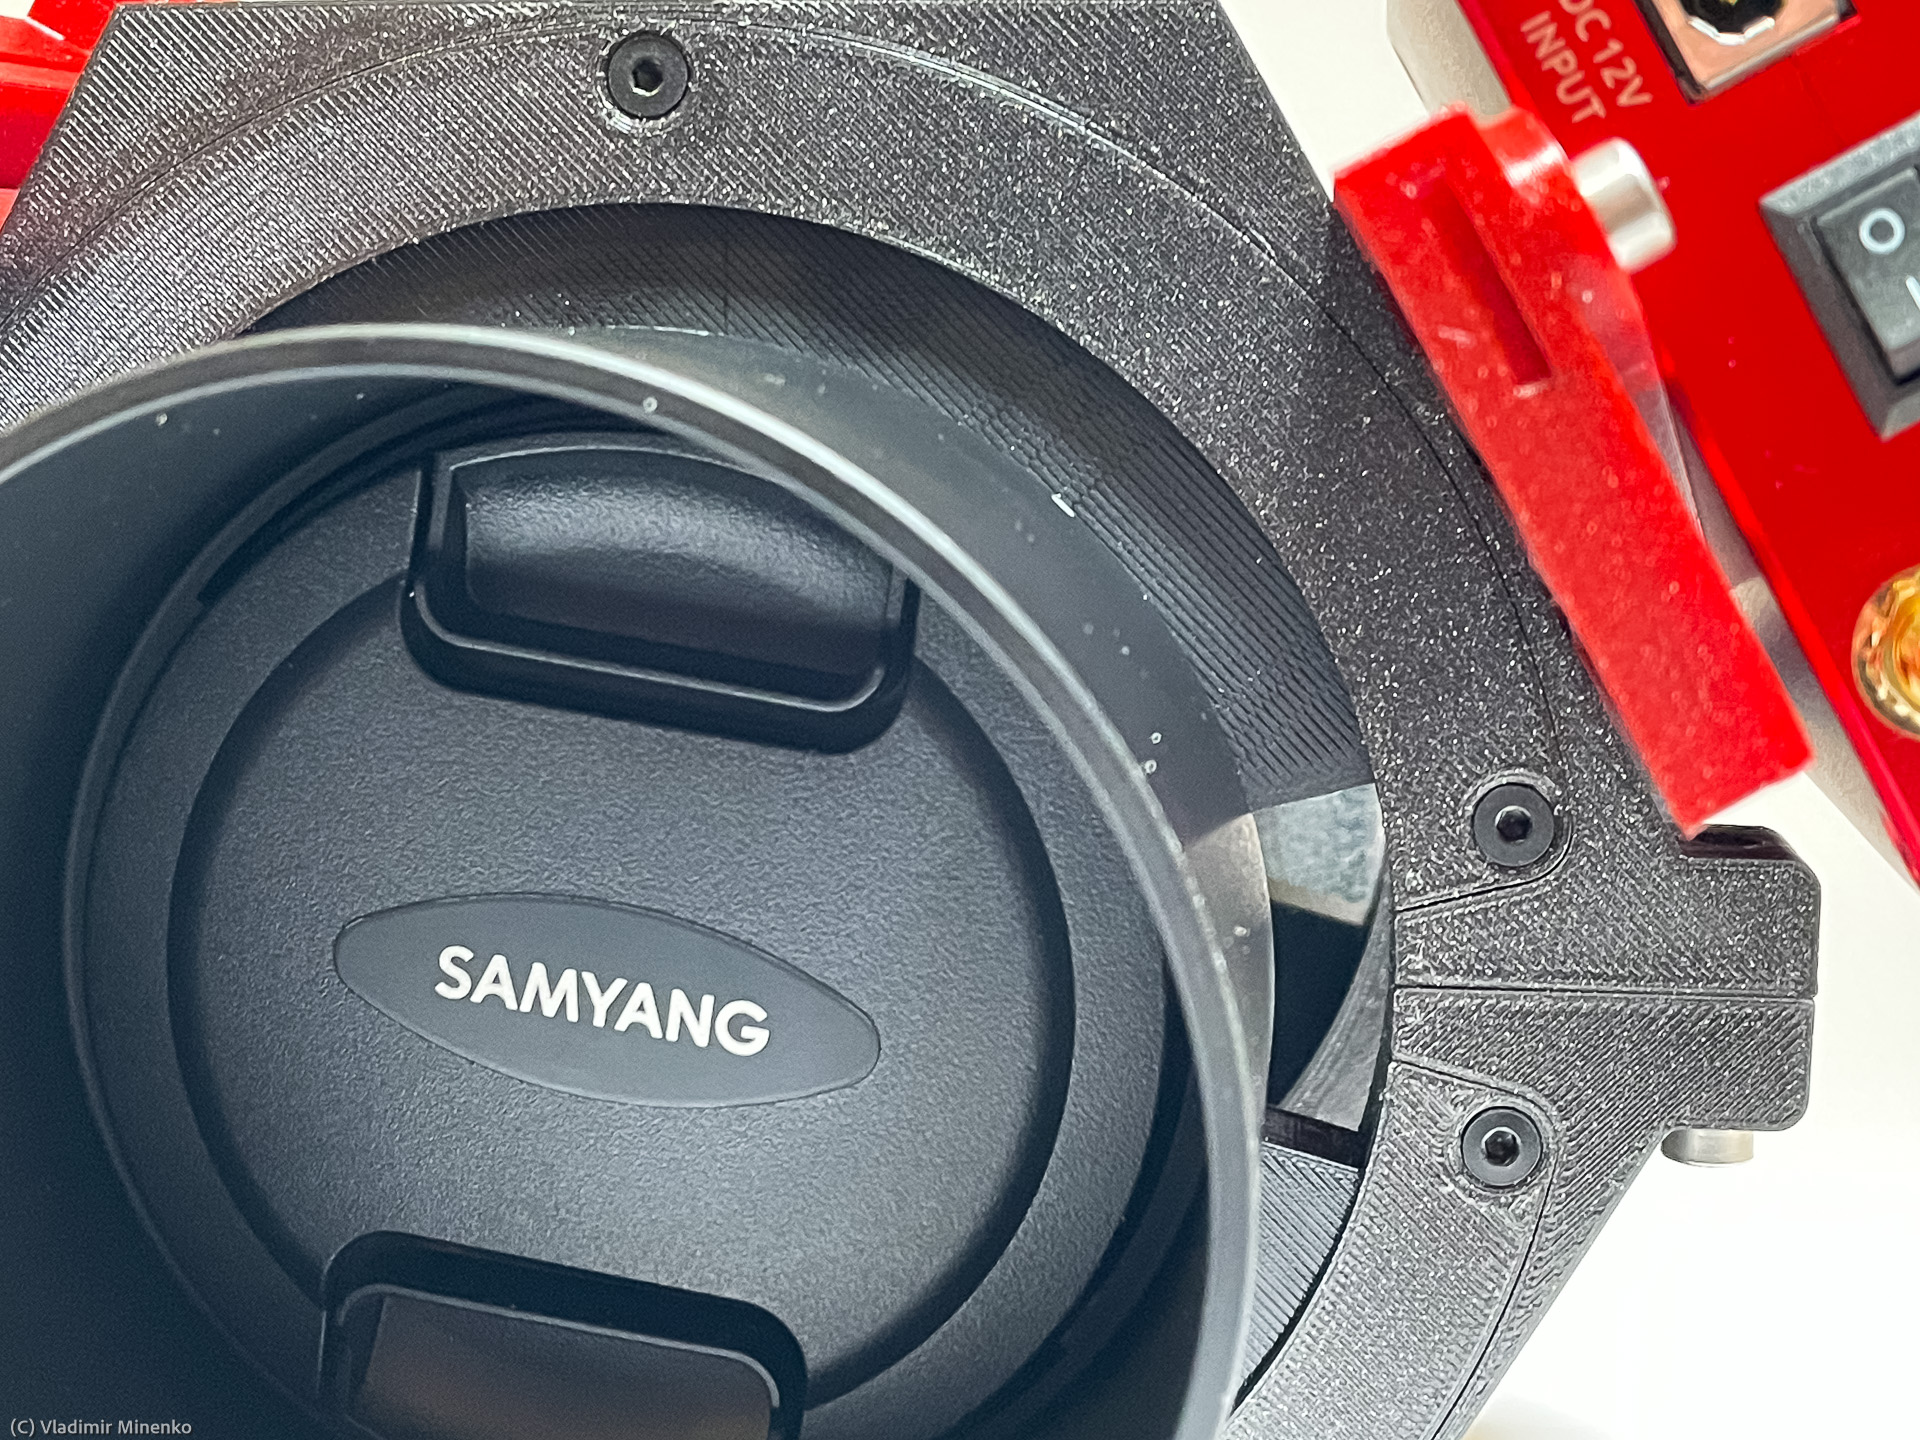
The bottom and top half-ring are tightened together with two screws and so hold the OTA with gentle pressure. The TPU material provides small frictions and flexibility so that good stability can be achieved with minimal pressure evenly spread across involved OTA surfaces.
The rings are available in two sizes: for max 83mm mounting lens diameter and for max 105 mounting lens diameter. The smaller version is more compact and fits most lenses on the market. The large version is thought to accommodate larger lenses, like Canon EF 100-400mm f/4.5-5.6L IS II USM.
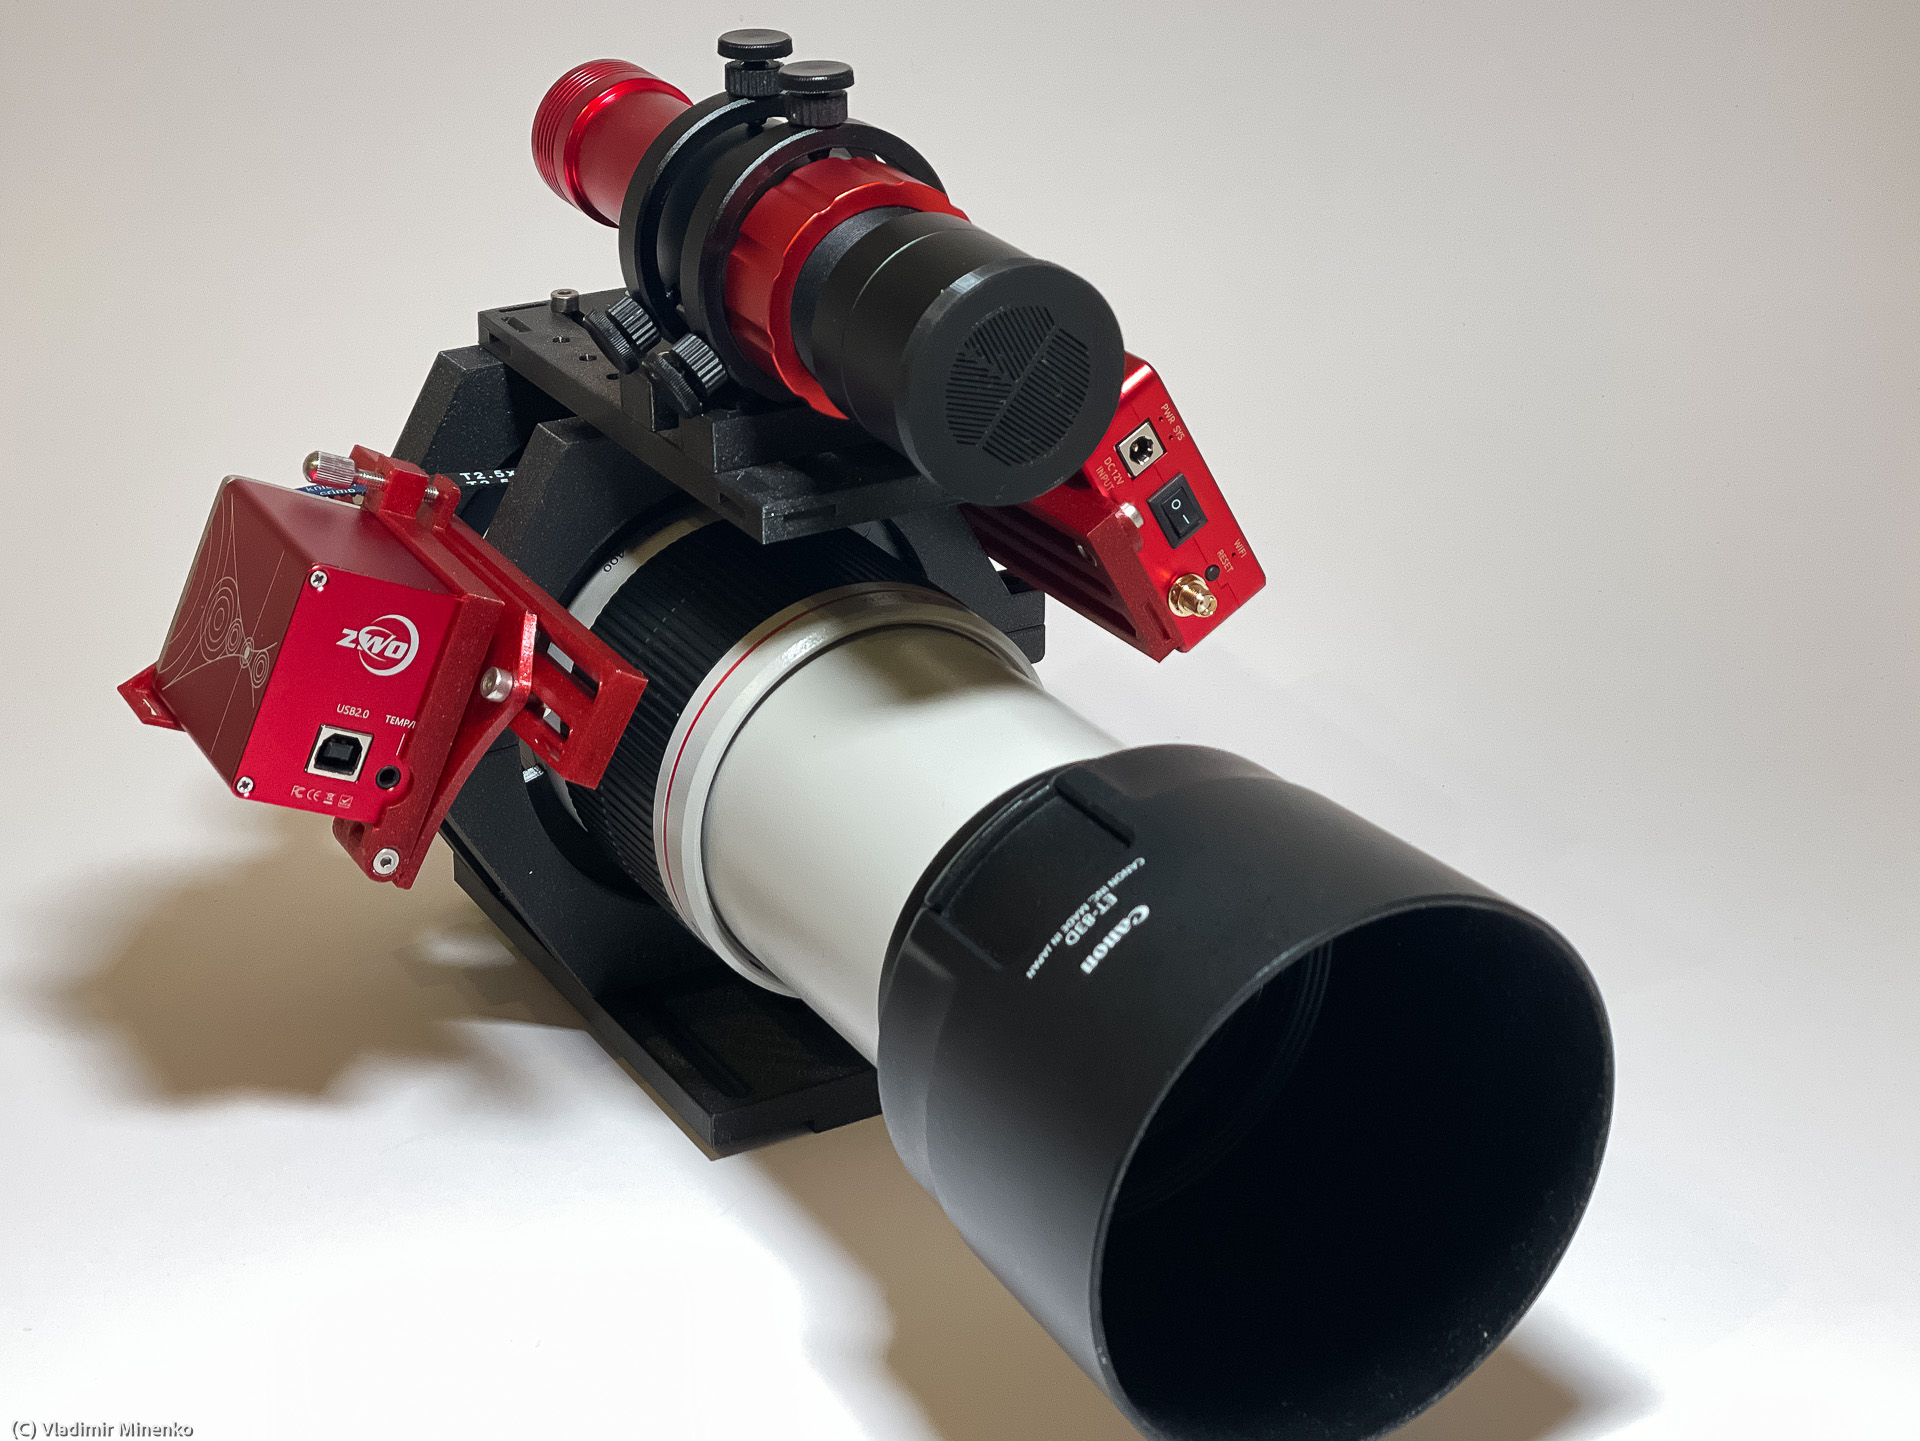
All pictures on this page show the large version. Pictures of the small version will be provided later.
Mounting rails sit on four of six hexagon sides. The rails on the side hold ZWO ASIAIR and EAF. The top rail is used to mount a guide scope. The bottom rail can be either a Losmandy or Vixen dovetail plate or a universal rail with mounting holes for existing mounting.
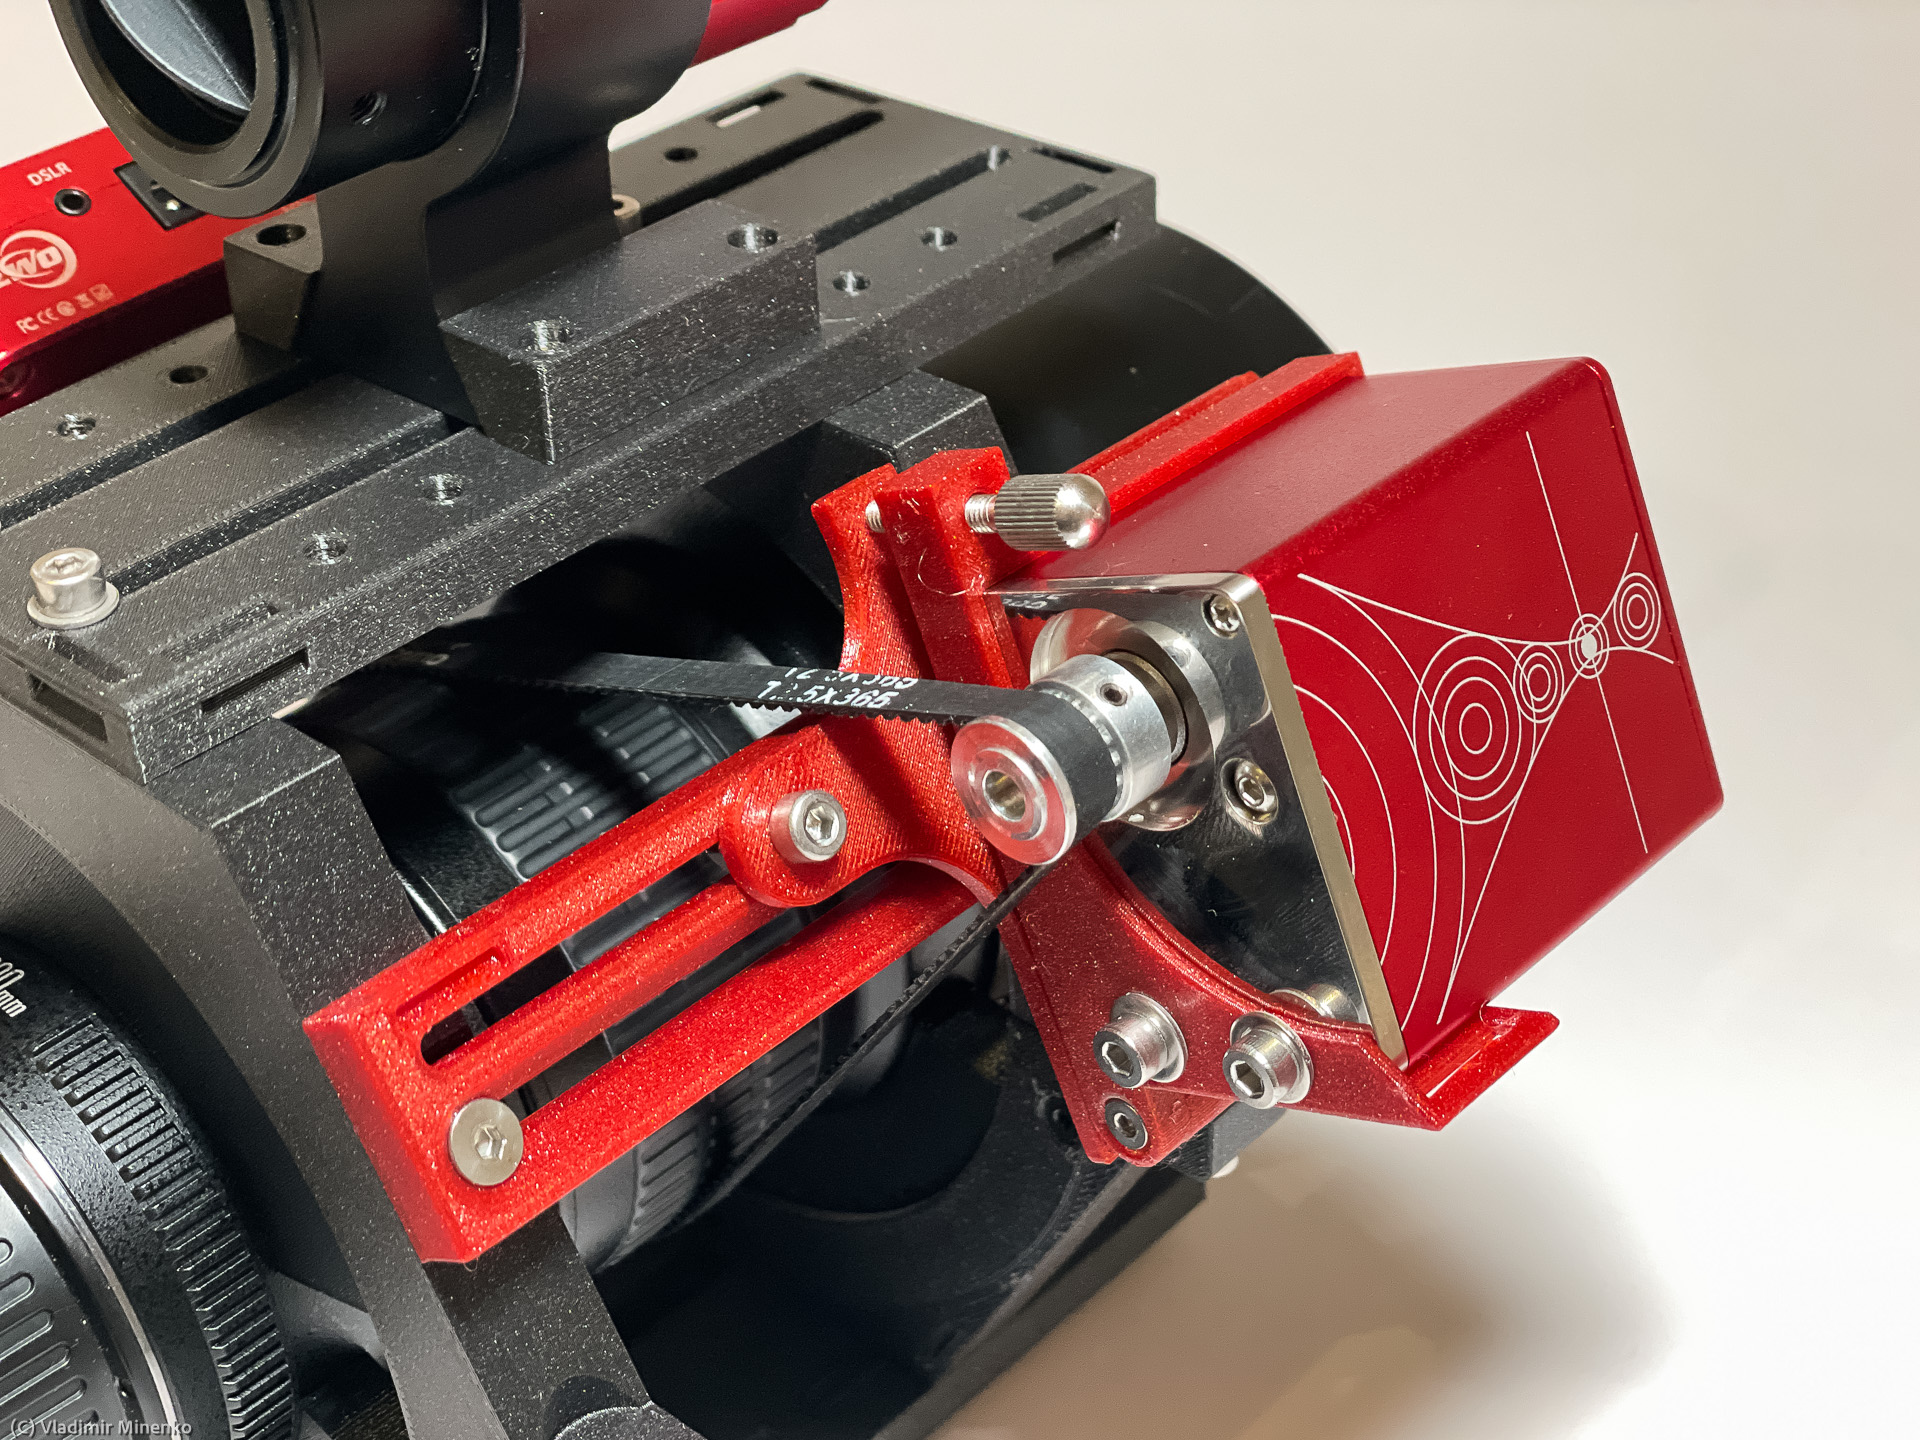
The belt drive is based on the fact that the focusing ring of the OTA is located between the rings of the mounting kit.
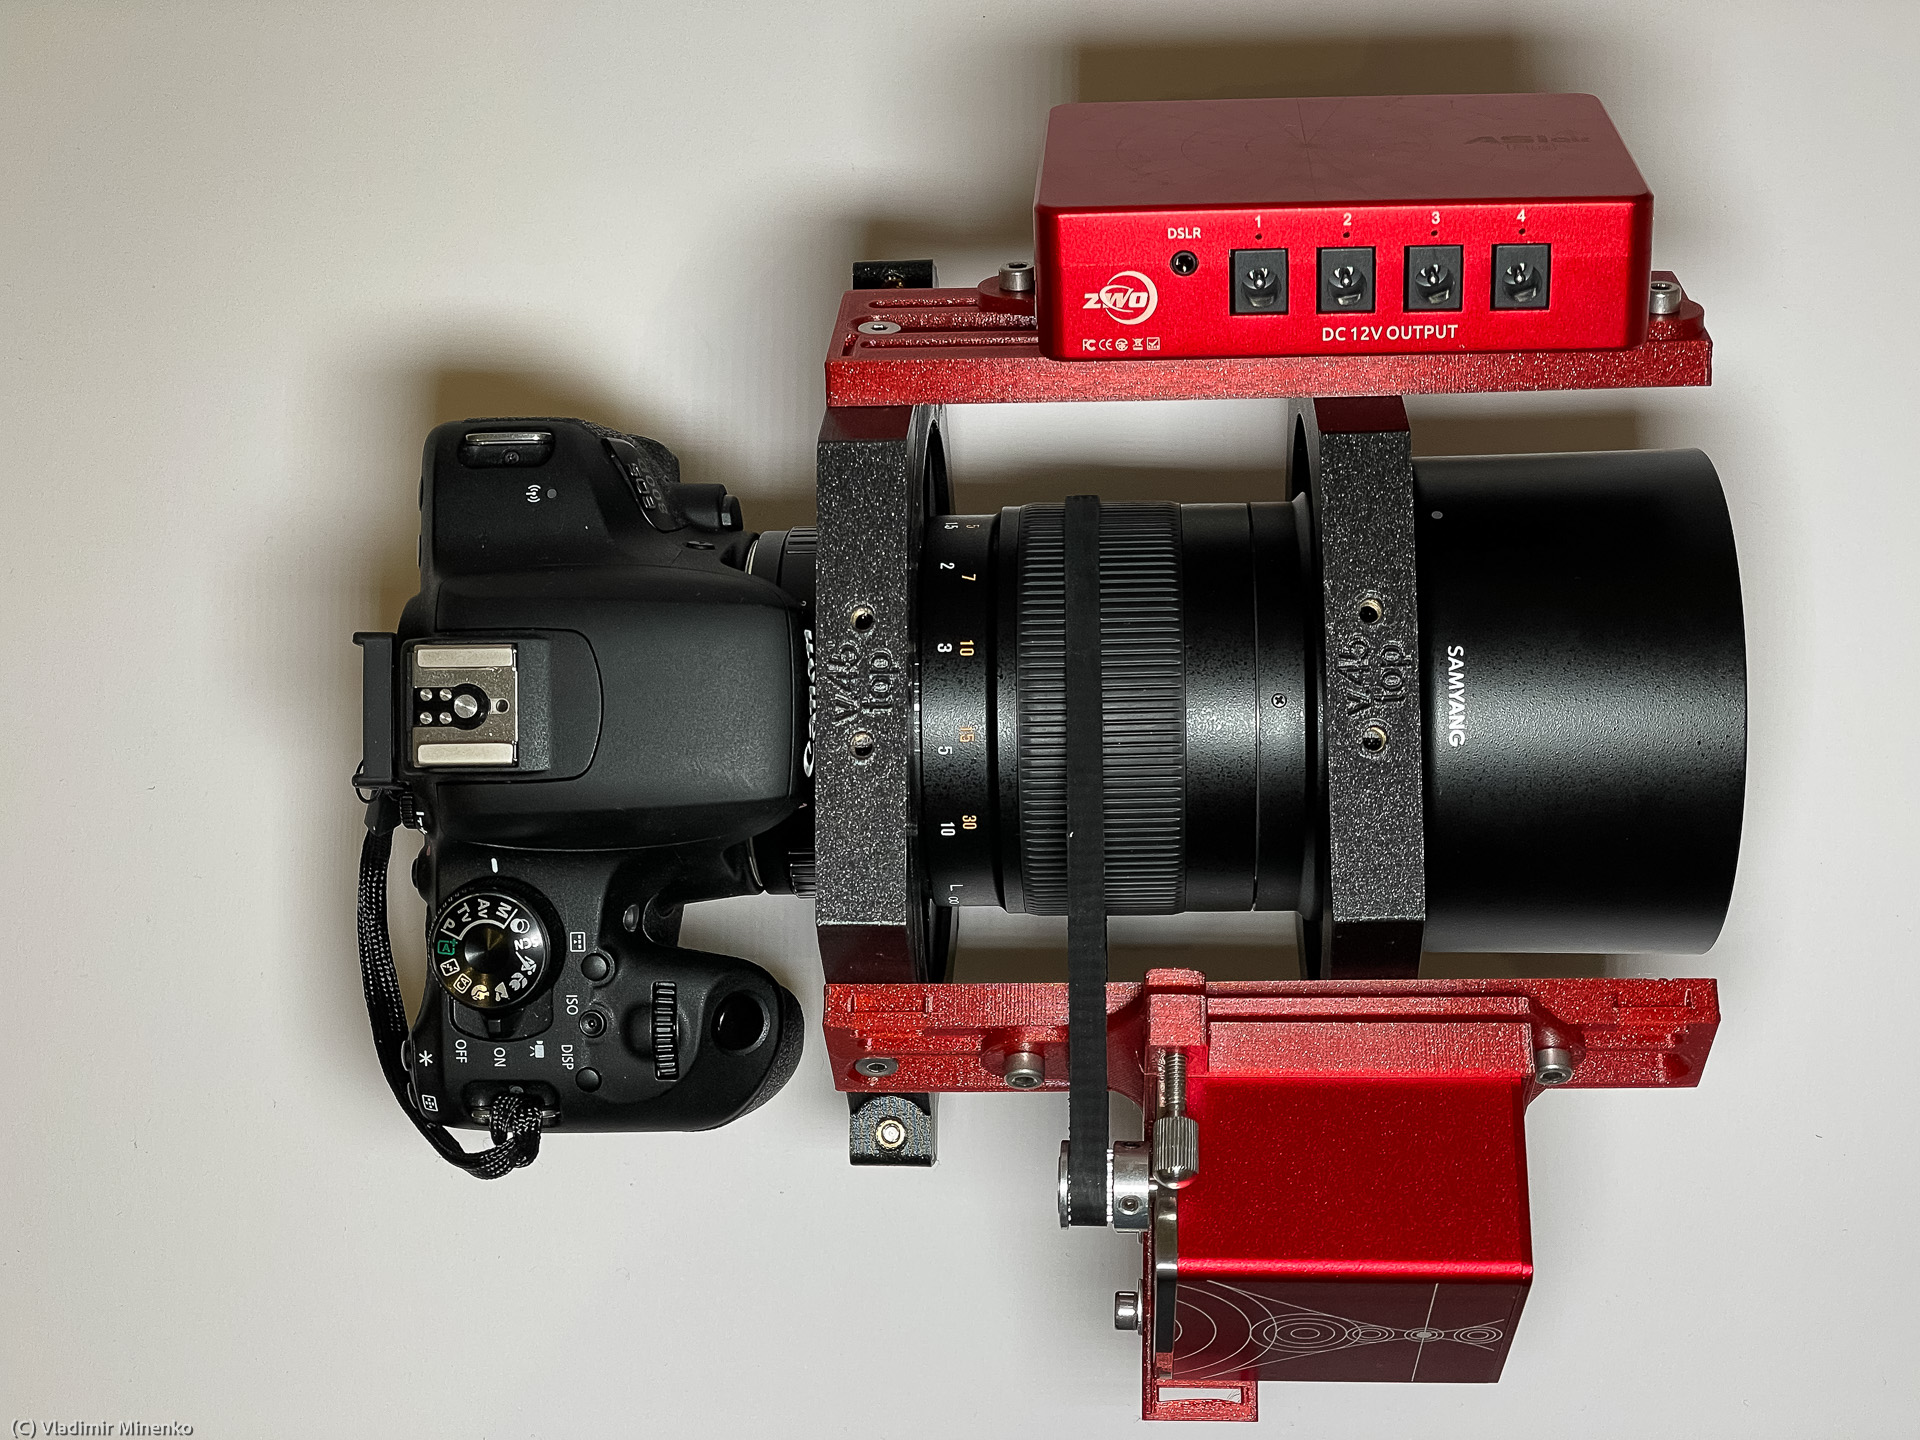

The position of the EAF can be adjusted by sliding it along the rails. The tension of the belt is controlled by the adjustment screw. The placement of the EAF can be in either direction of its axis. All this provides large flexibility allowing the adoption of almost any OTA with a focusing ring.
Currently, the kit supports:
- Askar ACL200
- Askar FMA 180 Pro
- Borg 55FL
- Canon EF 100-400mm f/4.5-5.6L IS II USM
- Canon EF 200mm f/2.8L II USM
- Canon EF 70-200 f/4L IS II USM
- Canon EF 70-200 f/4 L IS USM (the older version of the previous one)
- Canon EF 70-200 f/2.8 IS USM in the first version and in II and III versions
- LAOWA 100mm f/2.8 2:1 Ultra Macro APO
- Nikkor 200-400mm AF-S f/4G ED VR
- Nikkor 600mm AF-S f/4E FL ED
- Nikkor 70-200mm AF-S f/2,8E FL ED VR
- Nikon 80-400mm AF-D f/4.5-5.6 VR FX
- Samyang 135mm f/2.0 ED UMC, also known under the brands Rokinon and Walimex
- Sigma AF 135mm f/1.8 DG HSM Art
- William Optics RedCat 51
- William Optics RedCat 71
The adoption of another lens consists basically of measuring a few import sizes. Based on these sizes, the sizes of new inserts and the length of the drive belt are calculated. See the next section for more details.
A guiding scope is mounted on the top rail. Two clams in the Vixen-style shape are provided for this by default. The guide scope should have a foot with a dovetail plate for this. A mounting for adjustment rings is possible and can be provided upon request. The mounting position can be changed by using different M4 holes in addition to the sliding of the rail itself.
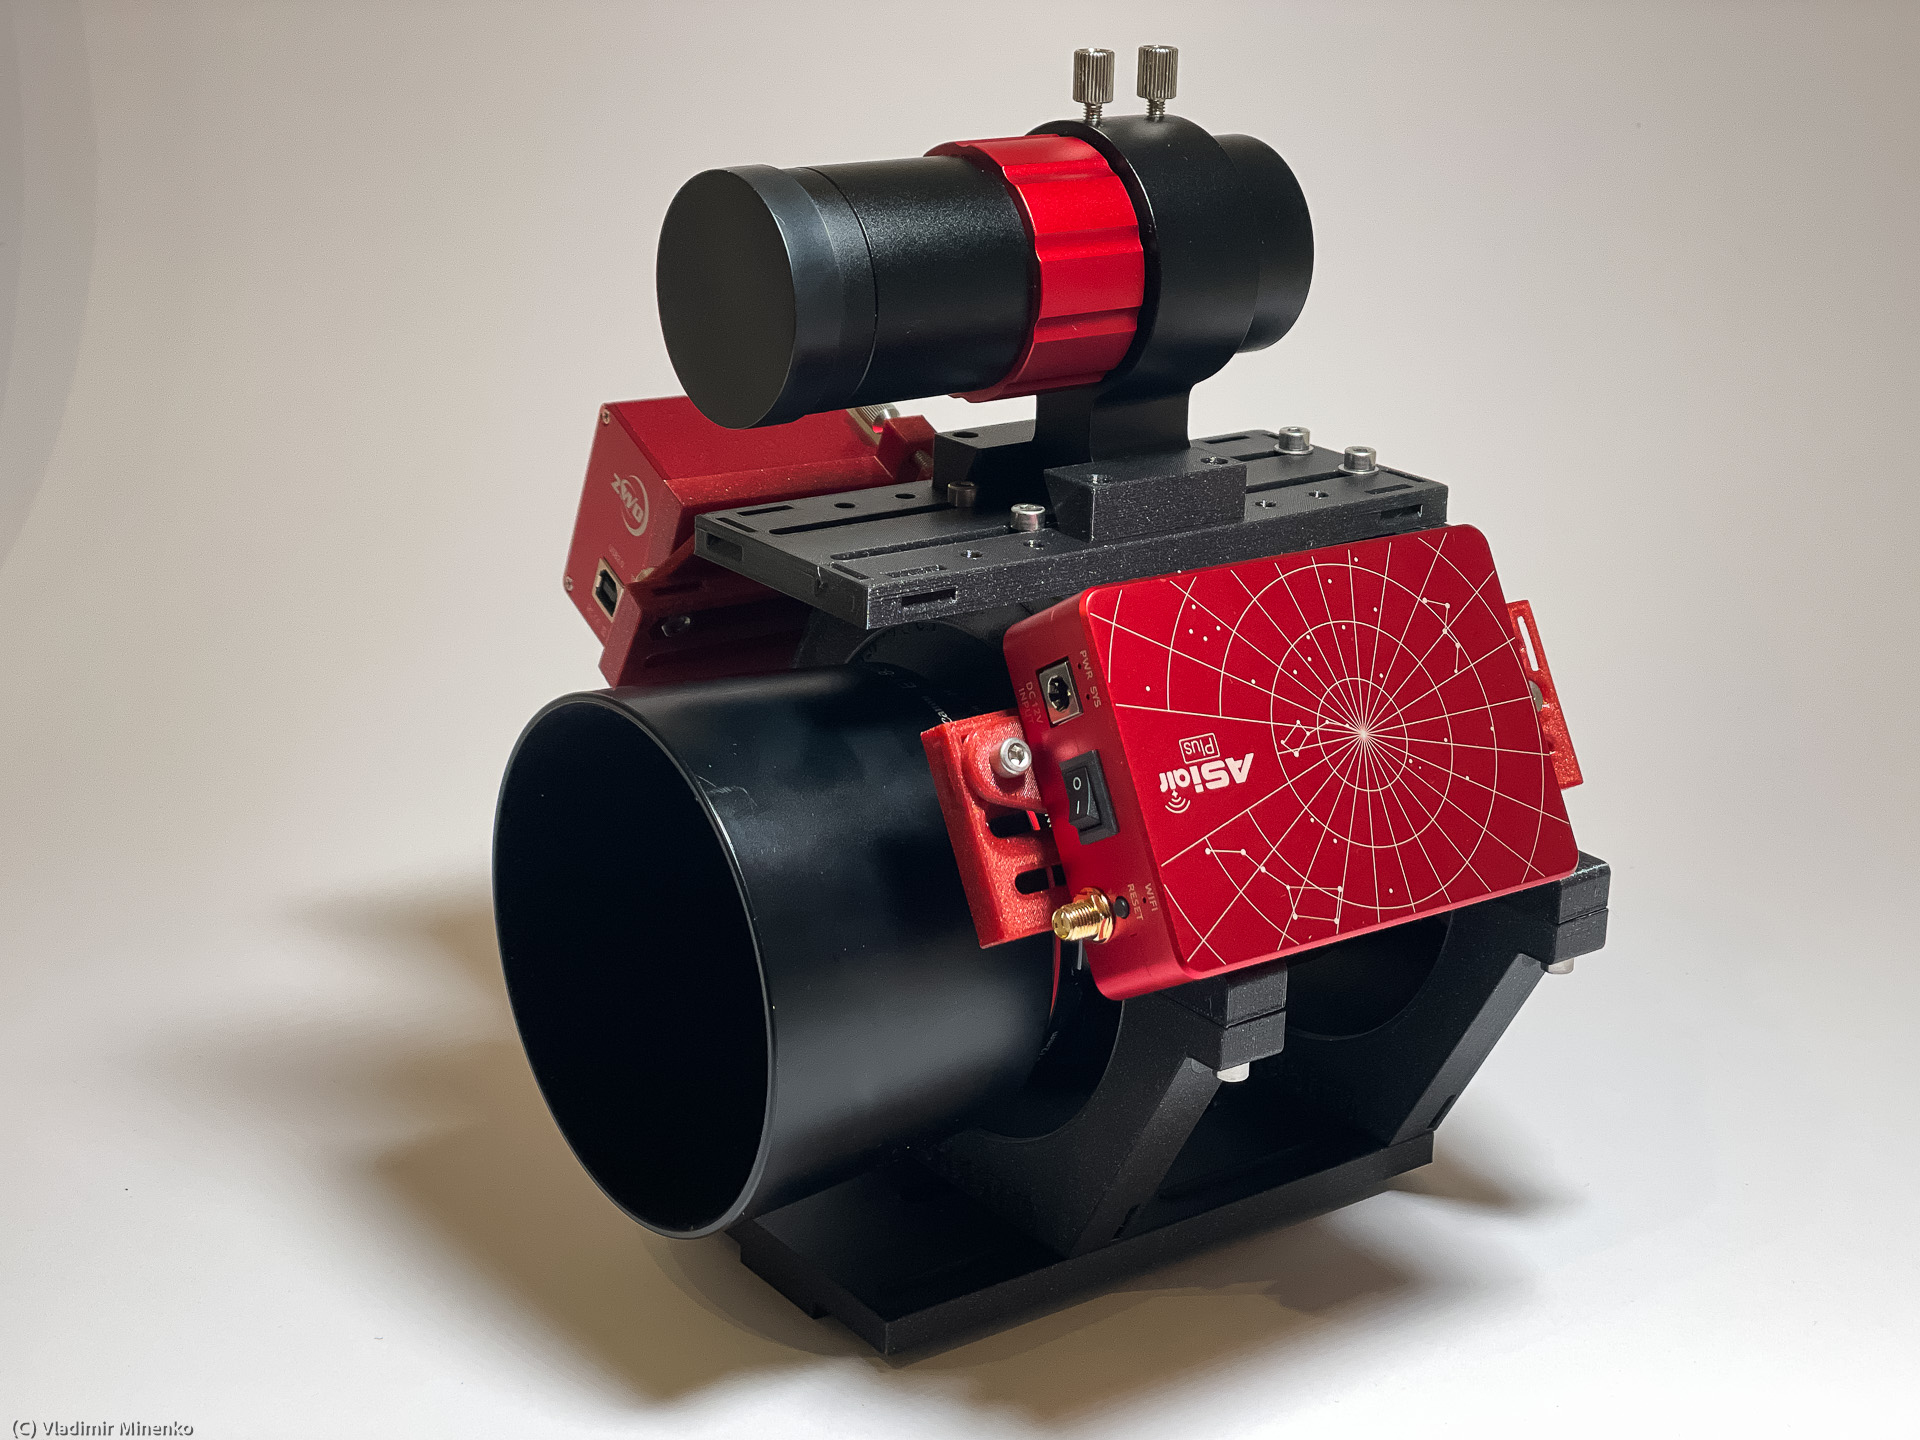
ZWO ASIAIR sits on a holding plate which can be shifted along the lots on another side plate. This allows flexible placement and good cable management.
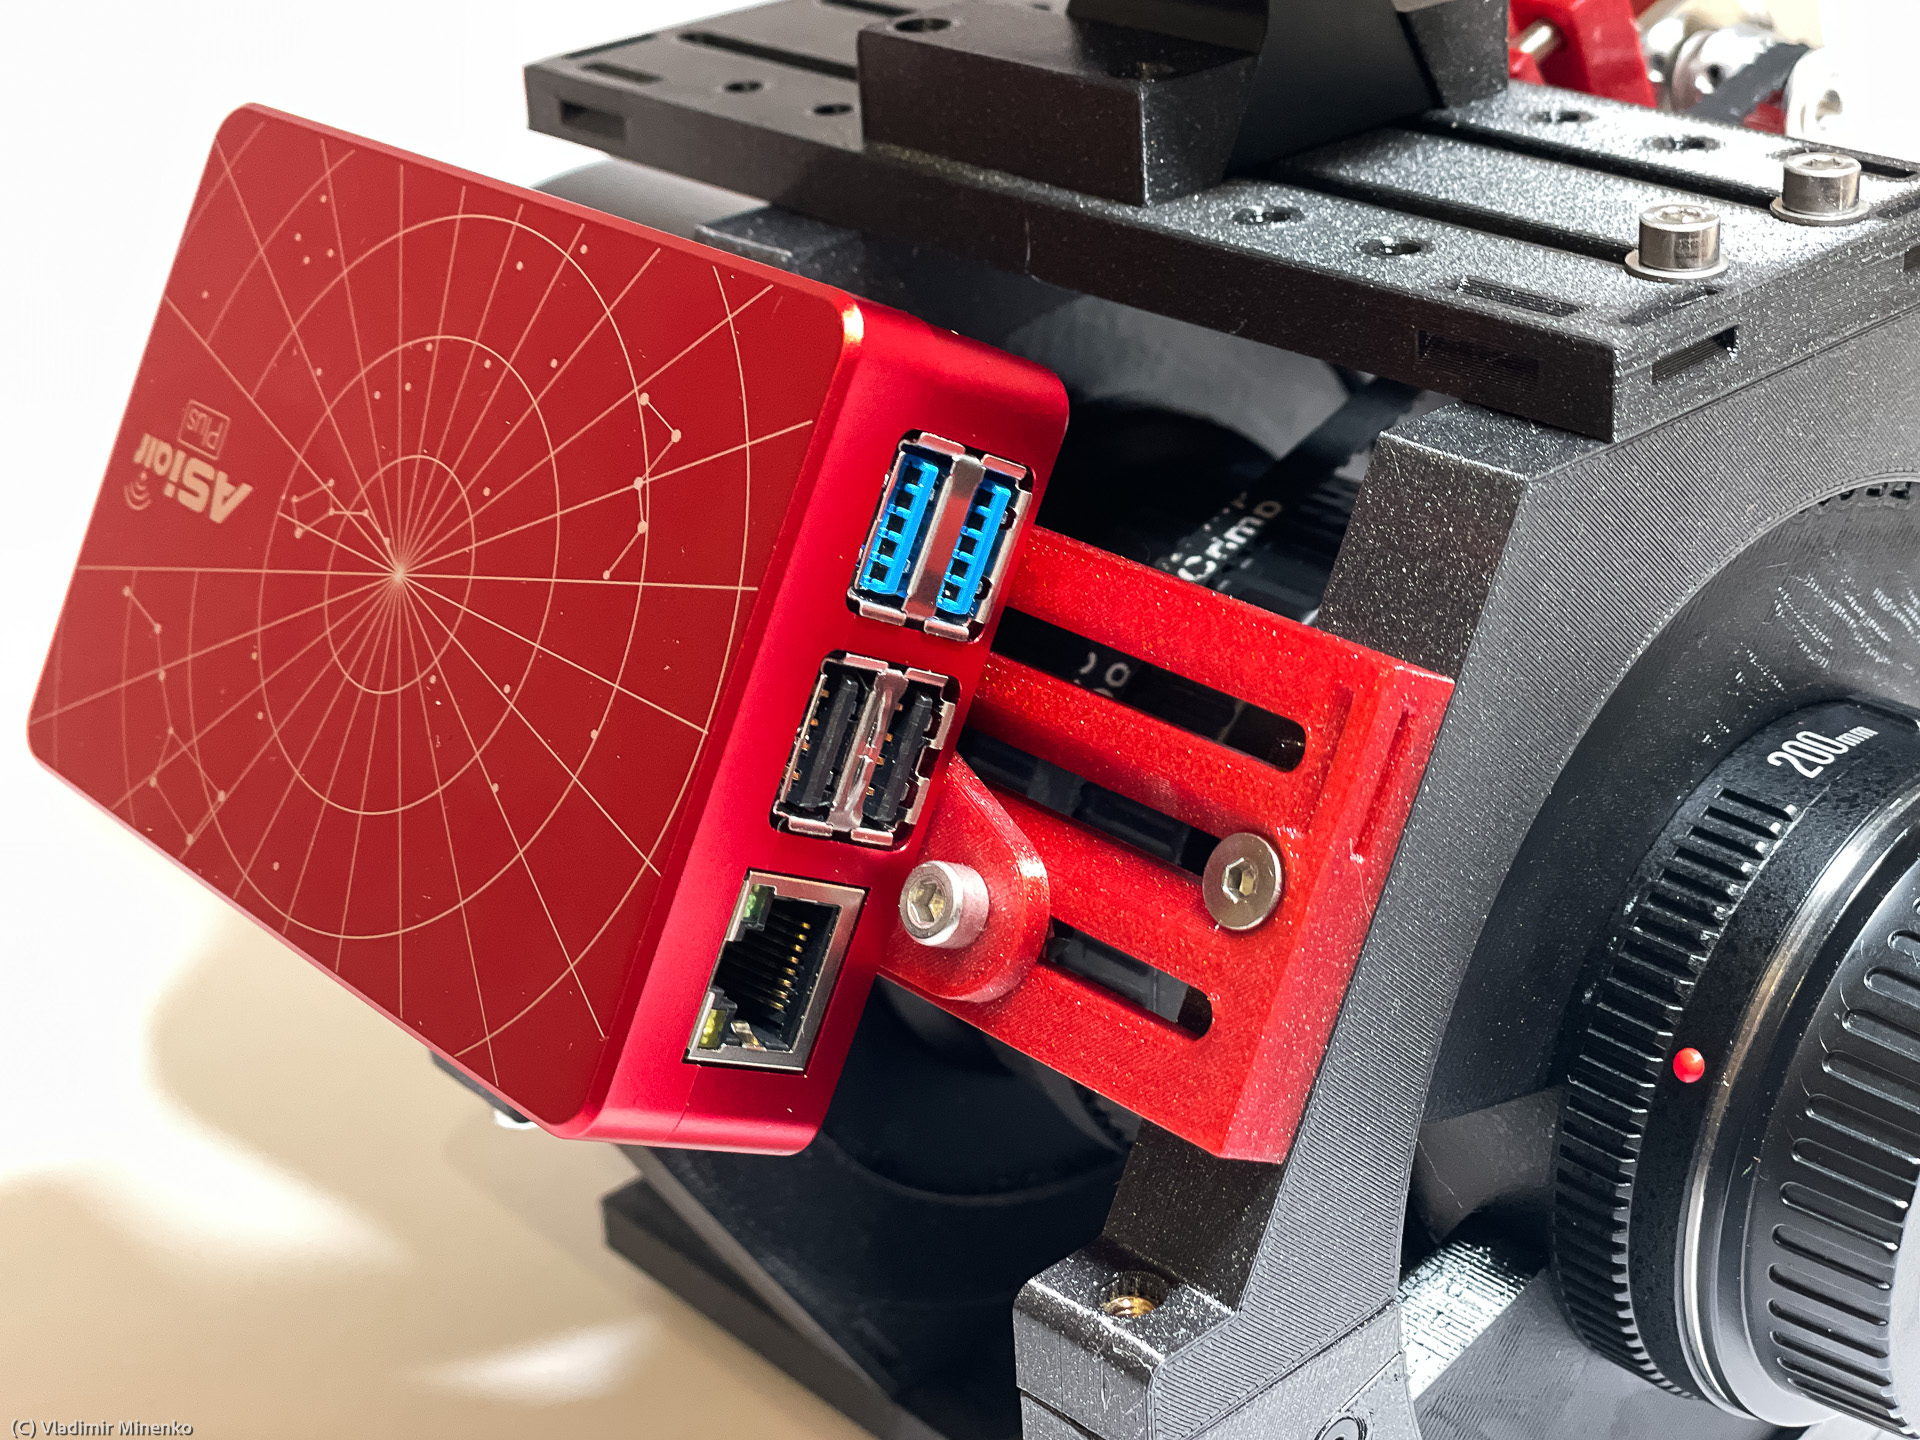
The rings and rails have multiple eyelets on the ends for touch fasteners. 50cm of the double-sided touch fastener tape of 8mm width is supplied. It can be cut as needed and used to fix cables.

There are three forms of the bottom plate. One with a Losmandy dovetail plate and one with the Vixen dovetail plate. Both can be clamped directly in a mount.

If you already have a dovetail clamp, you can select a universal rail that has M6 mounting slots in the middle and so can be mounted on an available dovetail.
The mounting kit is 3D-printed. A high-quality PETG filament is used for printing. The default colors are a mix of black and red as shown in the pictures here. An “all in black”, “red only” and “James Webb” editions are planned.
The mounting kit is provided with all required screws, a belt for a selected OTA, and a timing pulley for ZWO EAF.
How to fit a lens
There are three zones on an OTA that should be measured to adapt it to the mounting kit. One zone is the focusing ring (here it is the Nr. 2) and the two other zones are the mounting sections of the non-moving rings on the camera side and one in the front.

There might be some other moving rings on an OTA, for example, the focal ring on the Samyang 135mm lens shown above, or a zoom ring. The mounting sections should be selected so that other moving rings of the lens are not distorted and can still be accessible. I need following information about a lens:
- D1 – diameter of the mounting section on the camera side in mm
- W1 – the width of the mounting section on the camera side in mm
- D2 – diameter of the focusing ring in mm
- W2 – the distance between the front the edges (see the picture) of the mounting sections in mm
- D3 – diameter of the mounting section on the front side in mm
- W3 – the width of the mounting section on the front side in mm
- The width of the rills on the focusing ring and the space between them. These sizes are usually the same for one maker. I know these parameters for Canon and Samyang, but currently not for other makers.
- A picture of the lens as above, whereas the drawing of sizes is optional. Ideally, you send a picture of the lens at the moment when you measure it so that I can see where it was measured exactly.
Different lenses have different profiles of the gum grip rills on the focus ring. I know which belts fits these profiles for the Canon, Samyang lenses and RedCat scopes. I did not make an adaption for lenses from other brands yet. We have to find out what fits best jointly.
Select “custom” in the list of “OTA / lens” in the shop. This version costs slightly more than a standard one to compensate for the additional effort. Feel free to contact me prior to purchasing.
Pictures gallery
Have a look at all pictures of this mounting kit in a gallery.
Availability
The mounting kit is available in the Photastro shop or for a bit higher price on eBay, and later on Etsy. The shipping is free in Germany, other rates apply for the EU and other parts of the world. Shipping to some countries might not be possible though.
Assembly and user instructions are available here.
Comments
Got an opinion on this topic or found a mistake? Please add a comment.
0 Comments