On-OTA ASIAIR and EAF Mounting Kit - Assembly Steps and User Instructions
This page provides instructions on how to assemble the kit. It also provides various hints for its use.
Overview of the Parts
Most parts of the kit are shipped being not assembled. Only the EAF block is pre-assembled. The outstanding point of the kit is that it can accommodate a wide range of photographic lenses and small telescopes which helical, ring-based, focusing. A new lens can be adapted with a set of inserts placed into the rings. EAF and ASIAIR sit in their holders which can be moved along the rails and so can reach any convenient place as required.
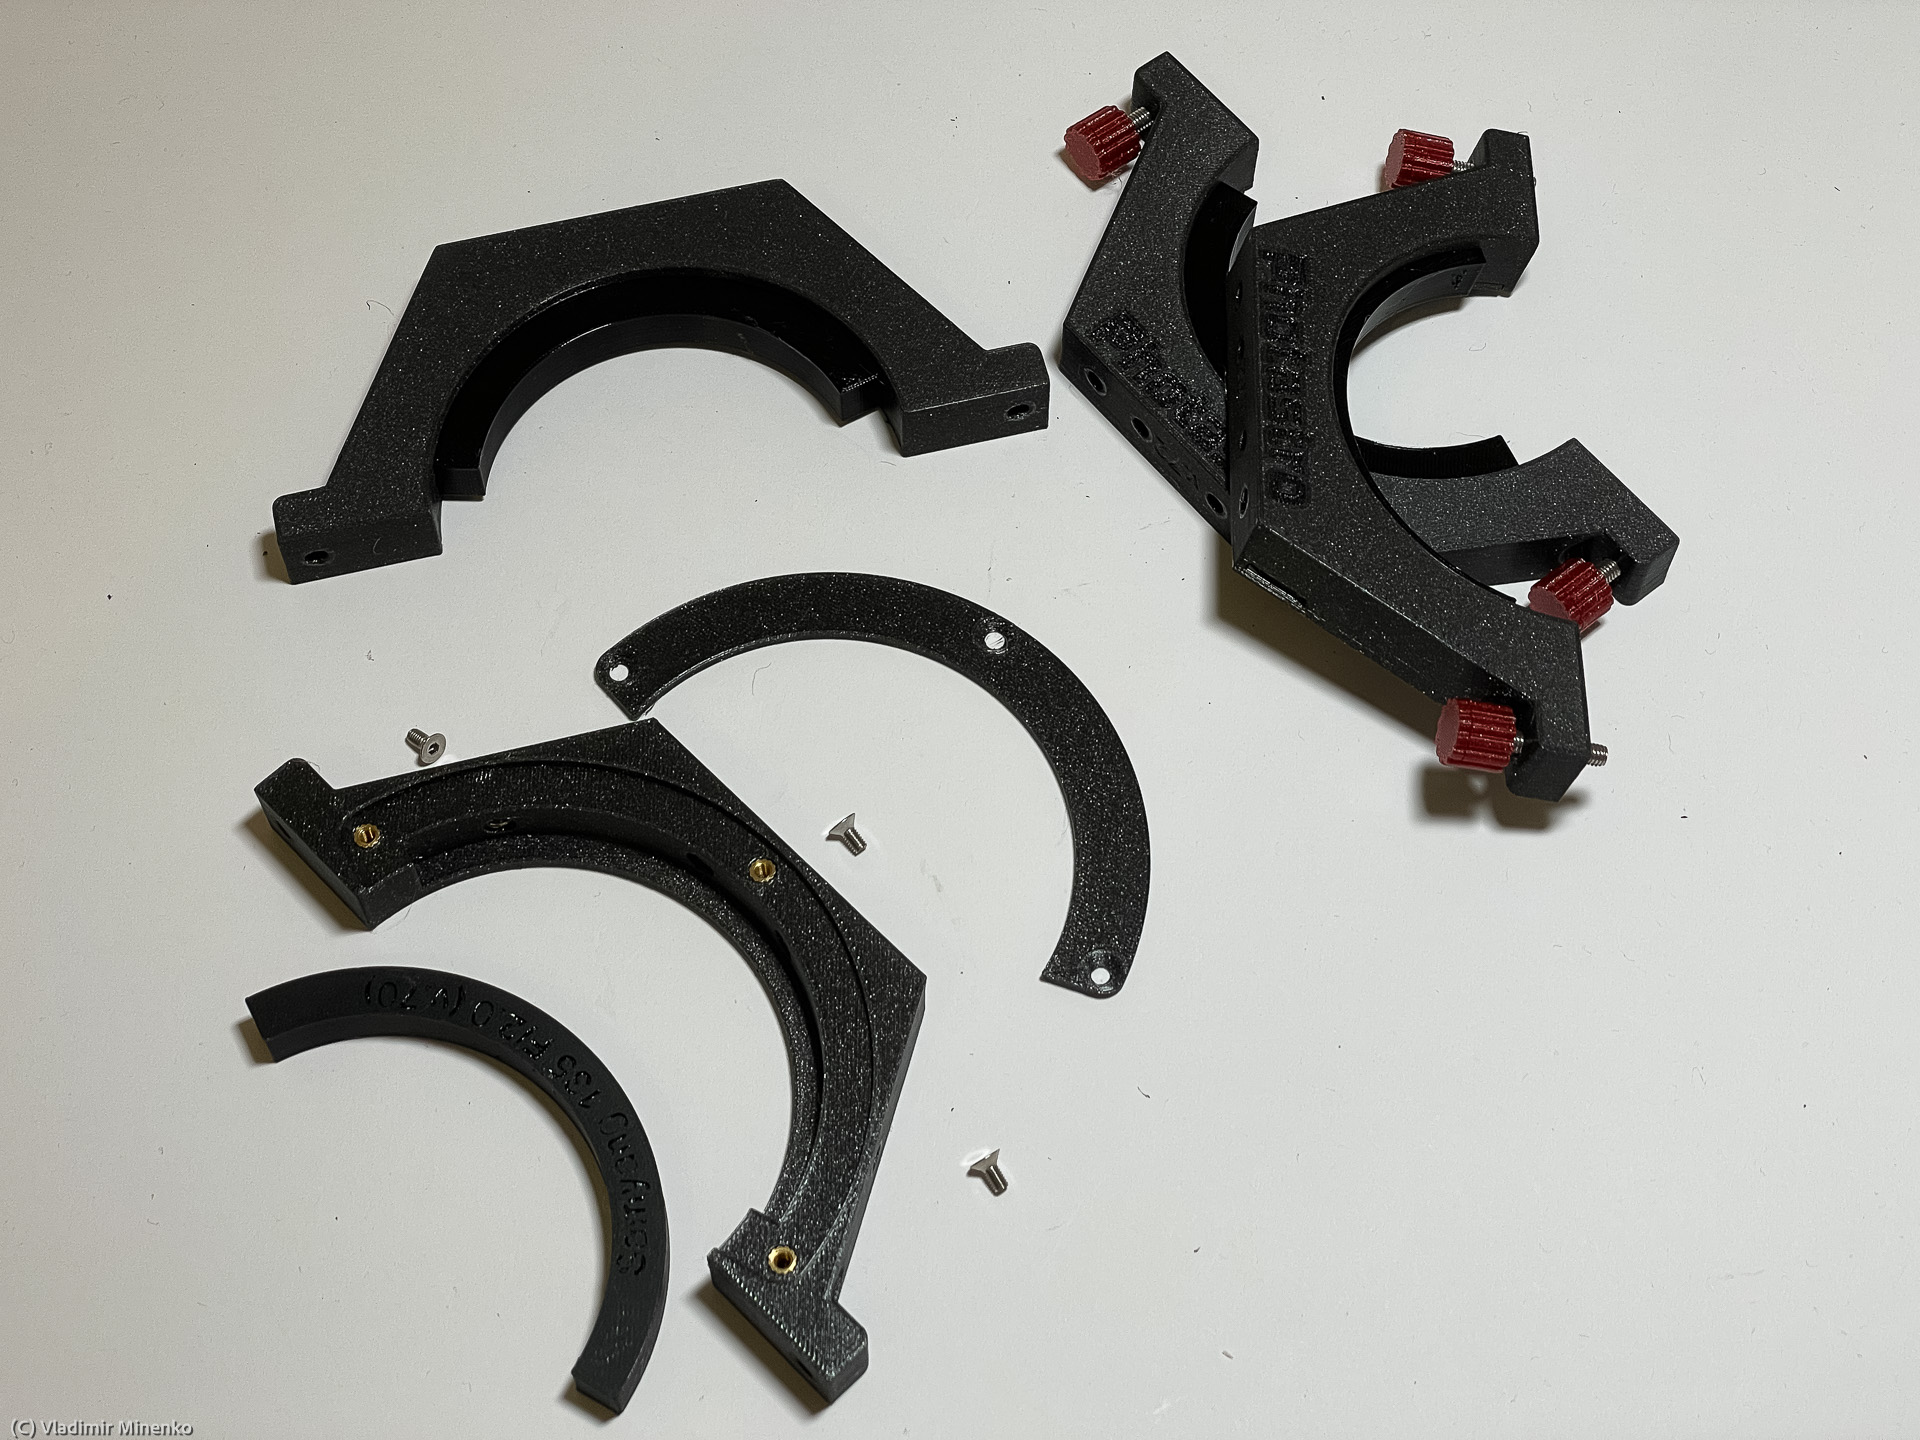
There are two main rings each of which consists of two halves. Both rings are the same, but their halves are different. One ring halve consist of an interchangeable insert and an insert cover. The cover holds the insert with four m3 flat head screws. On the picture below, three ring halves are already assembled. The bottom halves have already the thumb head screws inserted into them. These thumb head screws point to the bottom later so that they do not block the movement of the EAF and ASIAIR.
Top plate (in the new edition) with four M4 flat head mounting screws, two Vixen-shaped clams and four thumb head screws:

This is the bottom side of the top plate:
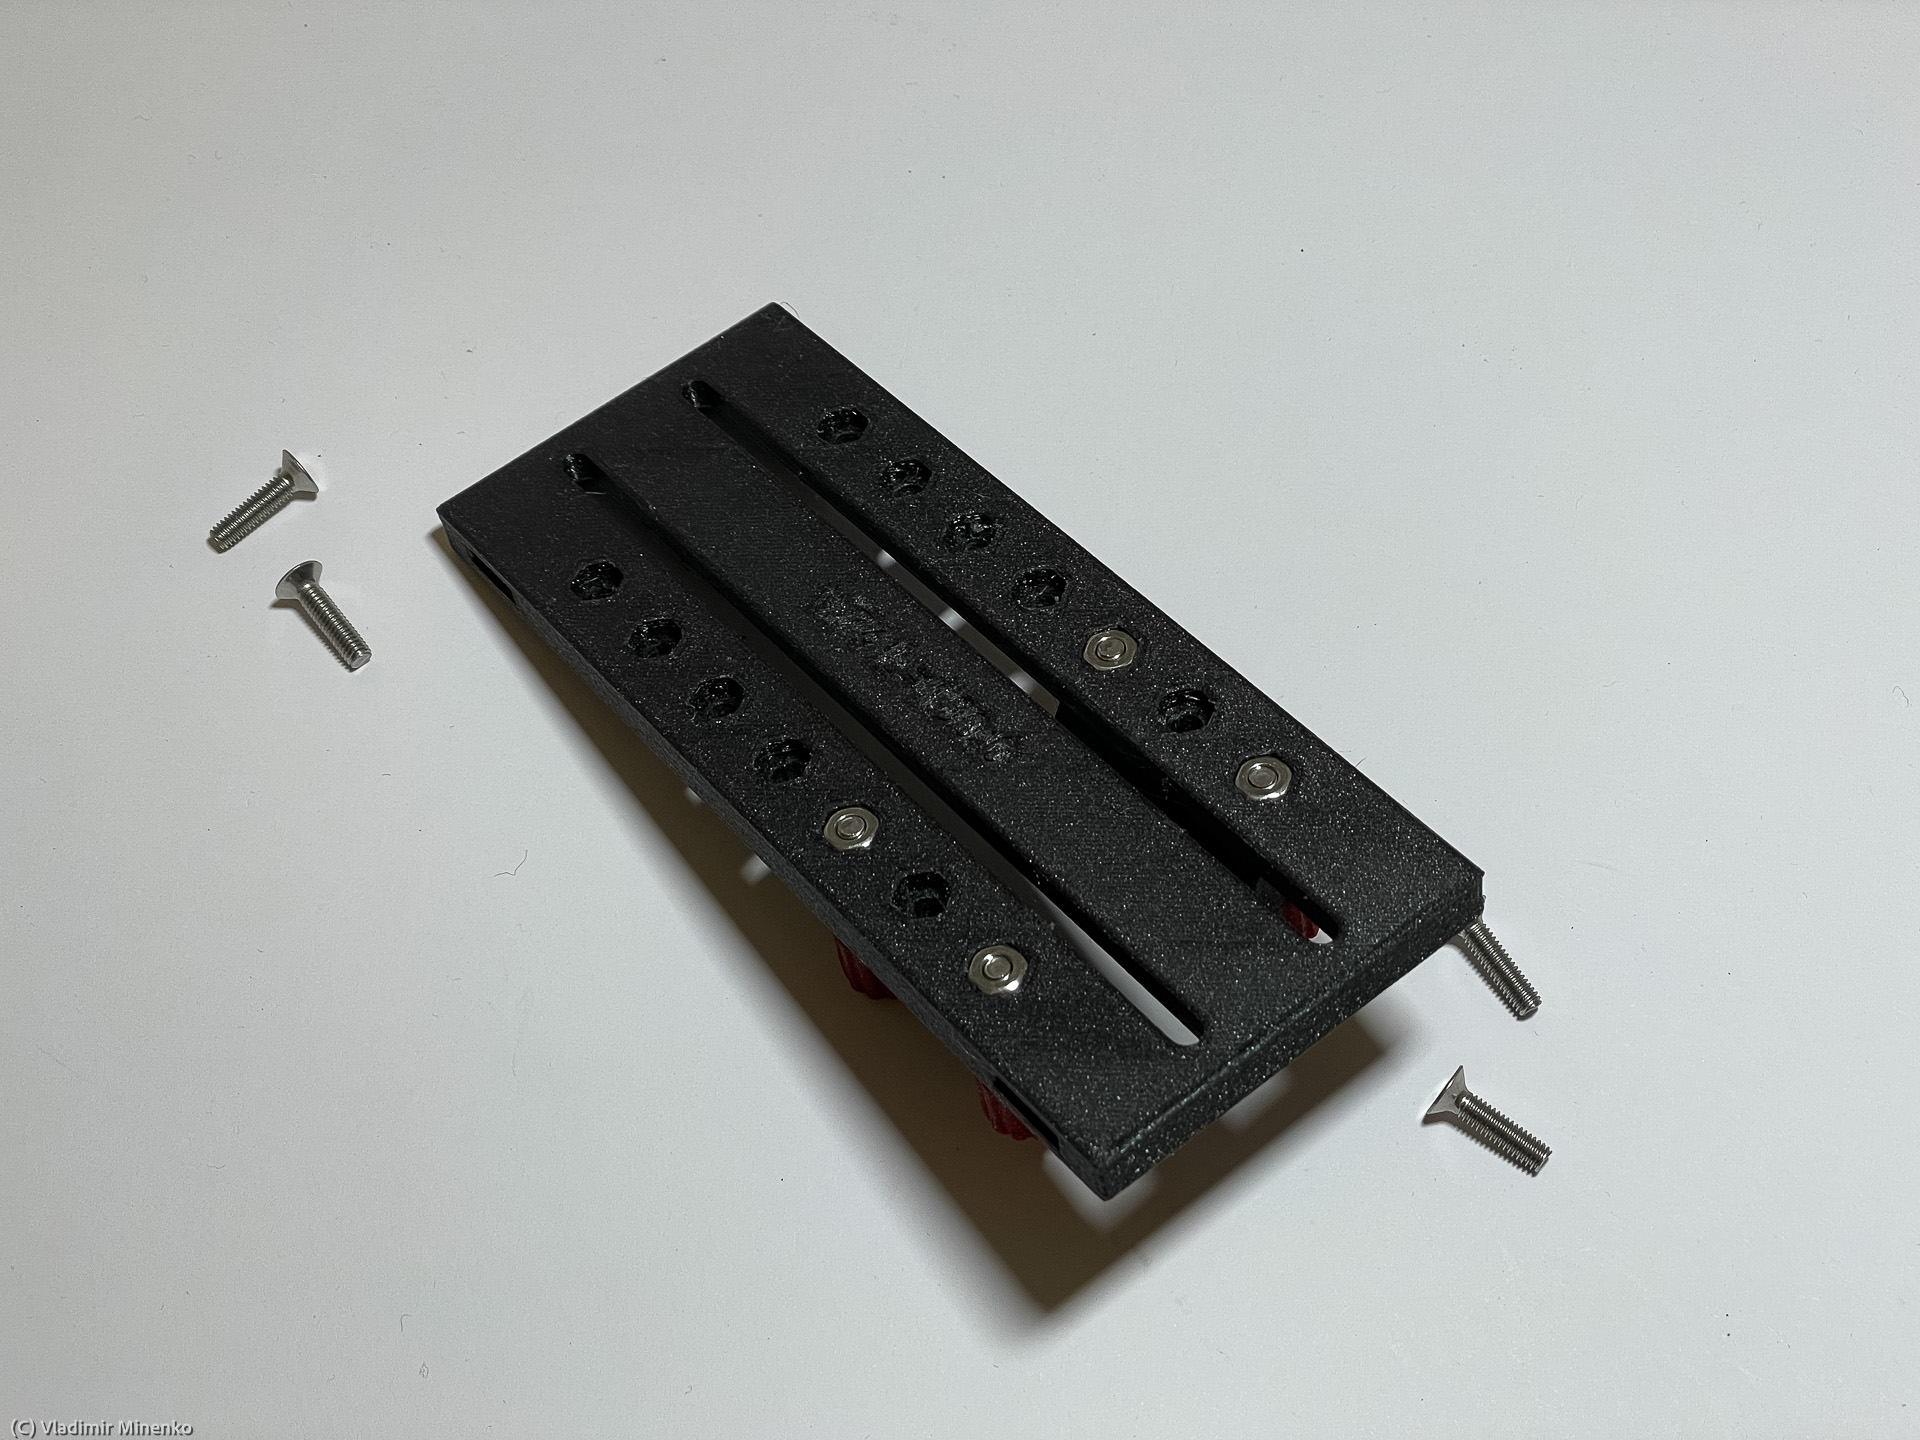
Note that, the Vixen-shaped clams are mounted on the top plate from the bottom side in the first edition of the plate with flat head screws and the thumb head screws are used for mounting of the plate on the rings.
The EAF tension block:
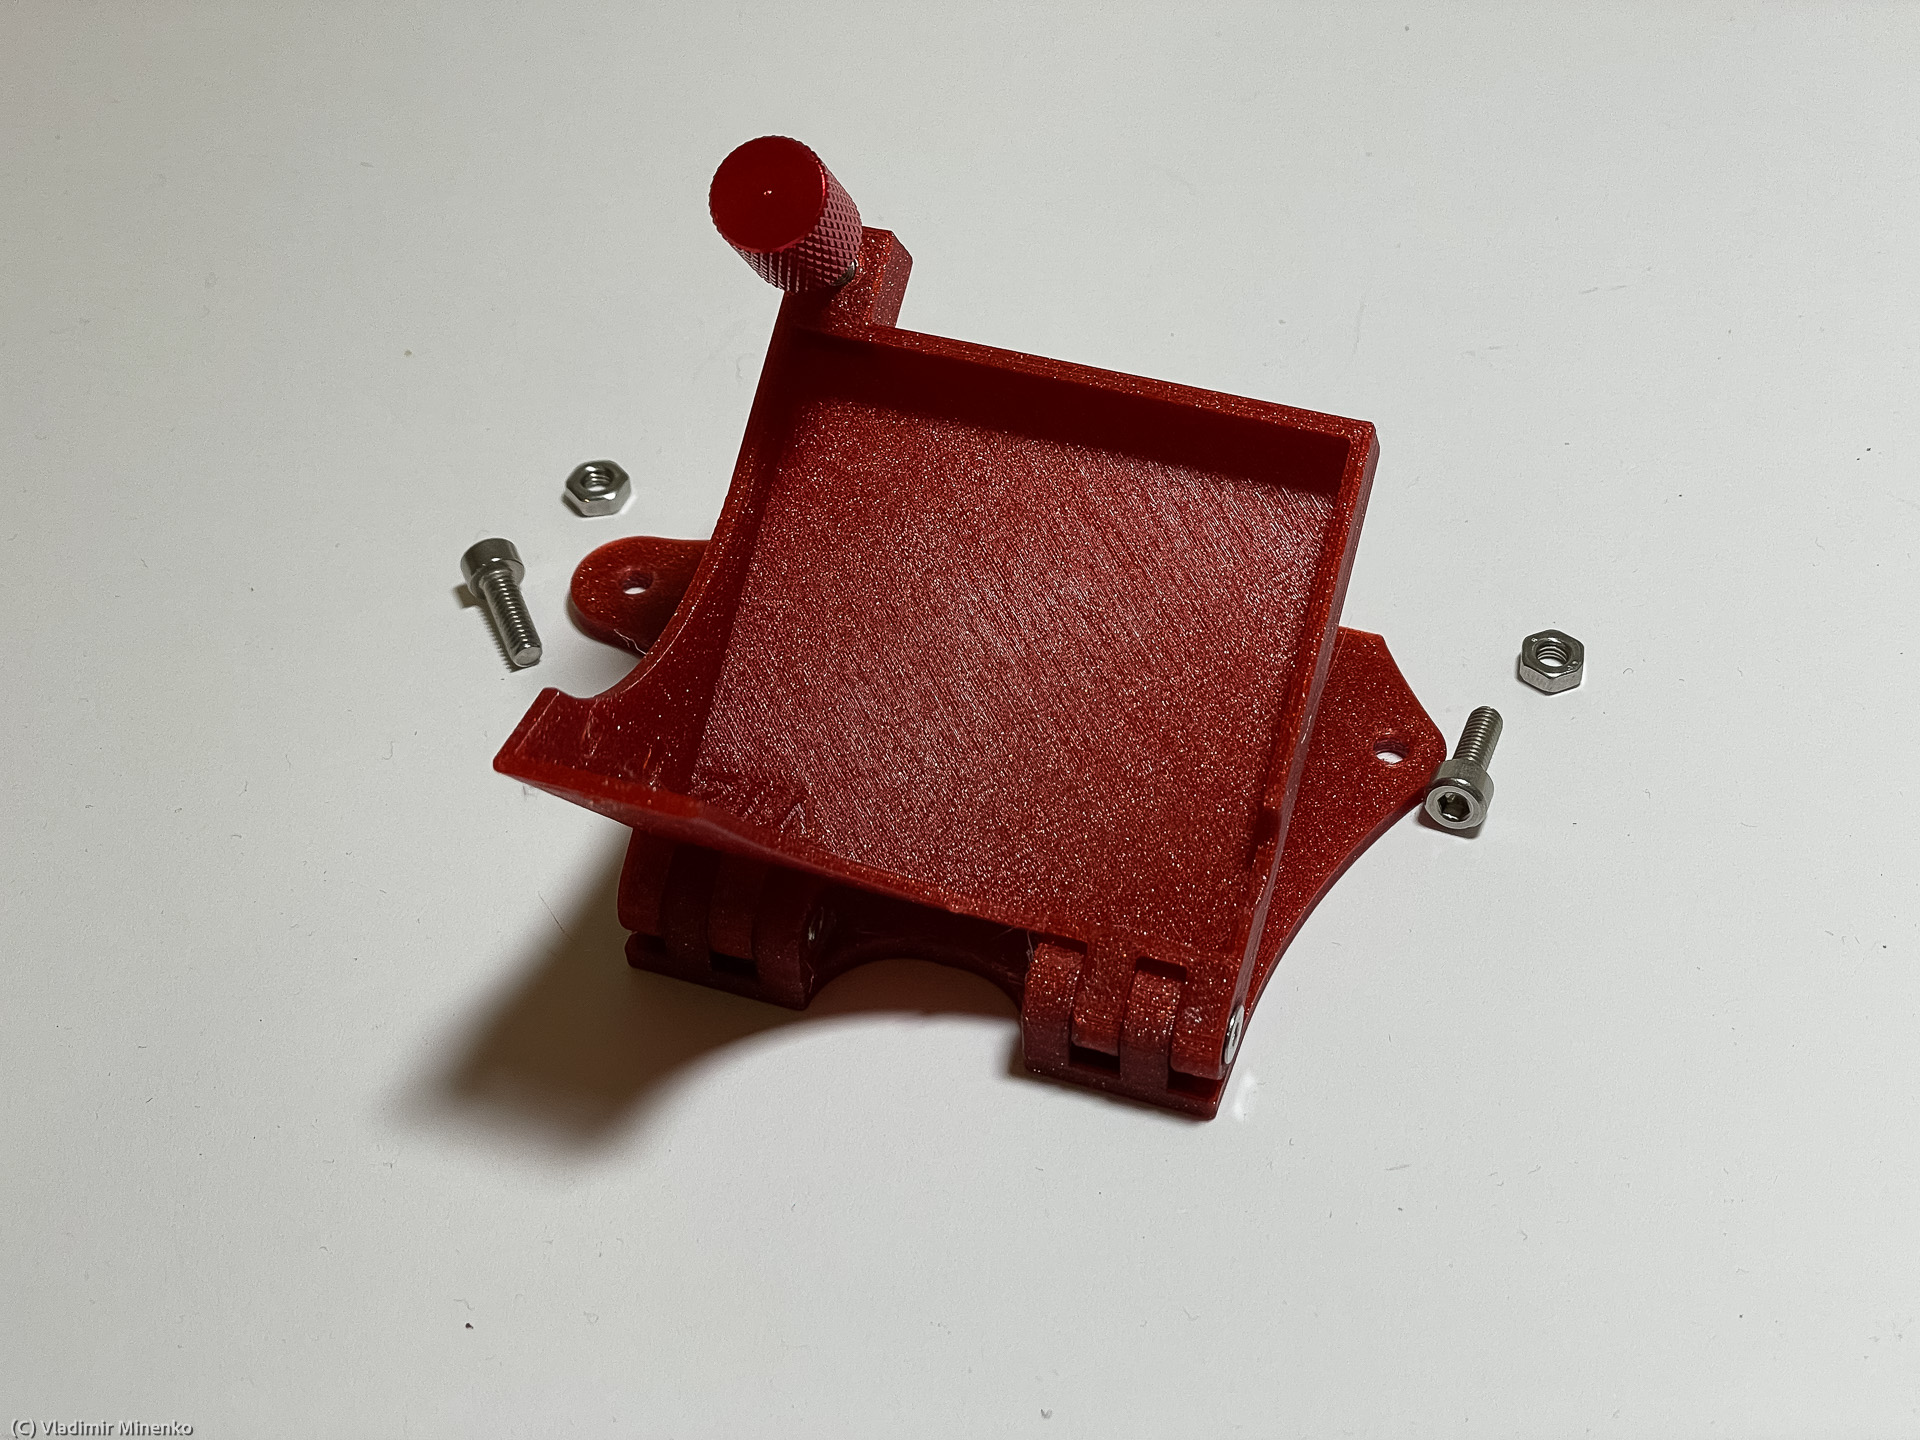
sits on a rail:

The M4 flat head screws are used to mount the plate on the rings. The M4 round head screws shown on the picture of the EAF tension block are used to mount the block on the rail.
The ASIAIR is mounted on the small, plate-shaped holder:

which sits on the wider, compared to the one for EAF, rail:
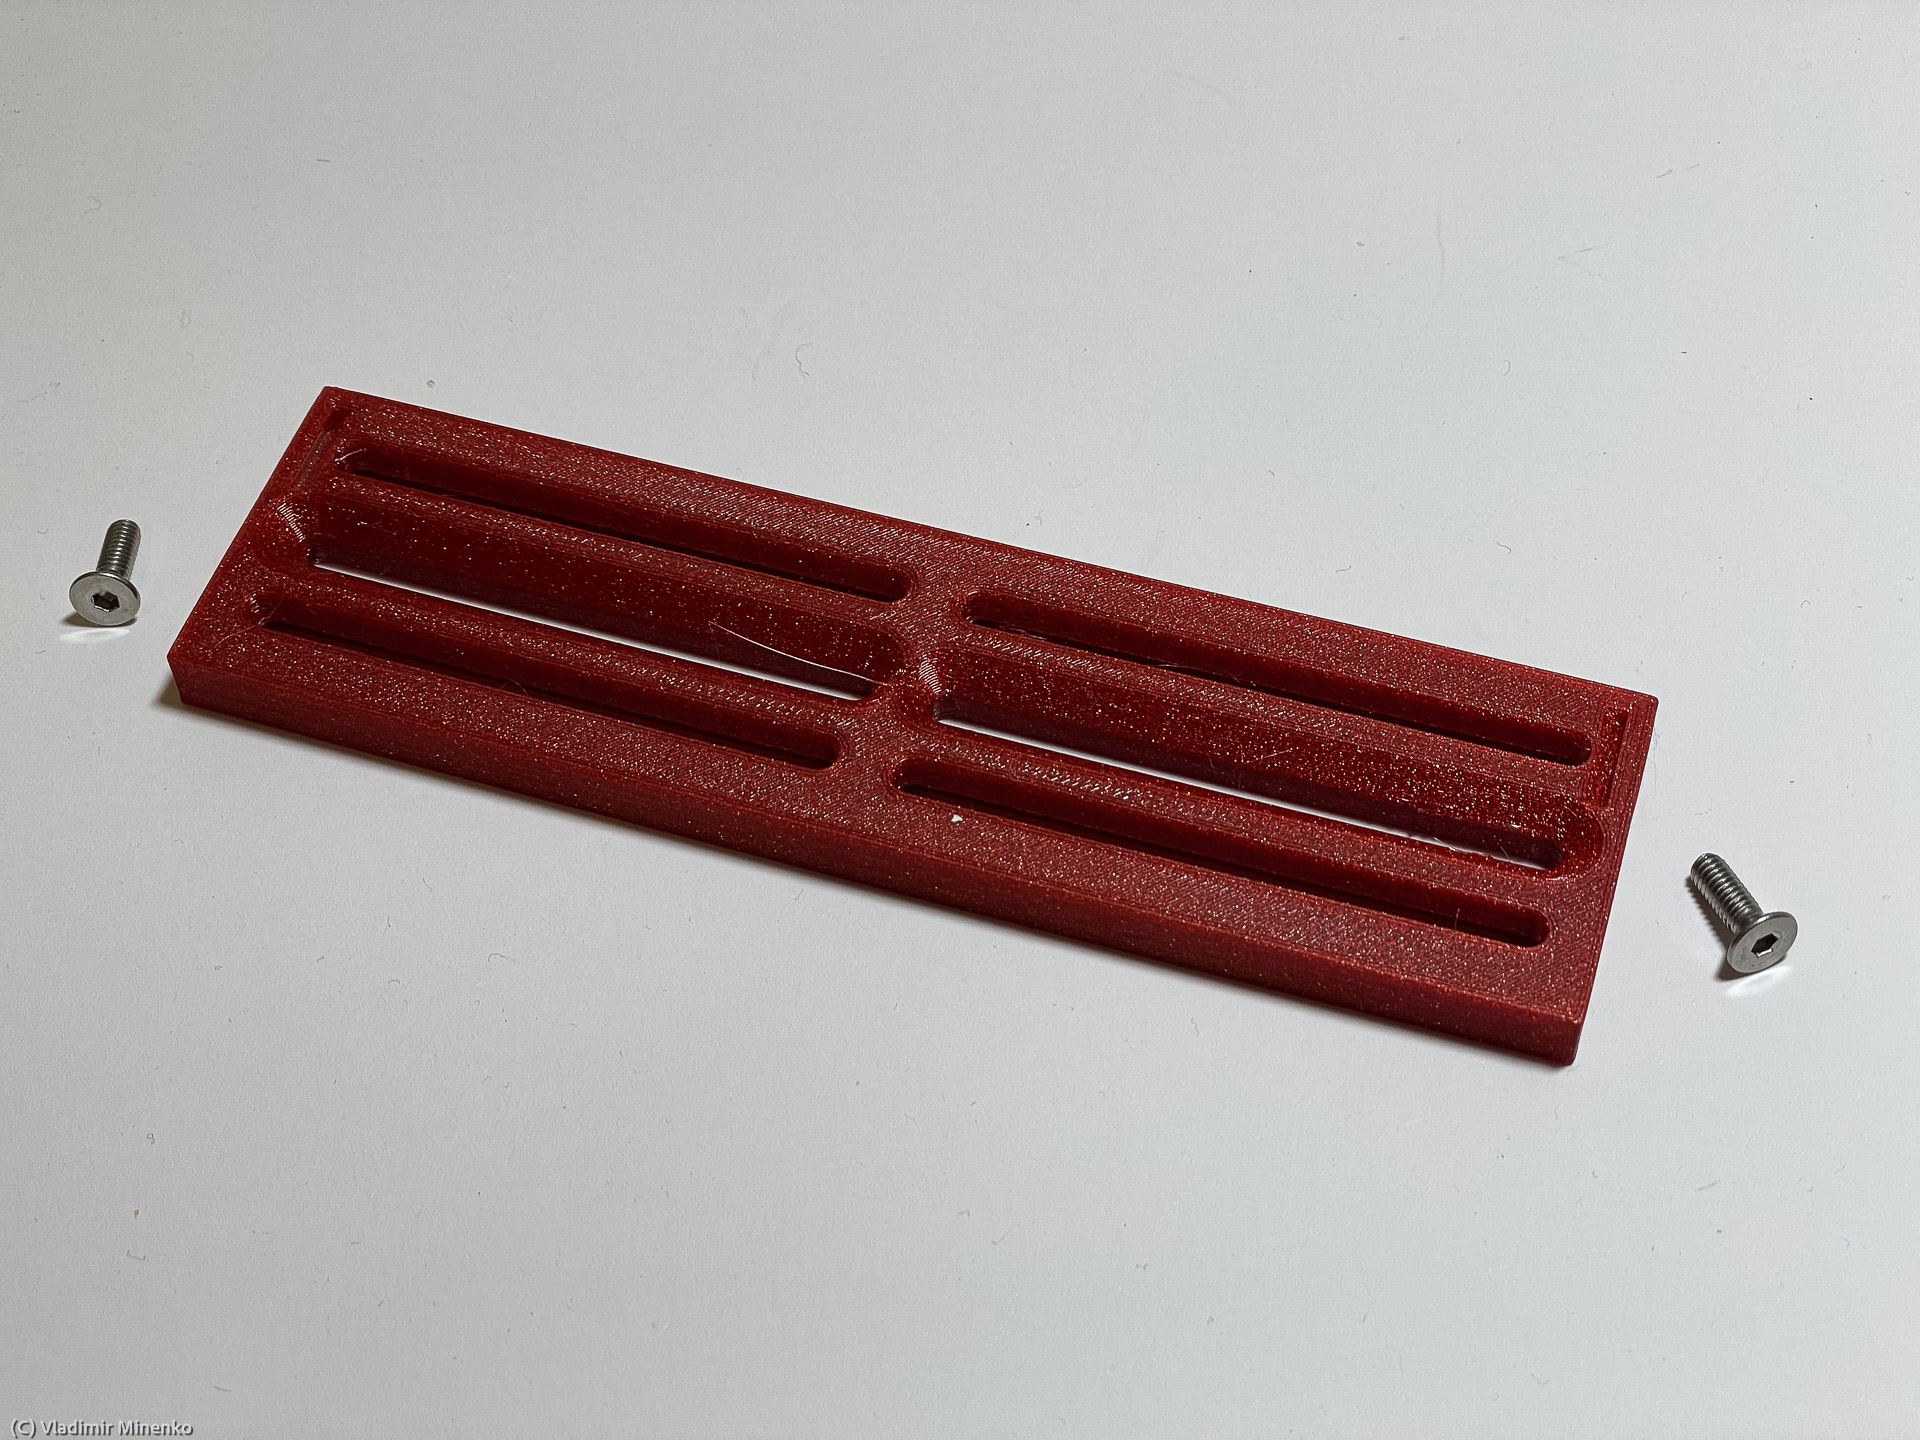
Like in the case with the rail on the EAF side, the M4 flat head screws are used to mount the rail on the rings. The round head ones are used to mount the ASIAIR holder on the rail.
The plate attached to the bottom side of the rings is used to hold the hole kit on a mount. There are various choices for that plate, depending on their dovetail shape and on the fact if you prefer using an extra dovetail plate made of metal. In my opinion, the bottom plates with integrated dovetail-shaped side provide sufficient stability for most users. The section after section about assembling steps about for more about available bottom plates.
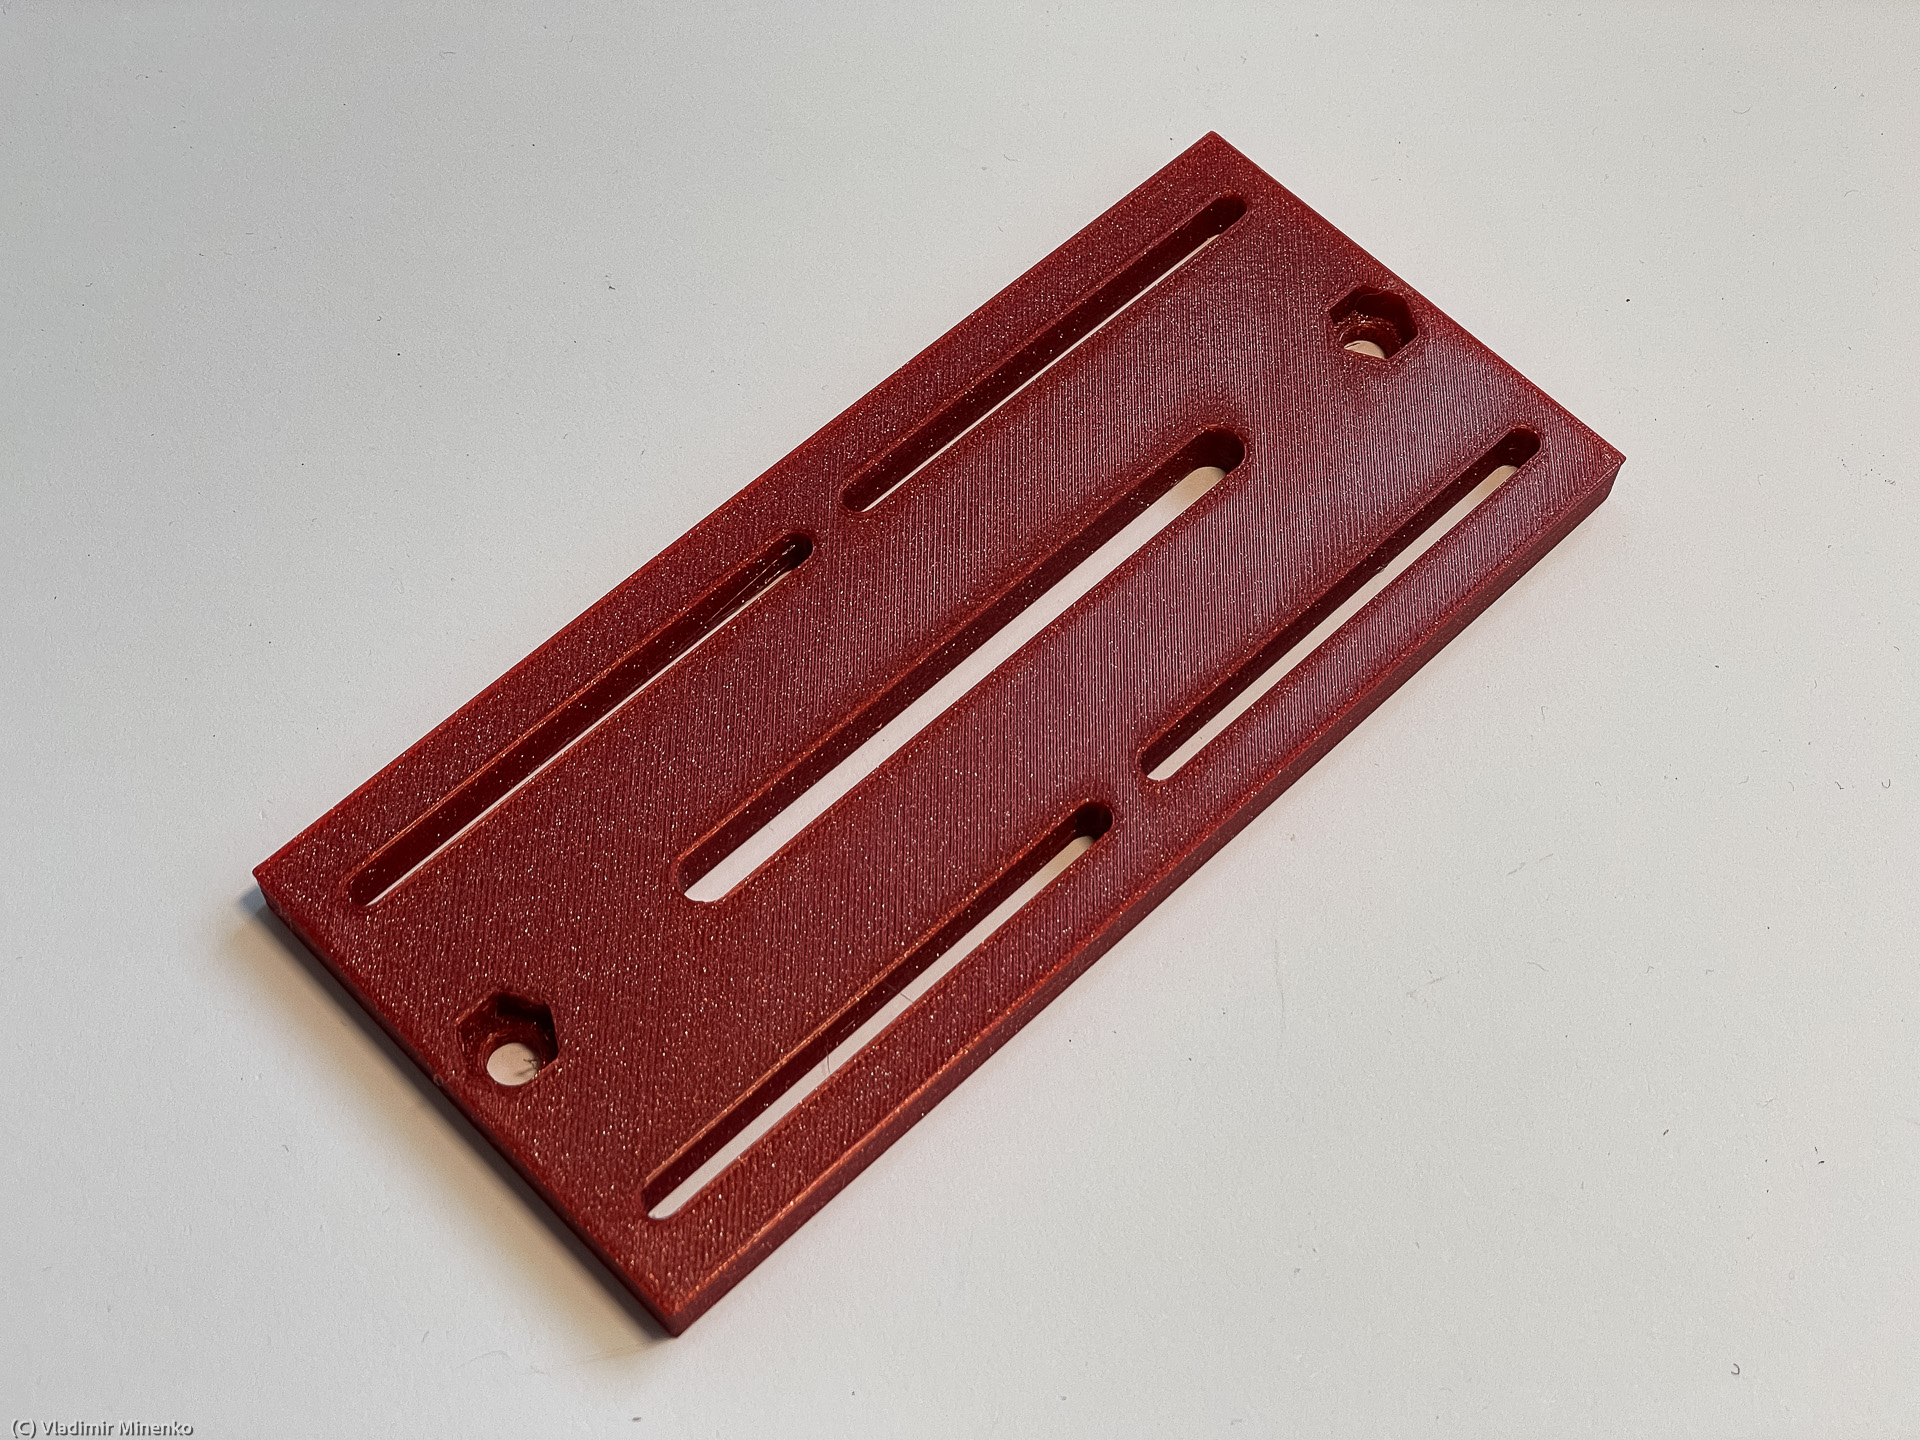
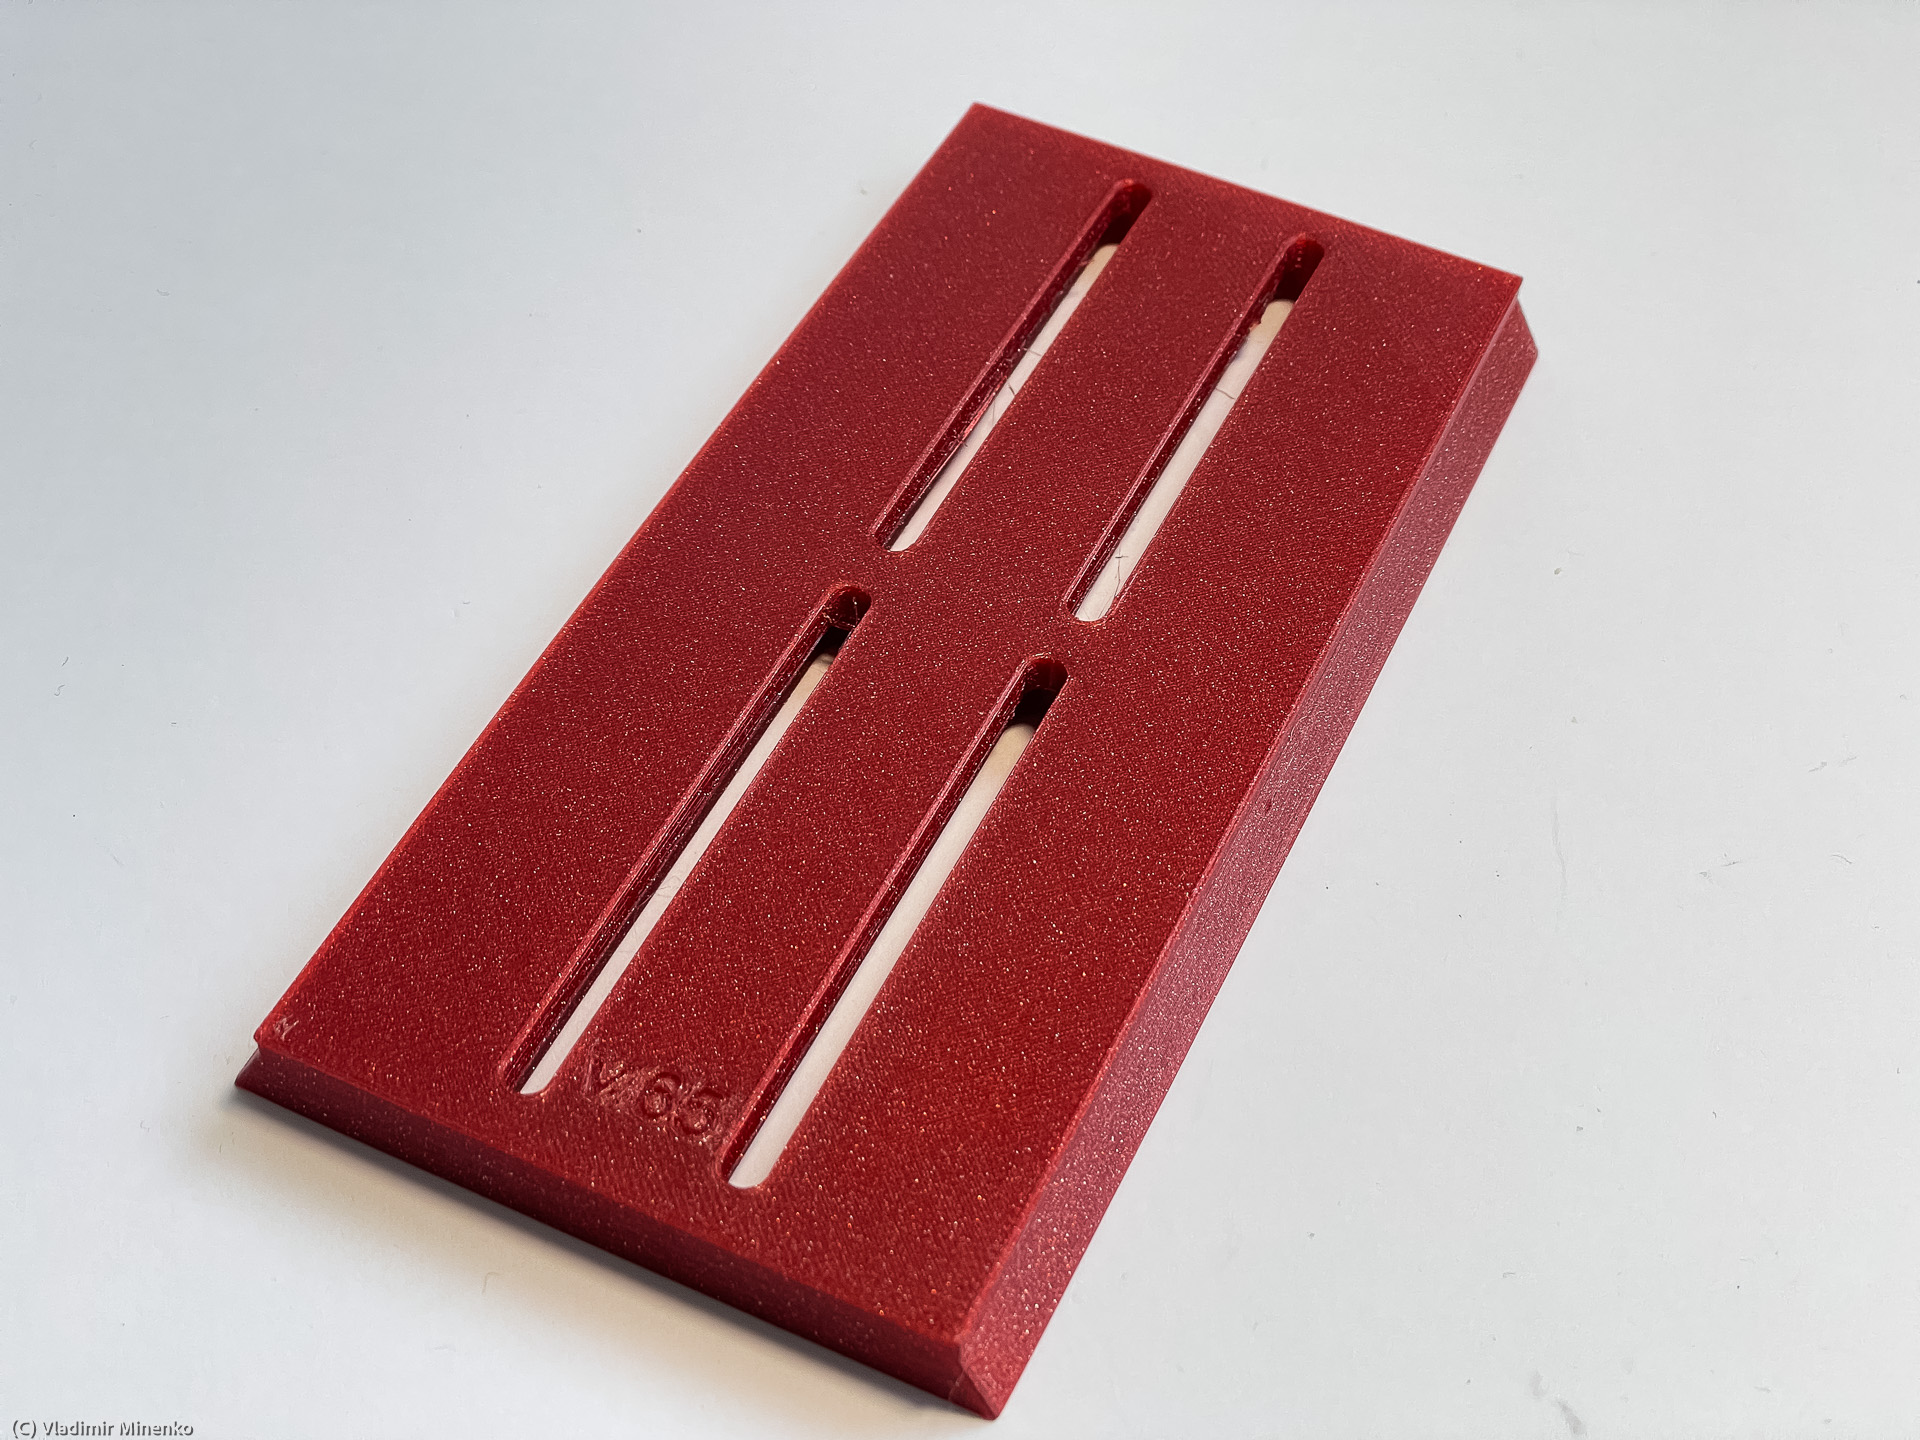
Starting with version 98, the bottom plates are shipped with wide mounting slots.

These slots have been introduced to start using washers for mounting the rings on the bottom plates. Washers help to avoid squeezing of the rings when tightening the mounting screws. Be aware that the mounting screws for the bottom plates are slightly longer than the ones provided for mounting the side rails.
Assembling the Kit
By default, the kits are not assembled when shipped. Assembling takes 40 min in the first time and then 12-20 min if you need to change the lens or tune some positions.
You start with four rings. There are two pairs of rings. Top ones are marked and have two holes on the top edge.
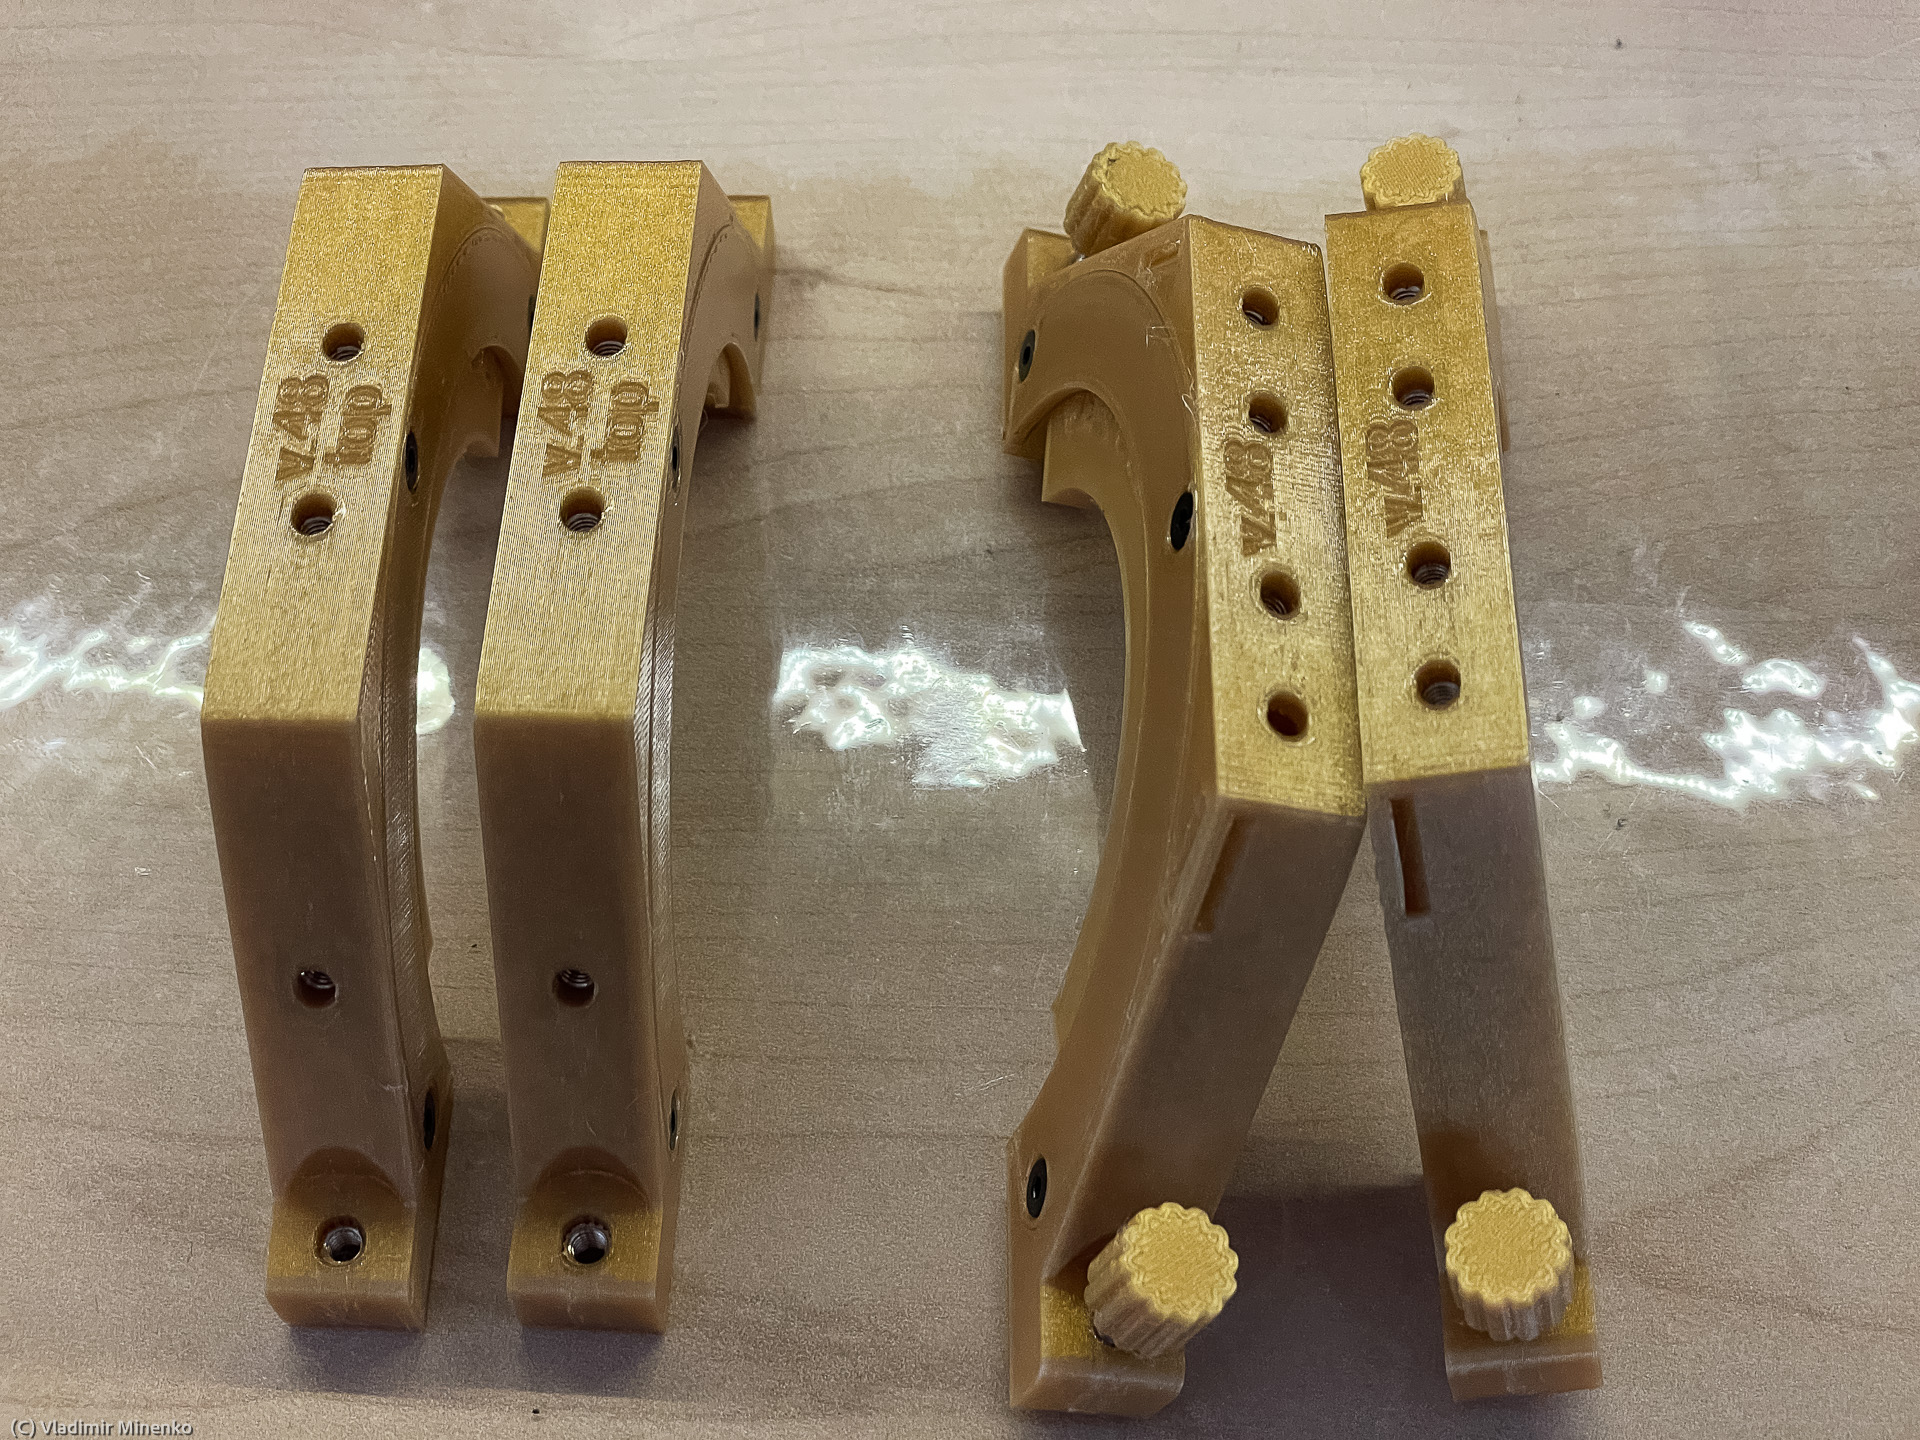
You should sort the insert so that top and bottom ring halves have different inserts. Inserts are hold by C-formed covers. Use the small M3 flat head screws to fix all inserts in rings.

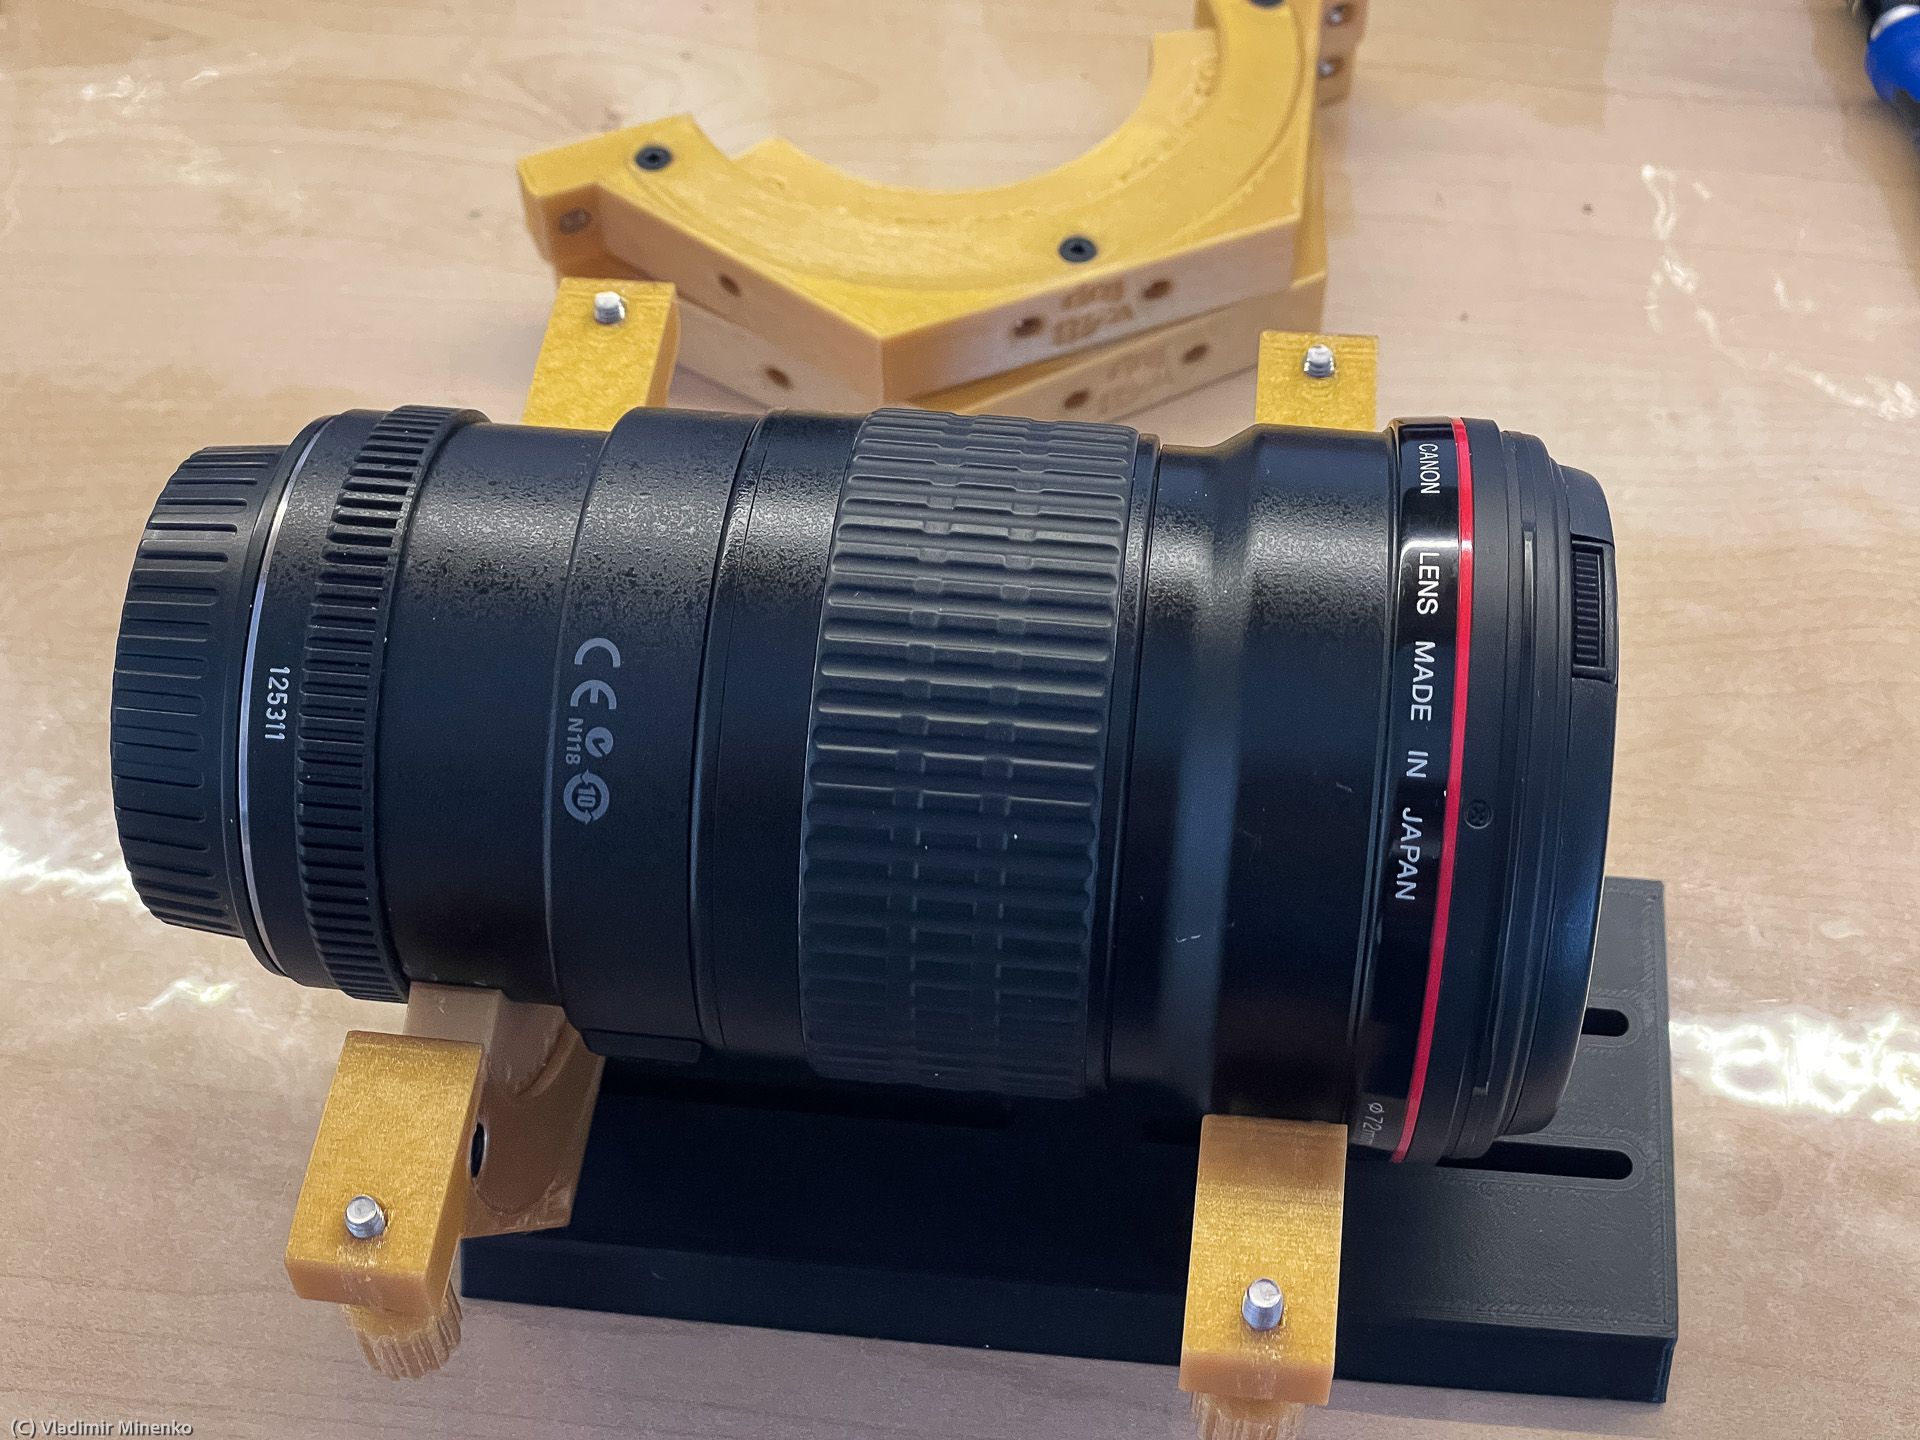
As the next step, you screw the bottom halves of the rings on the bottom plate. Do not completely tighten the screws since you will adjust the position as next. Put the lens on the inserts in the rings and control its positioning. The inserts should embrace the lens on places which they were made for. Consider moving the bottom plate all the way to the front so that the ring on the camera side would sit at the edge of the rail.
Make sure that you put the belt on the lens:
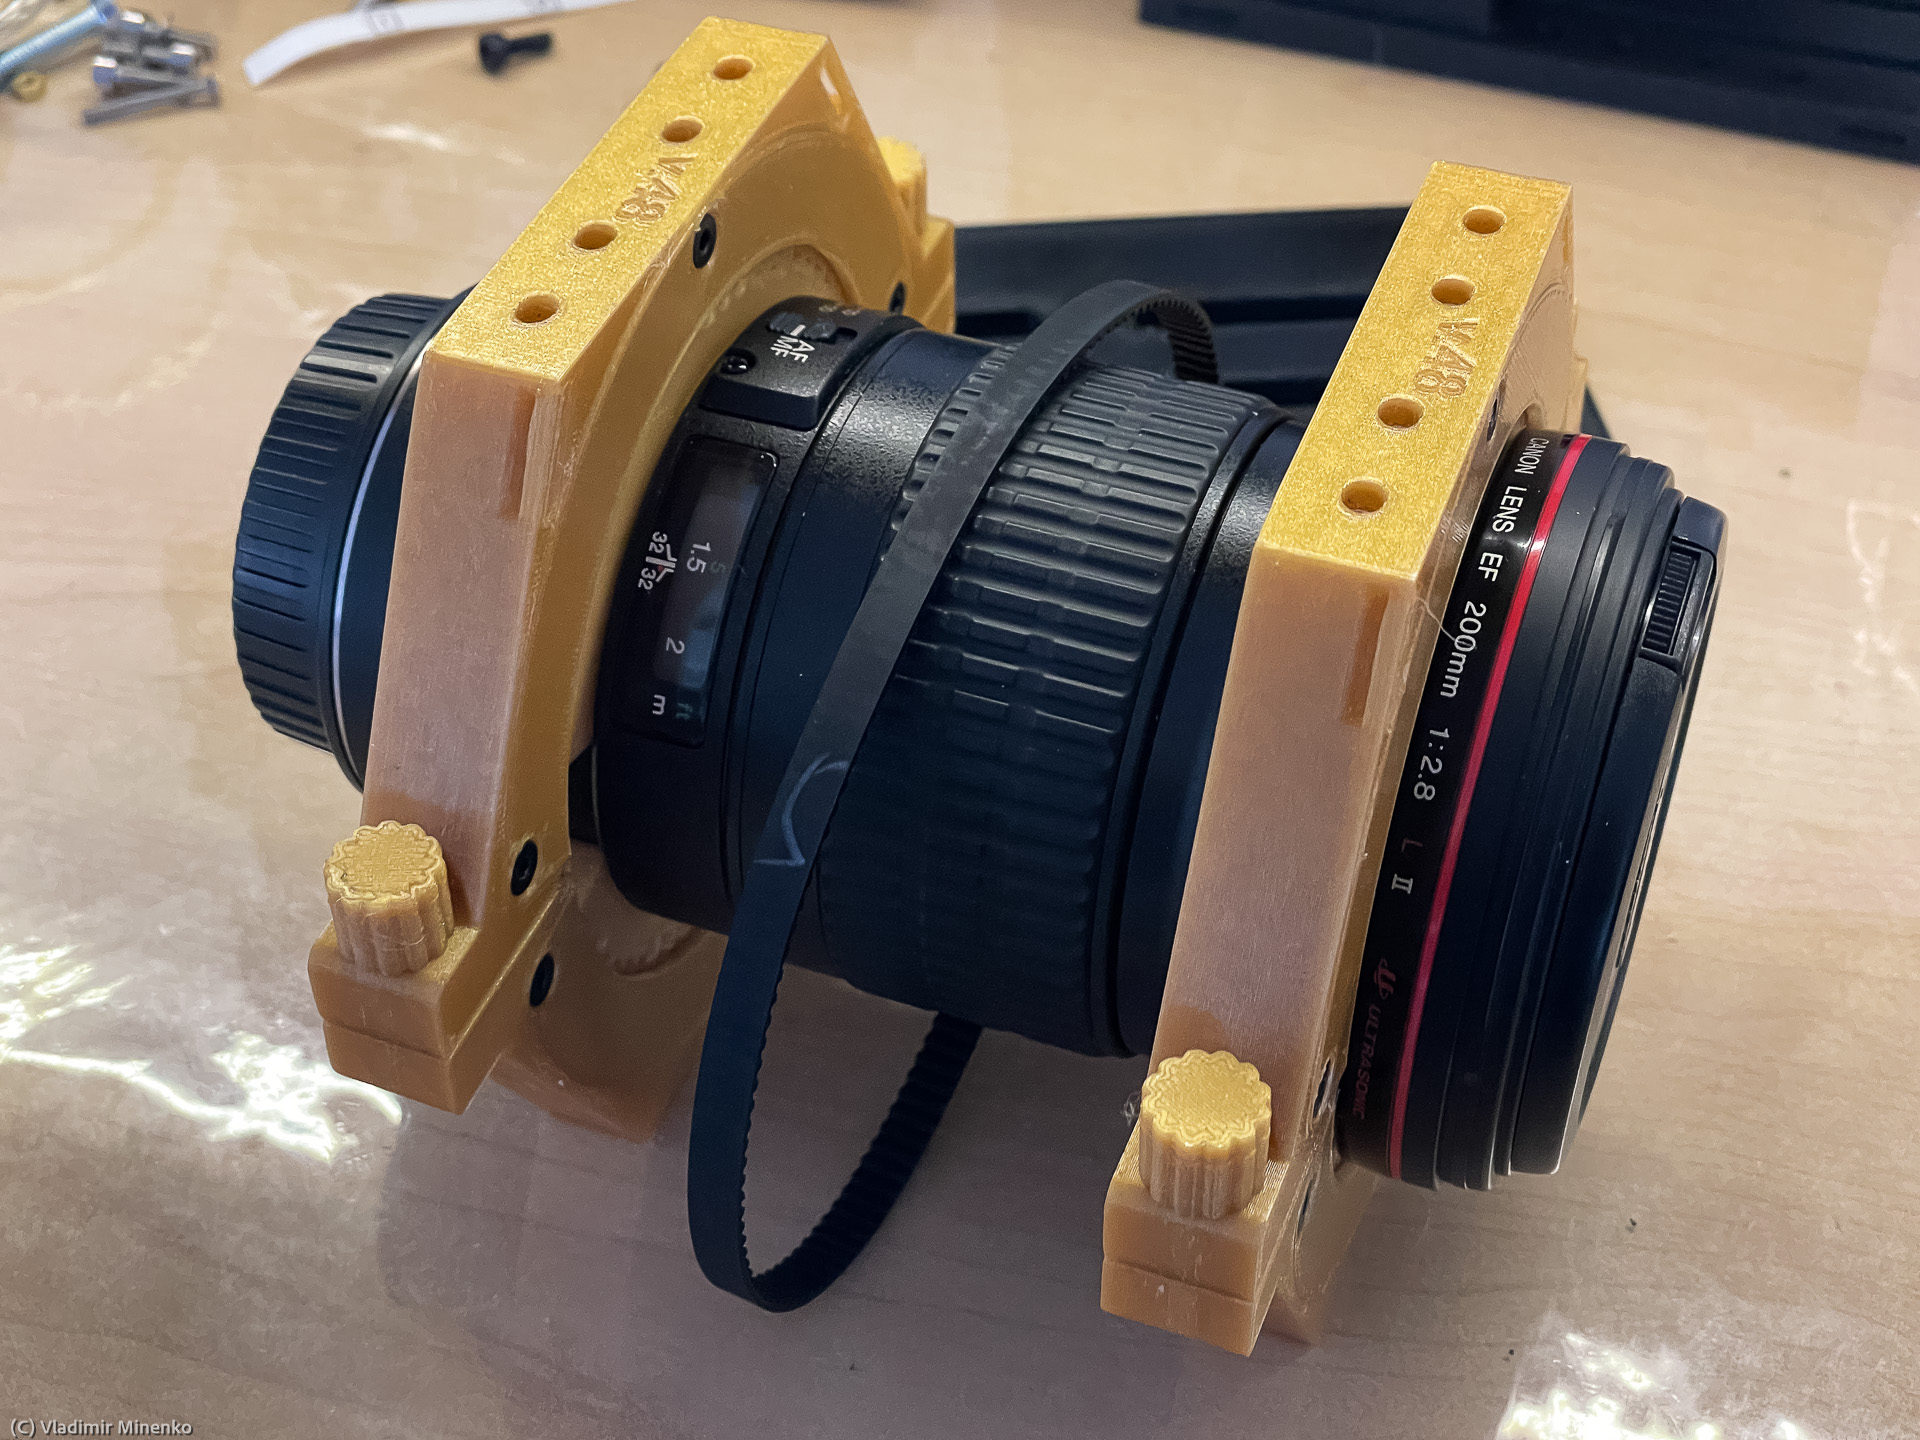
before you put the top ring halves and screw them together.
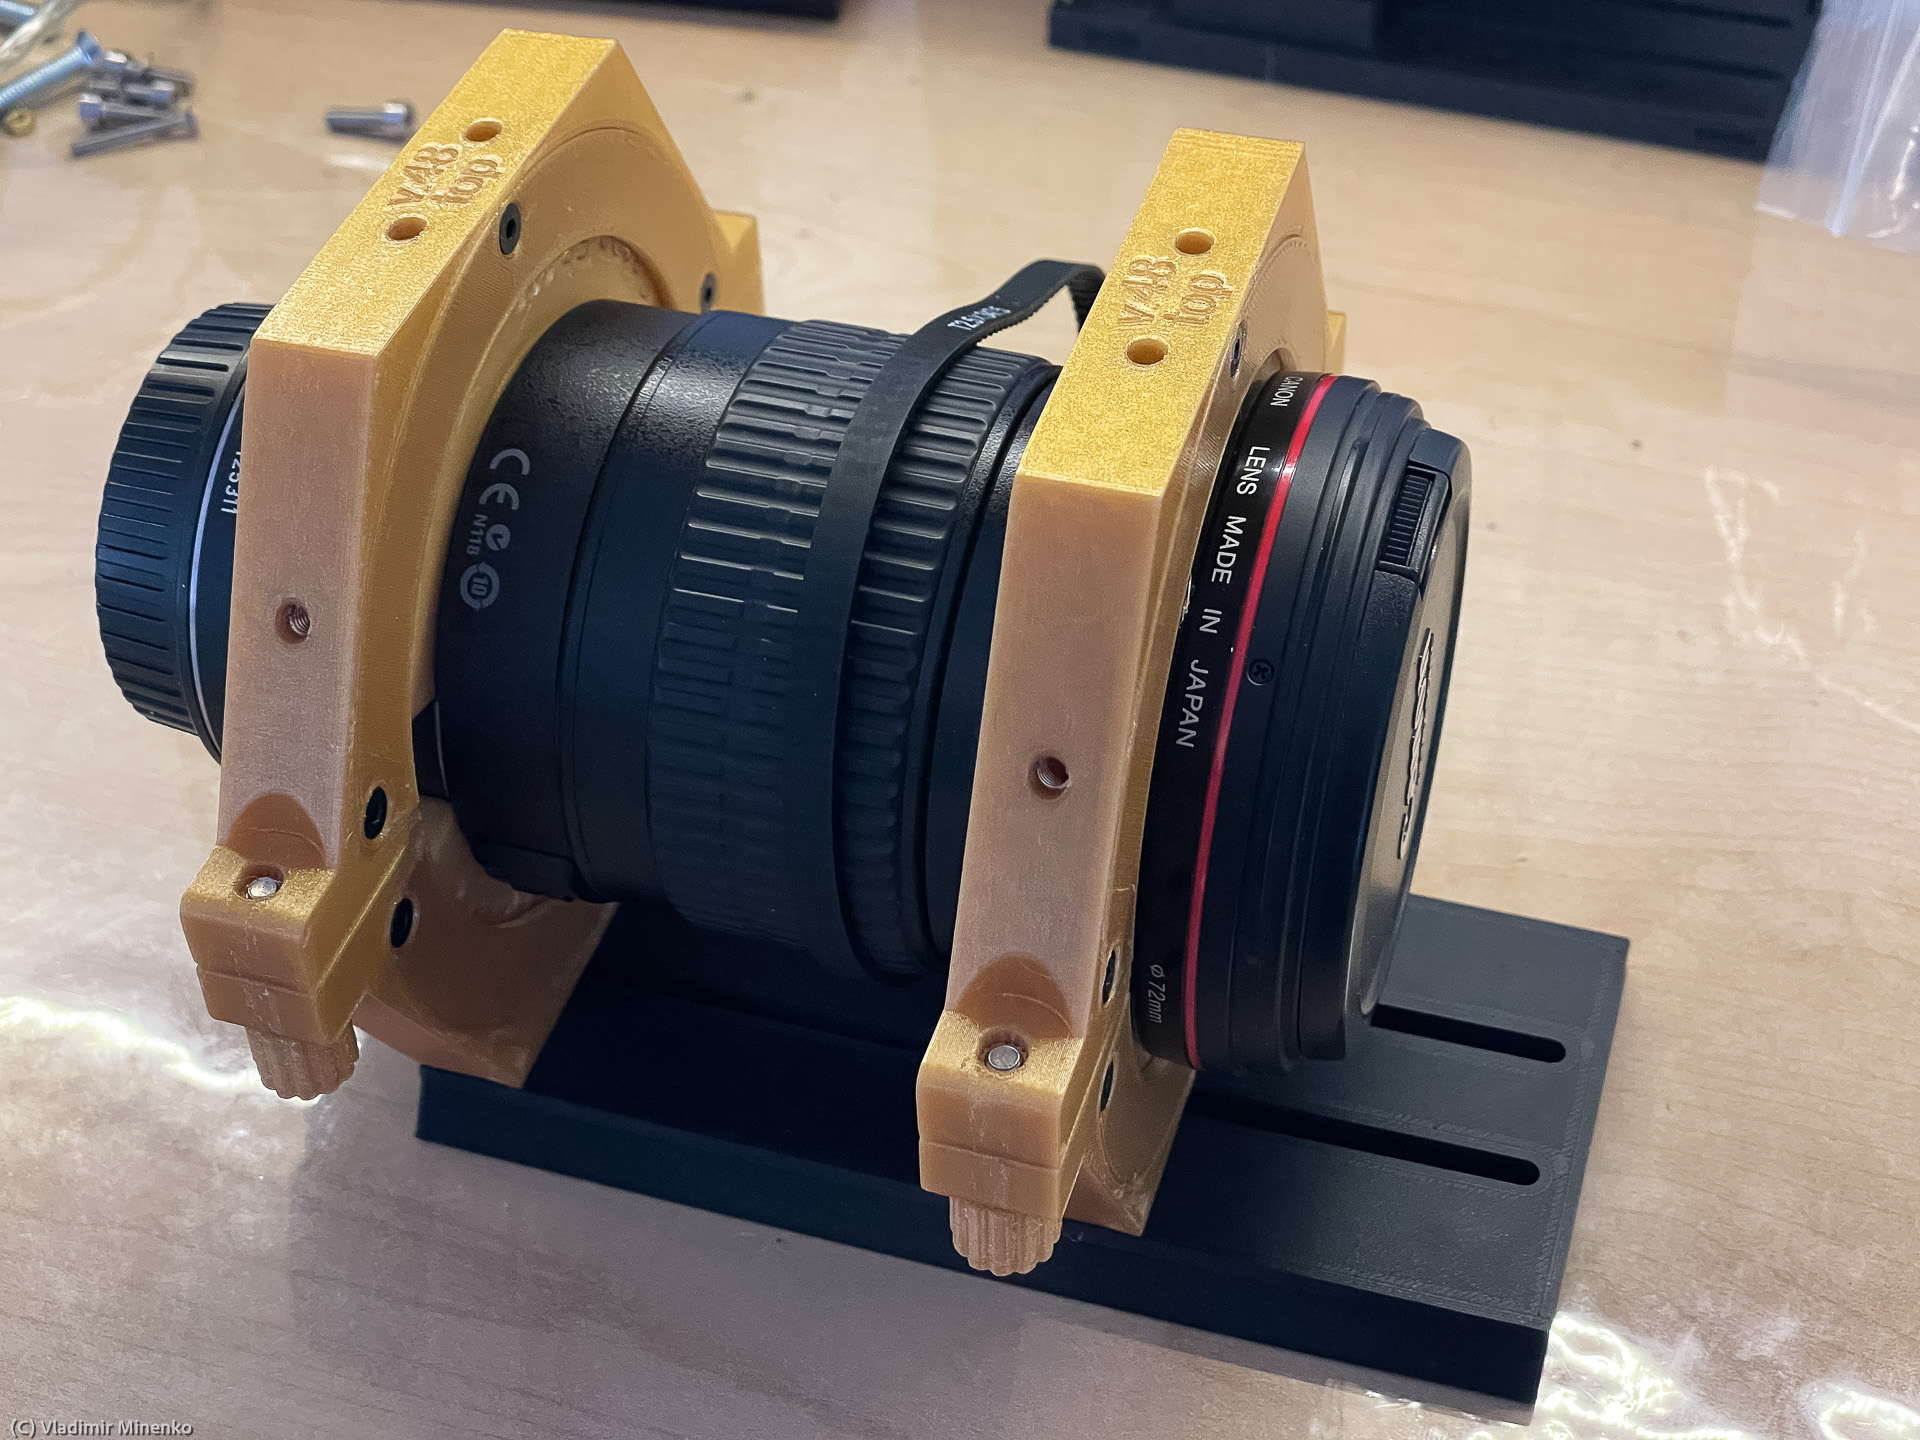
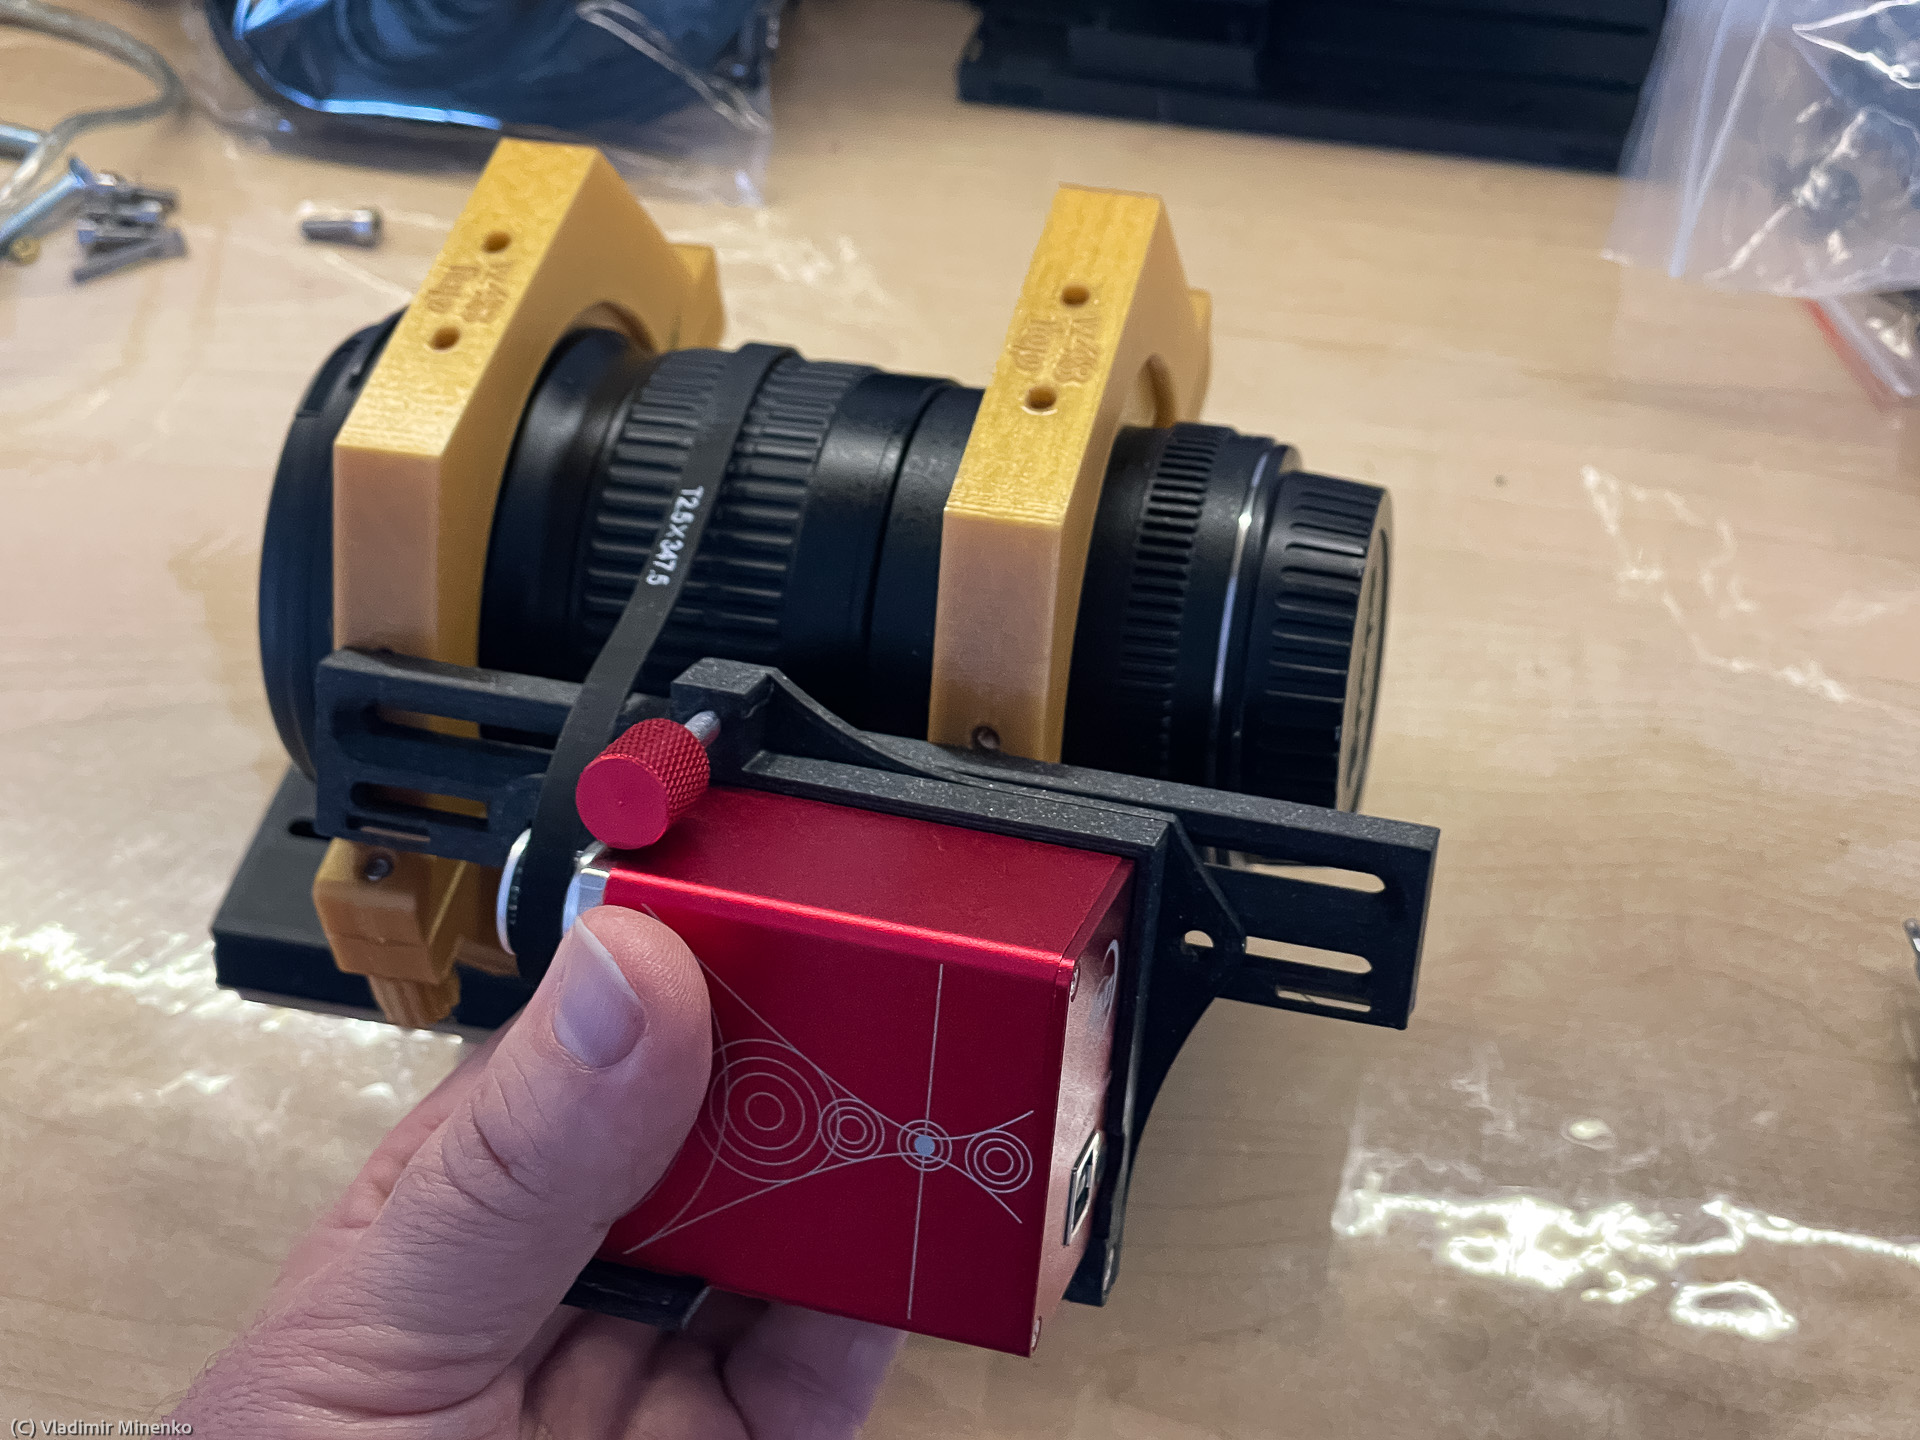
The next step is to position and mount the EAF. The EAF should be mounted in its frame beforehand. Use the screws which are supplied with EAF for this. The EAF frame sits on the narrow rail. The rail is asymmetrical: the slots for the EAF frame can be on the top or on the bottom side. This slightly changes the distance between the EAF drive axis and the optical axis of the lens, and so allow tuning of the belt length. The EAF can be paced with the axis facing to the camera or to the front of the lens. Which way is used depends on where the focusing ring is located on the lens. The below picture shows the Canon EF 200mm f/2.8 USM II lens. It has the focusing ring in the front and the EAF is placed with its axis facing the front of the lens.
The mounting screws of the rail can slide under the EAF frame. You will need to find out their right position yet. For this you better screw the rail and the EAF frame only on one side and keep the screws slightly loosen so that you can adjust the position of the EAF frame later.

Putting the nuts into the slots on the back side of rail might be a bit tricky when you do this first time 😉

Do not tighten the screws on the rail and on the EAF frame yet. You will need to adjust distances later.

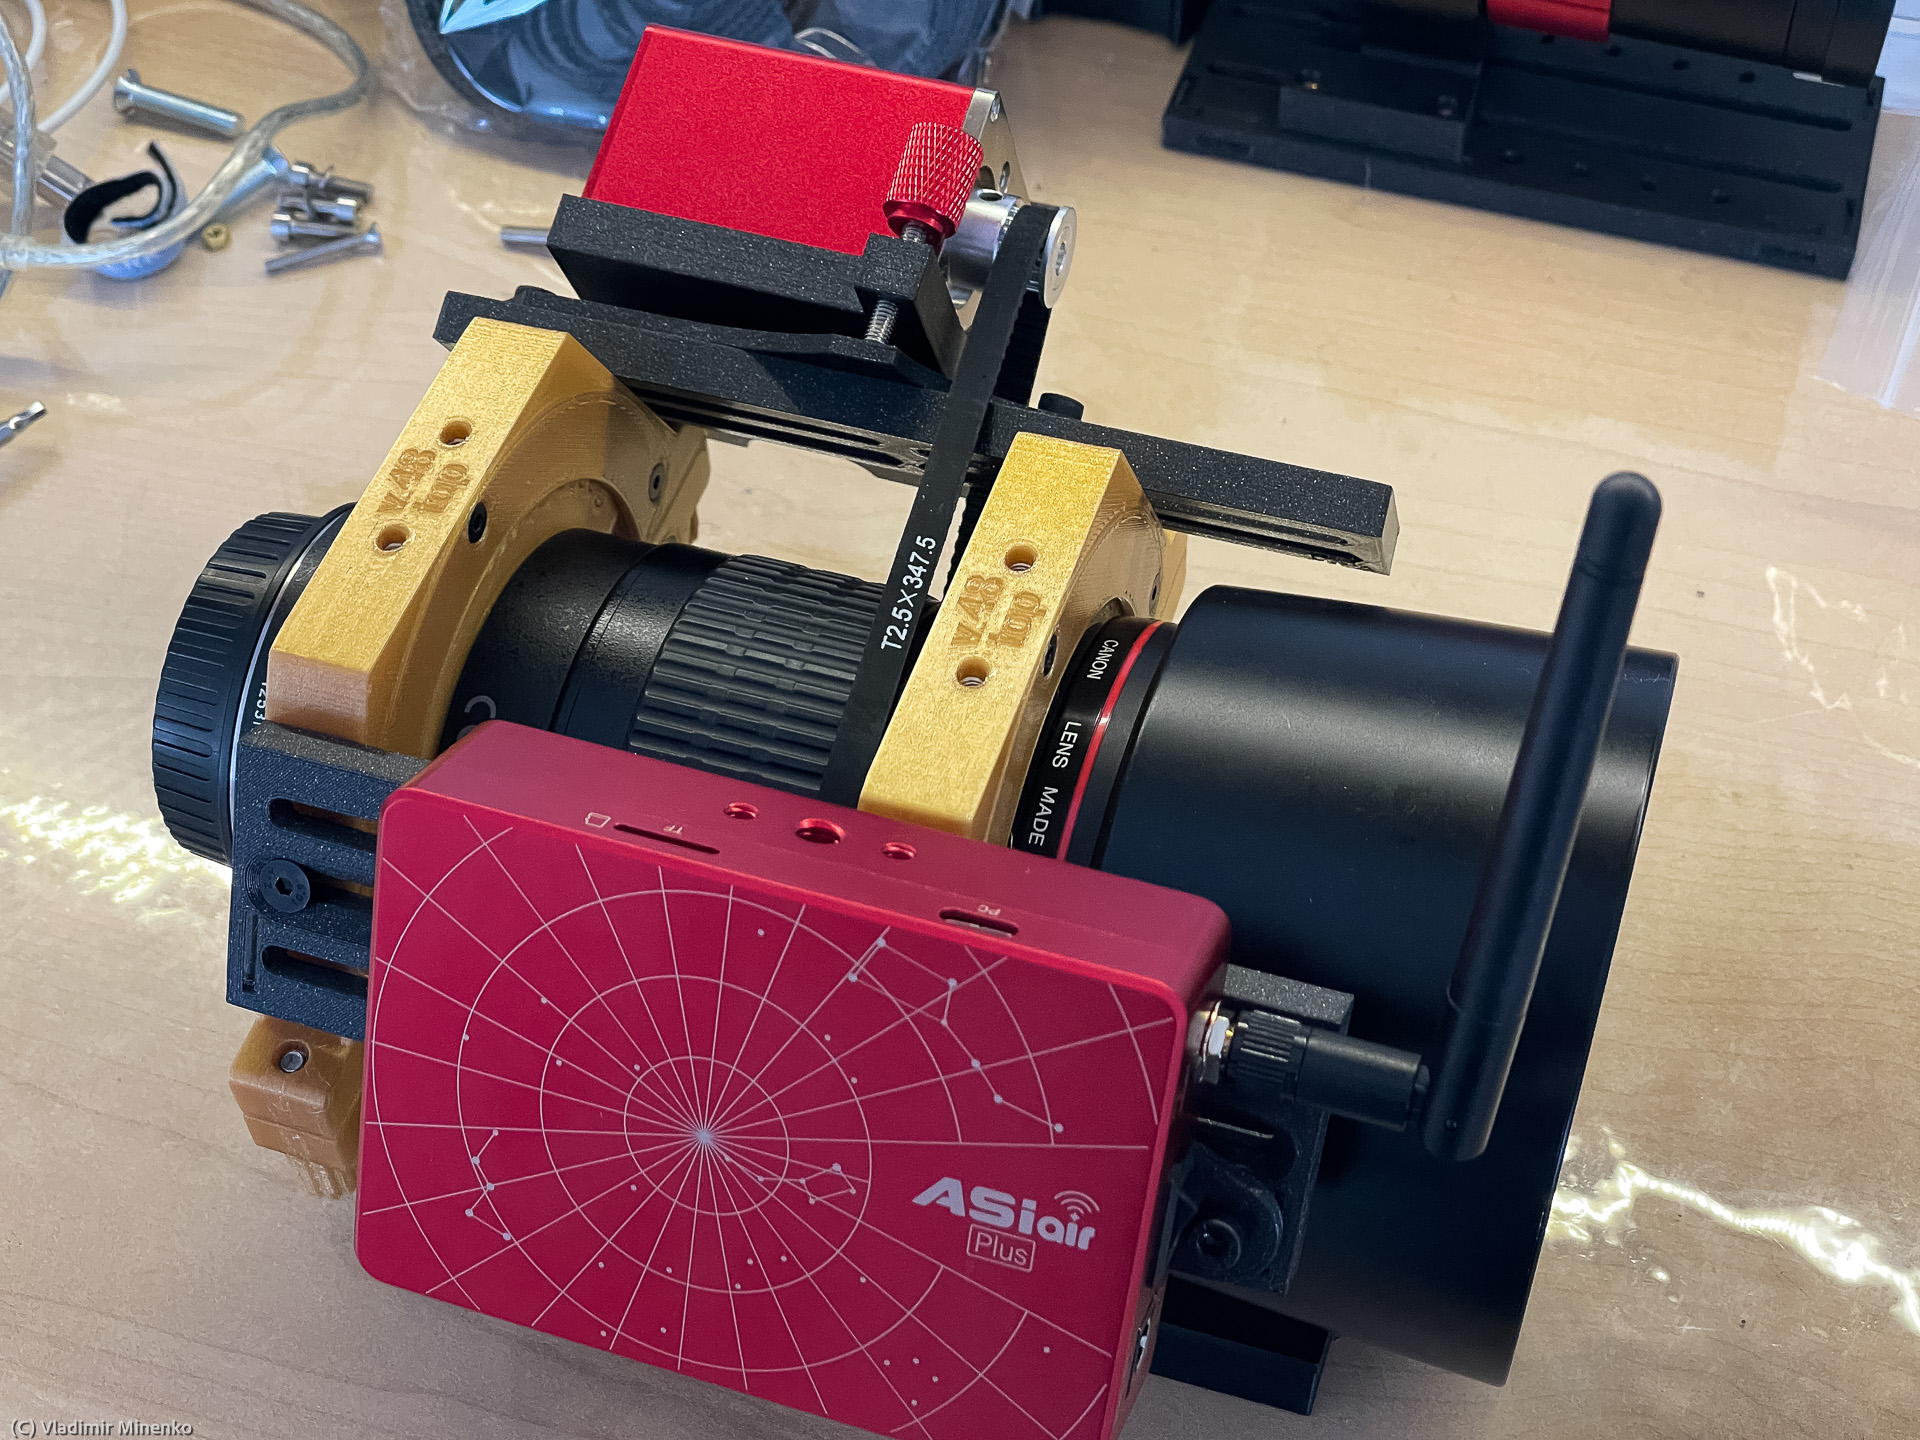
Lets switch to the other side and mount the ASIAIR Pro / Plus. There is no difference in mounting if you have the Pro or the plus version. Screw the mounting plate to the bottom side of ASIAIR. Use the supplied short M4 flat head screws for this.
As first, try out the placing. Most probably you want to have side with plugs on ASIAIR facing the camera so that you can better pull all cables.

Like with EAF, first put the screws on one side so that you can move the rail and the ASIAIR on the frame back and forth to get to all screws to tighten them. Tighten them only a bit so that you can adjust the positions later.

Mount the other side of the rail and of the ASIAIR holder. Like in other cases leave the screws not completely tighten.
The next step is about mounting the top plate which holds the guiding scope. As mentioned above, new kits are supplied with a different mounting of the guiding scope. General mounting steps for the top plate are roughly the same though.
First, mount the clams on the top plate. The position of the clams should be selected the way that the guiding camera does come with its cable in the way of the main camera. In most cases, this would be much more to the front than shown on this picture:

Mount the plate on the rings with thumb head screws of with M4 flat head screws on the new edition of the plate.
Yeah! Now, all major steps are done:

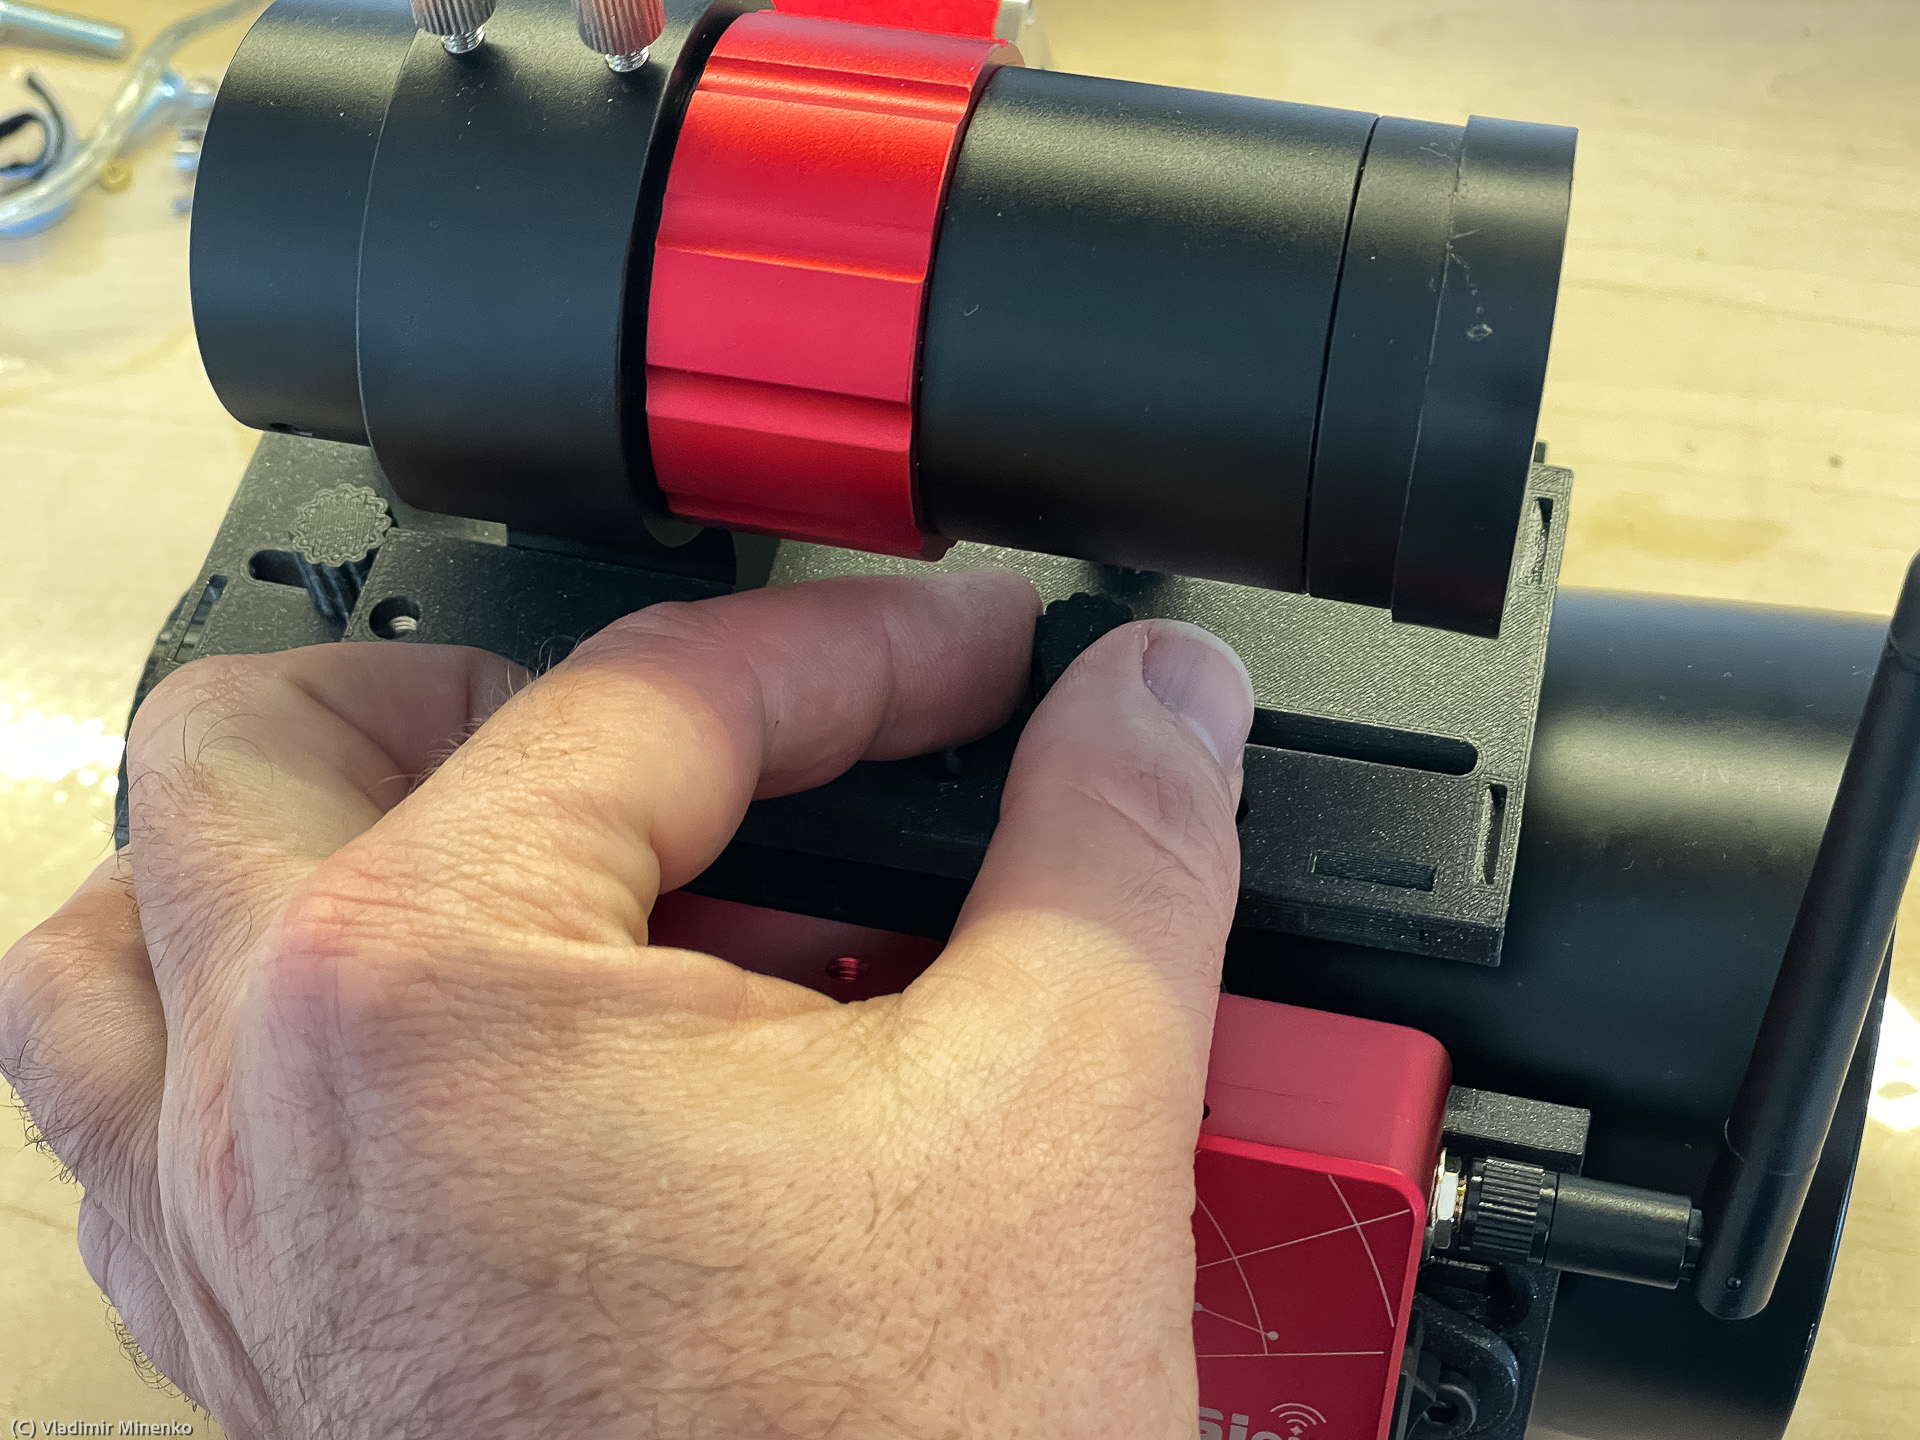
Now, it is time to review positioning of all parts and tighten all screws

Before you tighten the thumb screws on the rings, make sure that the lens is rotated as you want to use it:
The stripe of a hook-and-loop fastener and eyelets integrated in some parts are provided for cable management. You can arrange some cables already after assembling, but expect to re-arrange them after the first use. Later on you might decide to put some parts in other positions, like on the picture below, the EAF is now rotated to point to the camera side.

Usage Hints
Take out the tension from the belt when the kit is not in use. Do not make tension very strong when using either. High tension is not required to assure a good grip, but it can wear out the belt and some mechanics in the lens.
During the first use you might also decide to swap the sides where the EAF and ASIAIR sit. The kit is symmetric in this aspect. The EAF and ASIAIR can be placed on either of the sides.
If you order the kit for a larger lens, for examples for the Askar ACL200 or for the Canon EF 100-400mm f/4.5-5.6l IS USM II, your will get larger rings which can fit a lens of 105mm in diameter maximum. A kit with such rings can accommodate smaller lenses as well, but is less compact than with the rings for lenses with 83mm maximum diameter. Inserts should certainly fit the rings.
Inserts for other lenses can be purchased separately. STL files of all inserts will be published for a free download on this site, on Printables and on Thingverse.
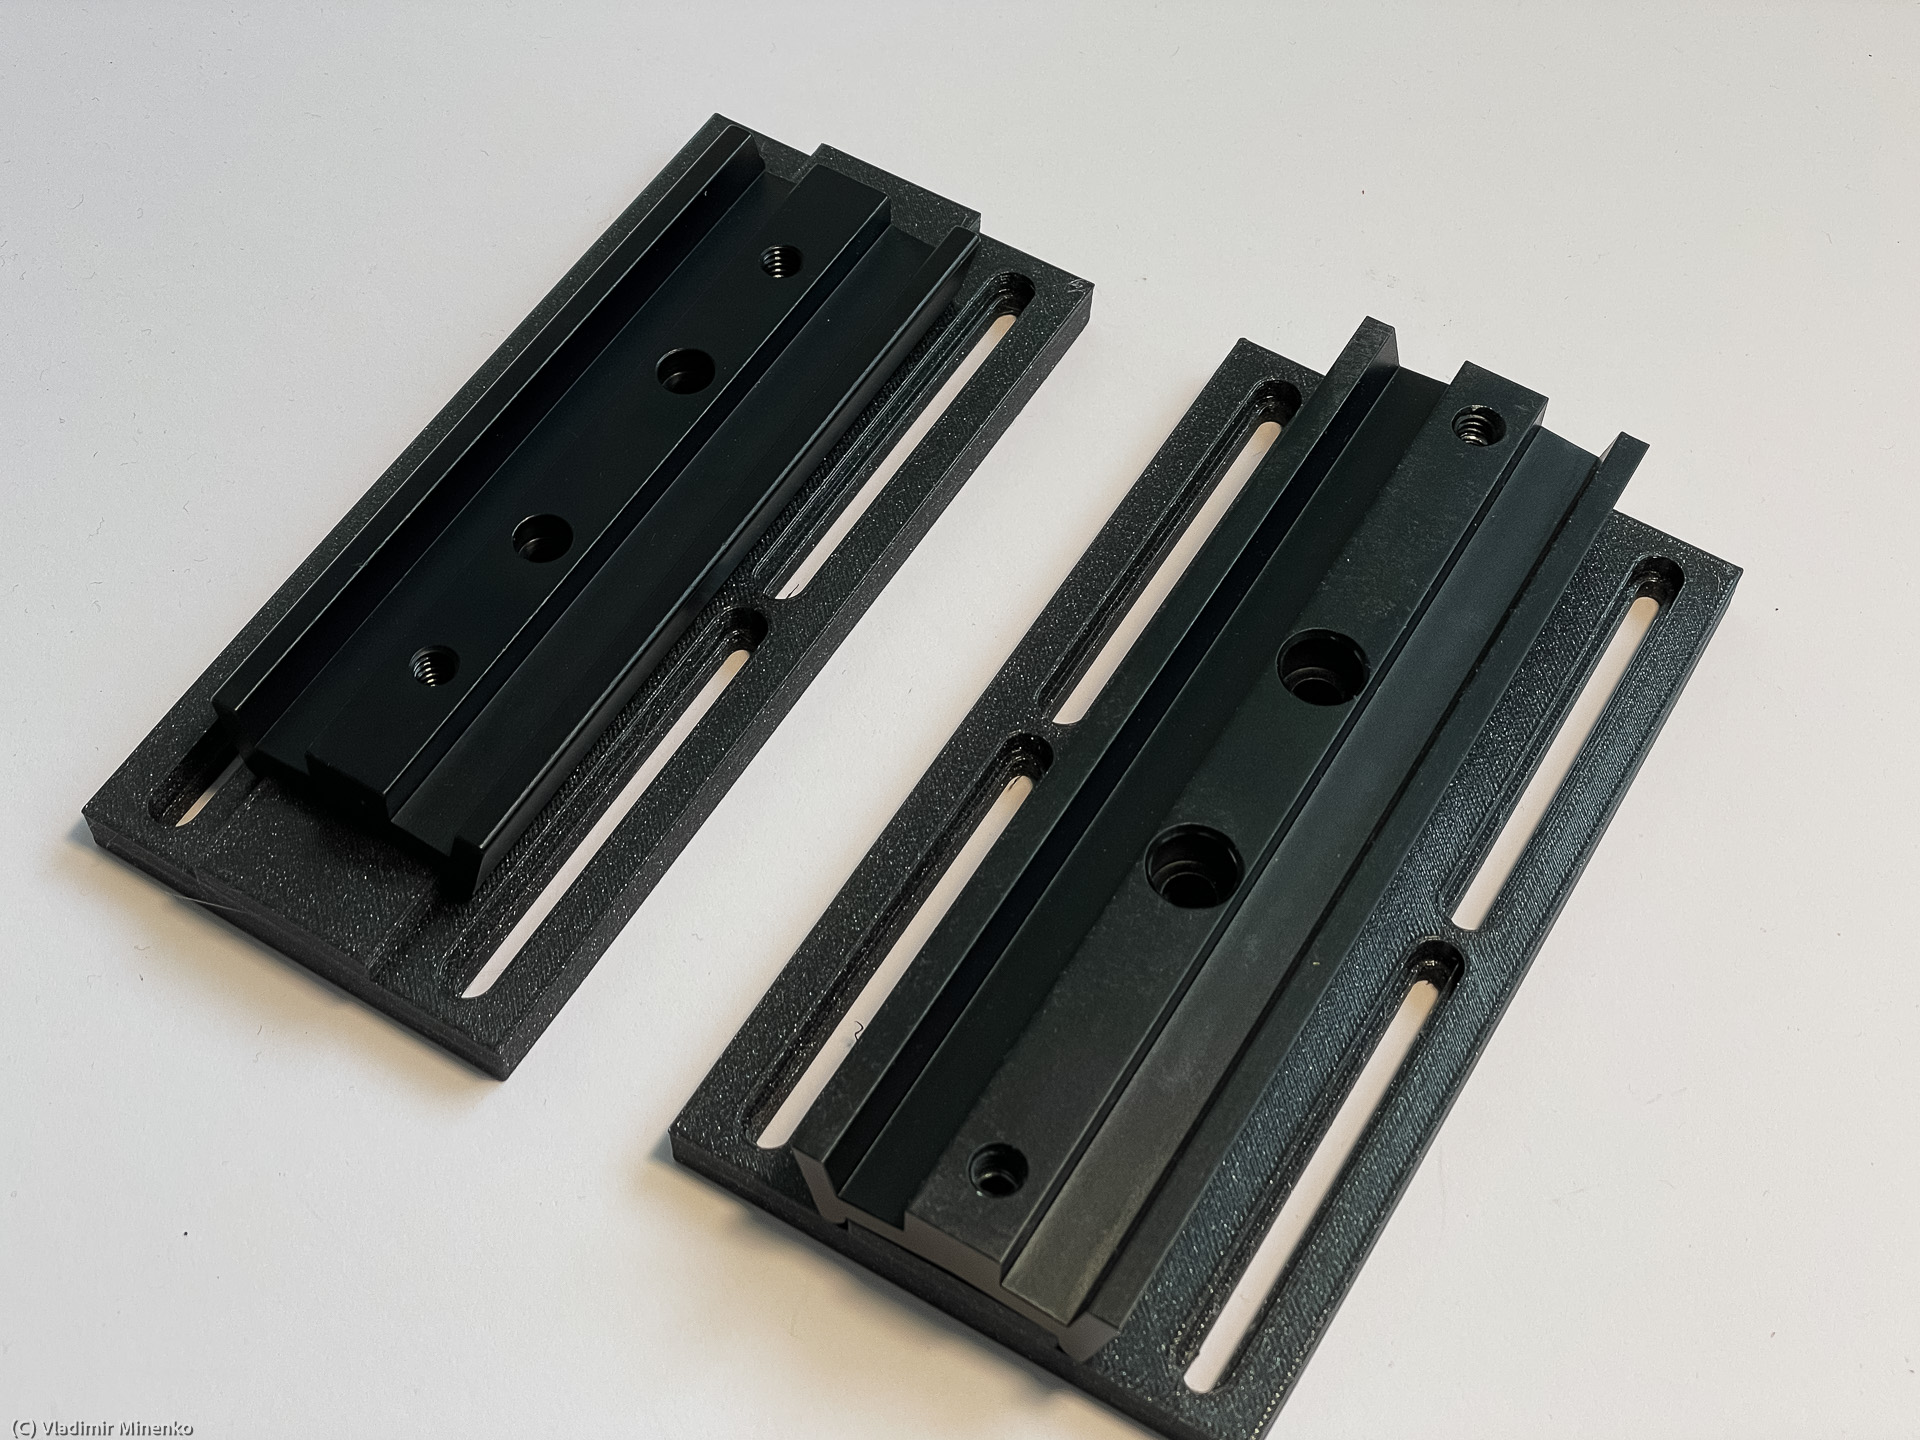
Selecting the Bottom Rail Which Fits Your Needs
Three different types of the bottom plate are provided. You have to select one when purchasing. You can also order another one later on. All bottom plates are interchangeable.
The “Universal Bottom Plate” is made to be used with different dovetail plates of various shapes made of metal. Such a plate is a choice for who want to keep using an existing plate.
The above picture shows the Universal Bottom Plate with widely available Vixen-shaped dovetail plates. They are available in various sizes. The shorter ones have M5 mounting holes and longer ones have M6 mounting holes and slightly wider sitting rims on the bottom side. The Universal Bottom Plate is available for both. But default, it provided for the longer one

The Universal Bottom Plate has an M6-wide slot in the middle which can be used to mount any other plate as well.

Another version of the Universal Bottom Plate is the RedCat Buttom Plate. This version has two additional mounting holes fitting the dovetail plates provided with the RedCat51 and RedCat 71 telescopes.
If your mount has Vixen-shaped dovetail clamps, you can order a “Vixen-shaped Bottom Plate”. With this, you would mount the kit directly to your mount without any additional plate in between.

The “Losmandy-shaped Bottom Plate” can be used the same way with Losmandy-shaped clamps on the mount:
Using another lens or OTA
The kit has been designed to support multiple lens and OTA. The below table provides an overview of the differences
| Lens or OTA | Large rings required | Pulley / Belt Profile |
With small rings (pulley – teeth, belt – mm) |
With large rings (pulley – teeth, belt – mm) |
| Samyang 135mm f/2.0 | no | GT2 | 12, 344 | 16, 366 |
| Canon EF 200mm f/2.8L II USM | no | T2.5 | 12, 344 | 16, 366 |
| Canon EF 70-200 f/4L IS USM | no | T2.5 | 16, 334 | to be confirmed |
| Canon EF 70-200 f/4L IS II USM | no | T2.5 | 16, 355 | to be confirmed |
| Canon EF 70-200mm f/2.8L IS USM | yes | T2.5 | n/a | 40, 400 |
| Canon EF 70-200mm f/2.8L IS USM – version II or III | yes | GT2 | n/a | 20, 386 |
| Canon EF 100-400mm f/4.5-5.6L IS II USM | yes | T2.5 | n/a | 12, 400 |
| RedCat 51 | no | GT2 | 16, 348 | to be confirmed |
| RedCat 51 v2 | no | T2.5 | 16, 347.5 | to be confirmed |
| RedCat 71 | yes | GT2 | n/a | 16, 410 |
| Askar ACL200 | yes | T2.5 | n/a | 16, 400 |
Pictures gallery
Have a look at all pictures of this mounting kit in a gallery.
Availability
The mounting set will be available in the Photastro shop and for a bit higher price on eBay. The shipping is free in Germany, other rates apply for the EU and other parts of the world. Shipping to some countries might not be possible though.
Comments
Got an opinion on this topic or found a mistake? Please add a comment.
0 Comments