Assembly and User Instructions for the Mounting Kit for ZWO ASIAIR and EAF Belt Drive for Sky-Watcher Esprit 100ED
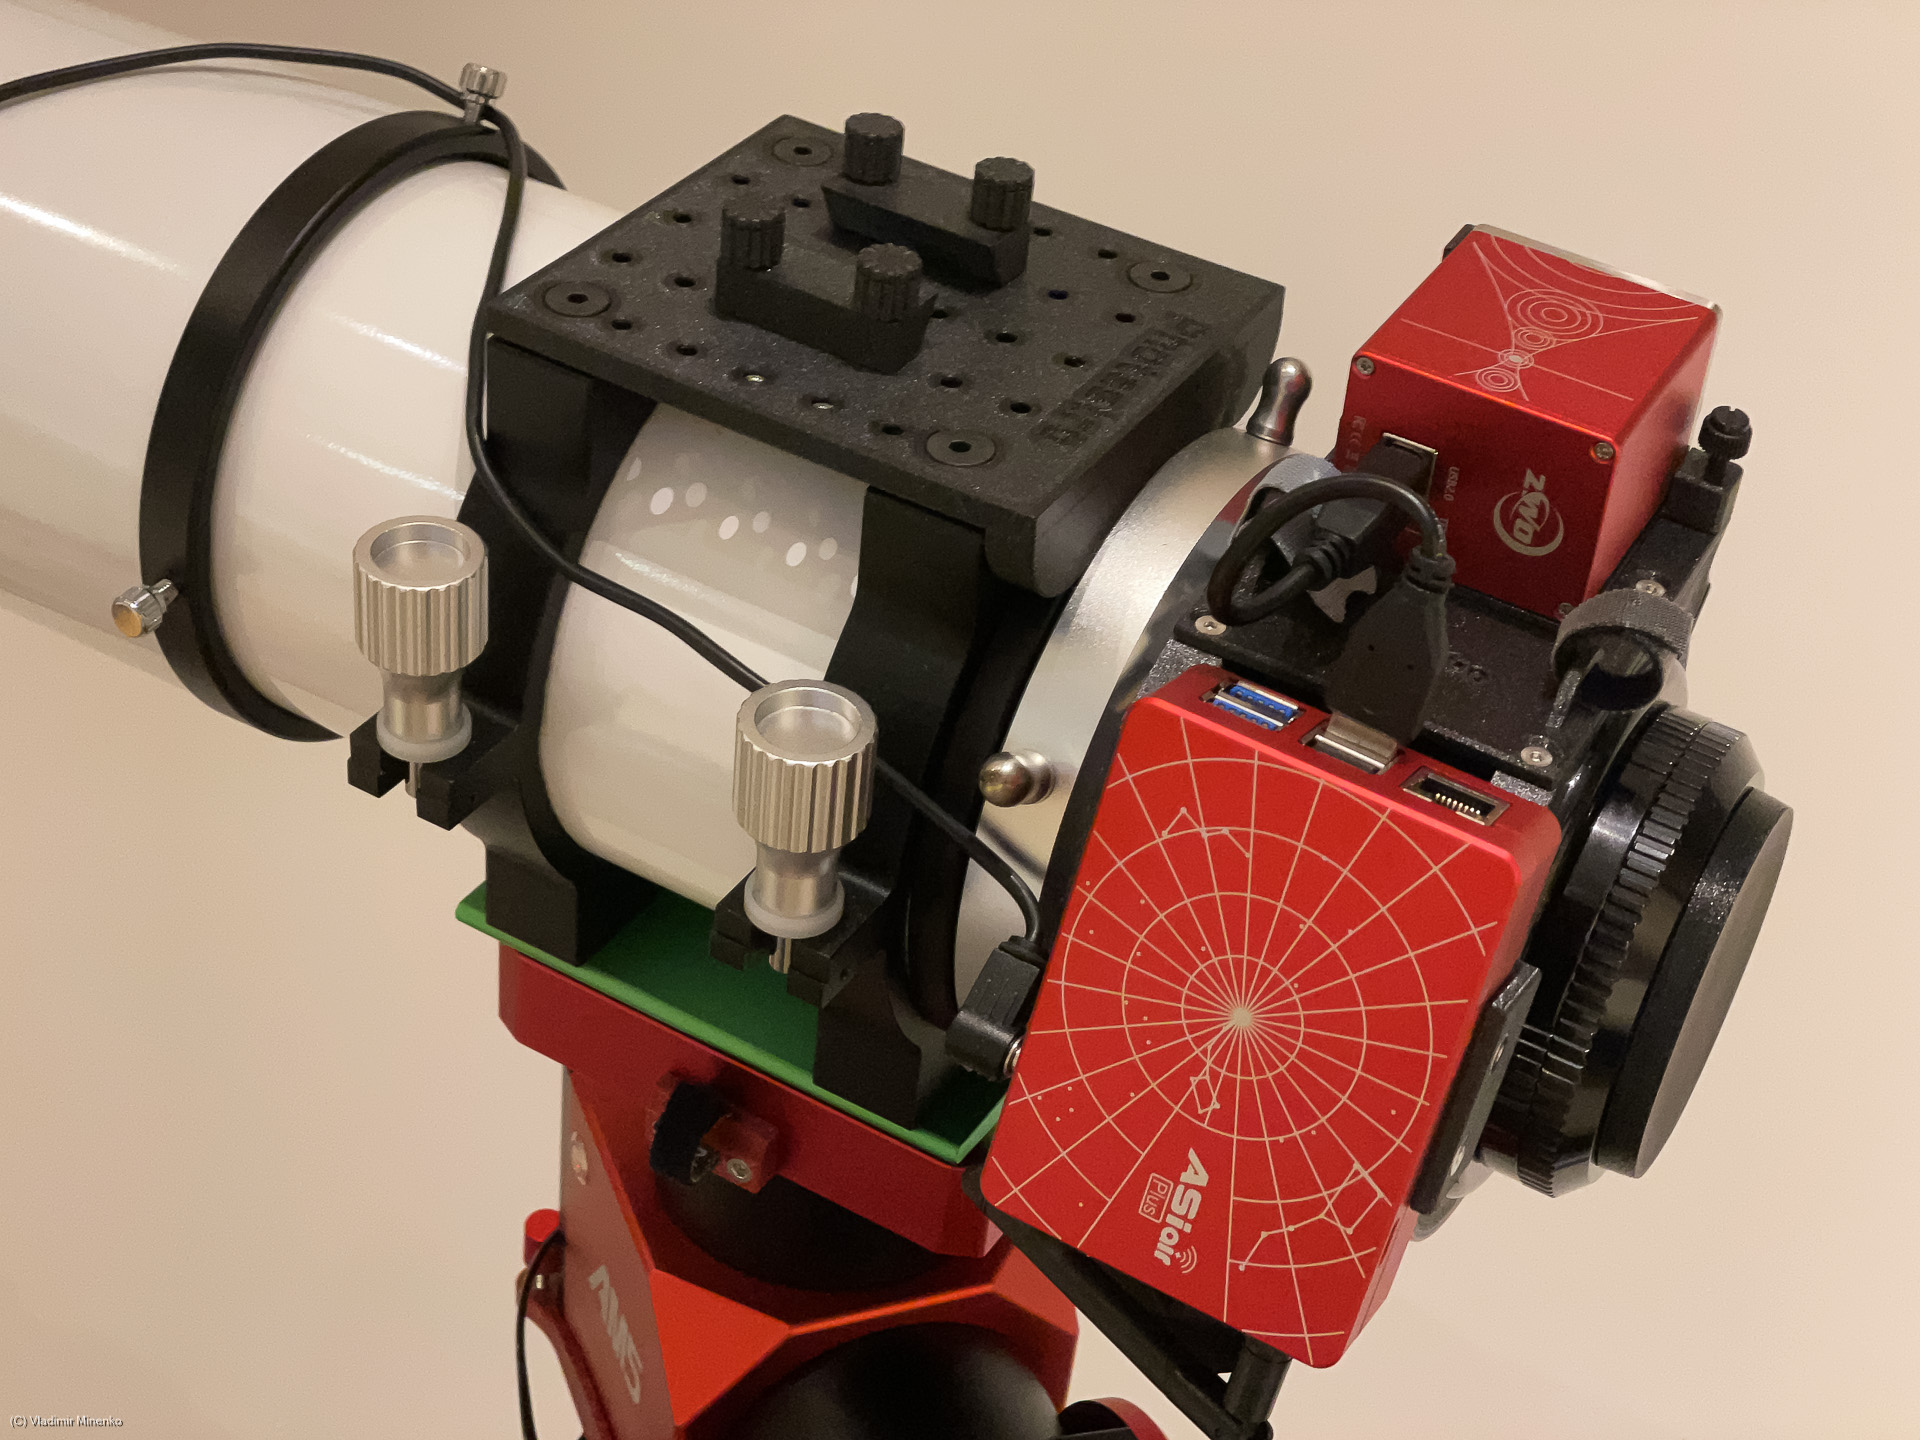
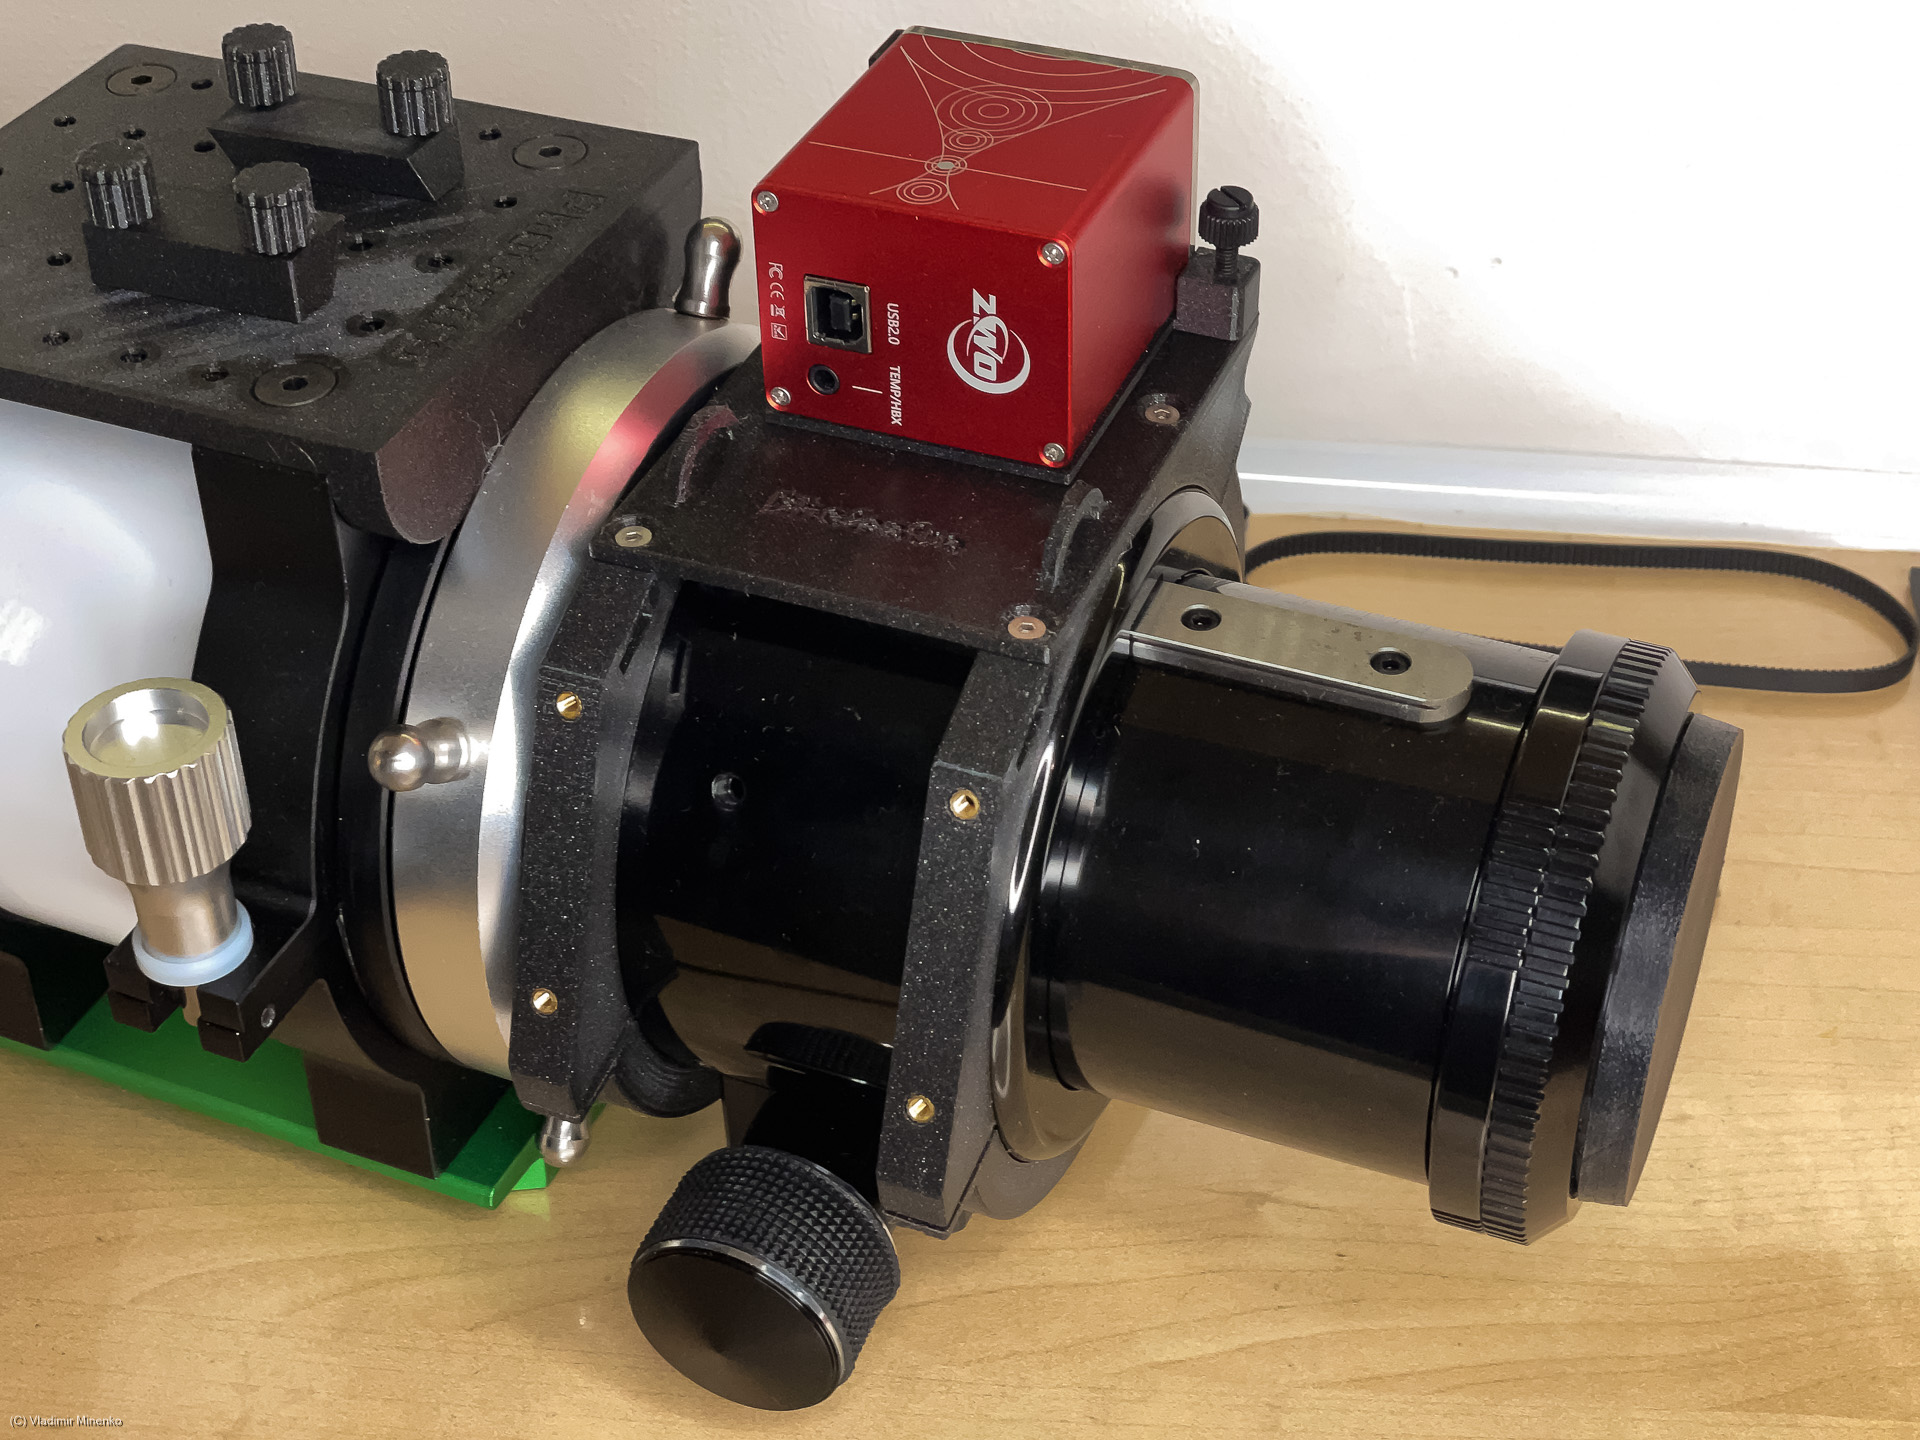
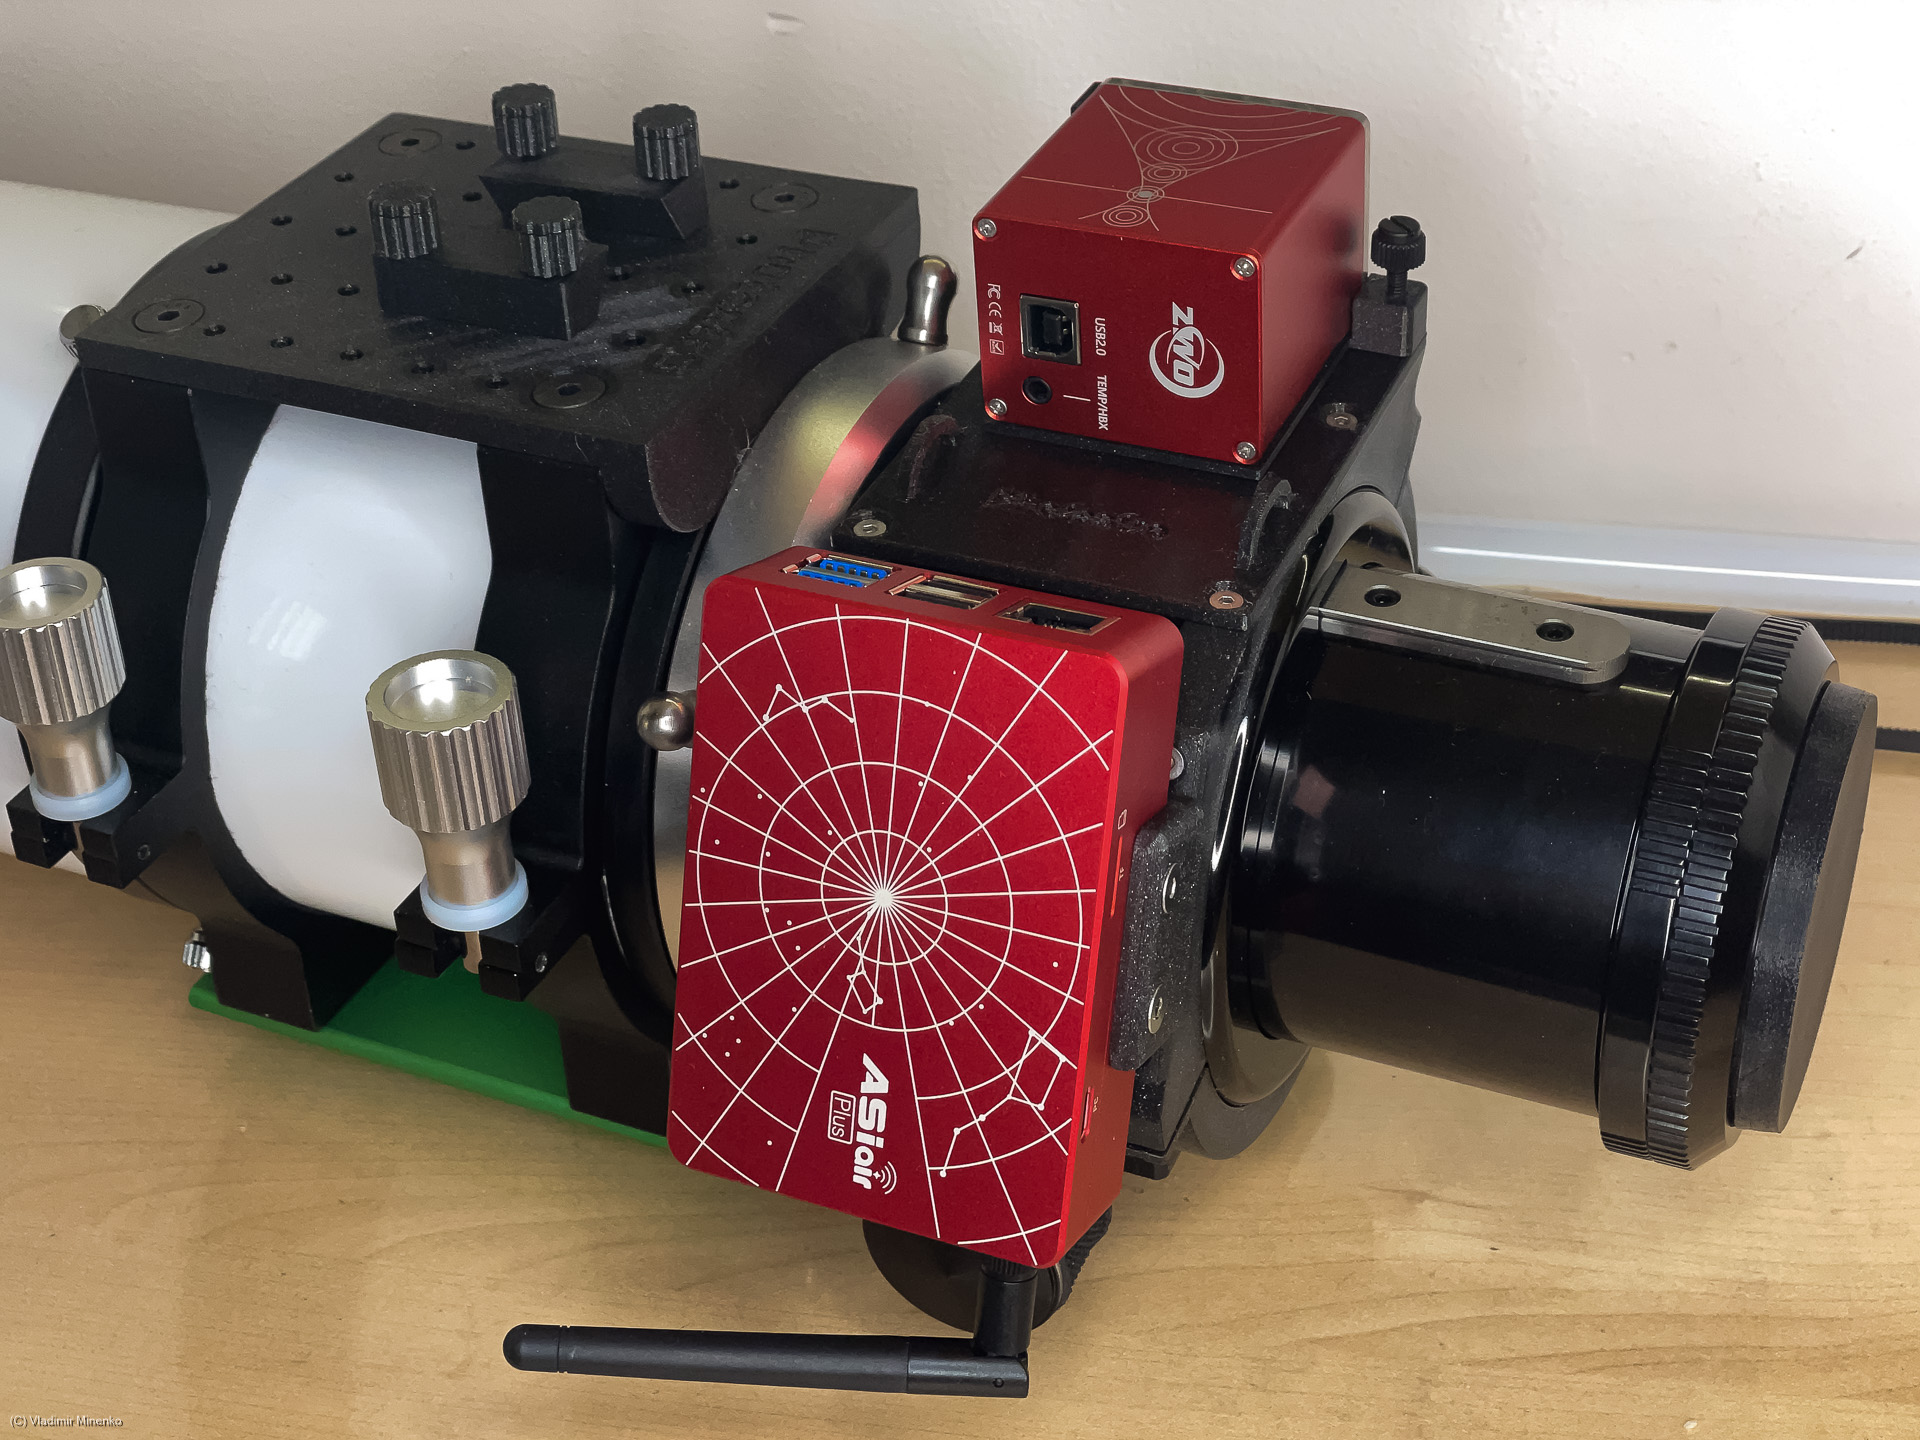
Learn the kit and how to use itThe kit allows flexible mounting of the ZWO ASIAIR (Pro / Plus / Mini), a belt drive with ZWO EAF and a raster plate for mounting of a guide scope or other accesories. The assembly of the kit takes around 15-20 min. The picture below shows the final state. This page explains how you get there and gives a few usage tips. The kit is available in the Photastro shop.
Get all parts of the kit and your Esprit 100ED on a desk with sufficient space. The kit includes a hex allen key for mounting of the top plate on the tube rings of the Esprit 100ED telescope. You still will need a few metric hex keys in sizes 2.0mm, 2.5mm and 3.0mm.

You star with mounting the clamps on the top plate. For mounting you will need to push the provided nuts into the hex holes in the plate. These holes are made to fit the nut so that you might need slight force to push them in. If this is too hard you can you one of the thumb screws as a tool. The position as shown on the picture below is a good start. It can be changed any time later.

Four black screws are used to mount the plate on the tube rings. The plate should be mounted so that rim on one sides grips into the space between the edge of the tube and the sliver ring at the end. This rim provides additional stability.

Your next step is preparing the ZWO EAF for mounting on the rings. Its mounting consists of a plate and a frame which can be moved with a hinge. The angle between the frame and plate can be adjusted by the tumb screw. This is used to control the tension of the belt. In most cases the frame and the plate are shipped in the mounted state.

Put the pulley on the EAF. Depending on the model of the pulley, you might need 1mm hex key. Make sure that one of the mounting screws of the pulley goes into the cut-off on the EAF axis. This makes sure that the pulley does not slide and grips well on the axis.
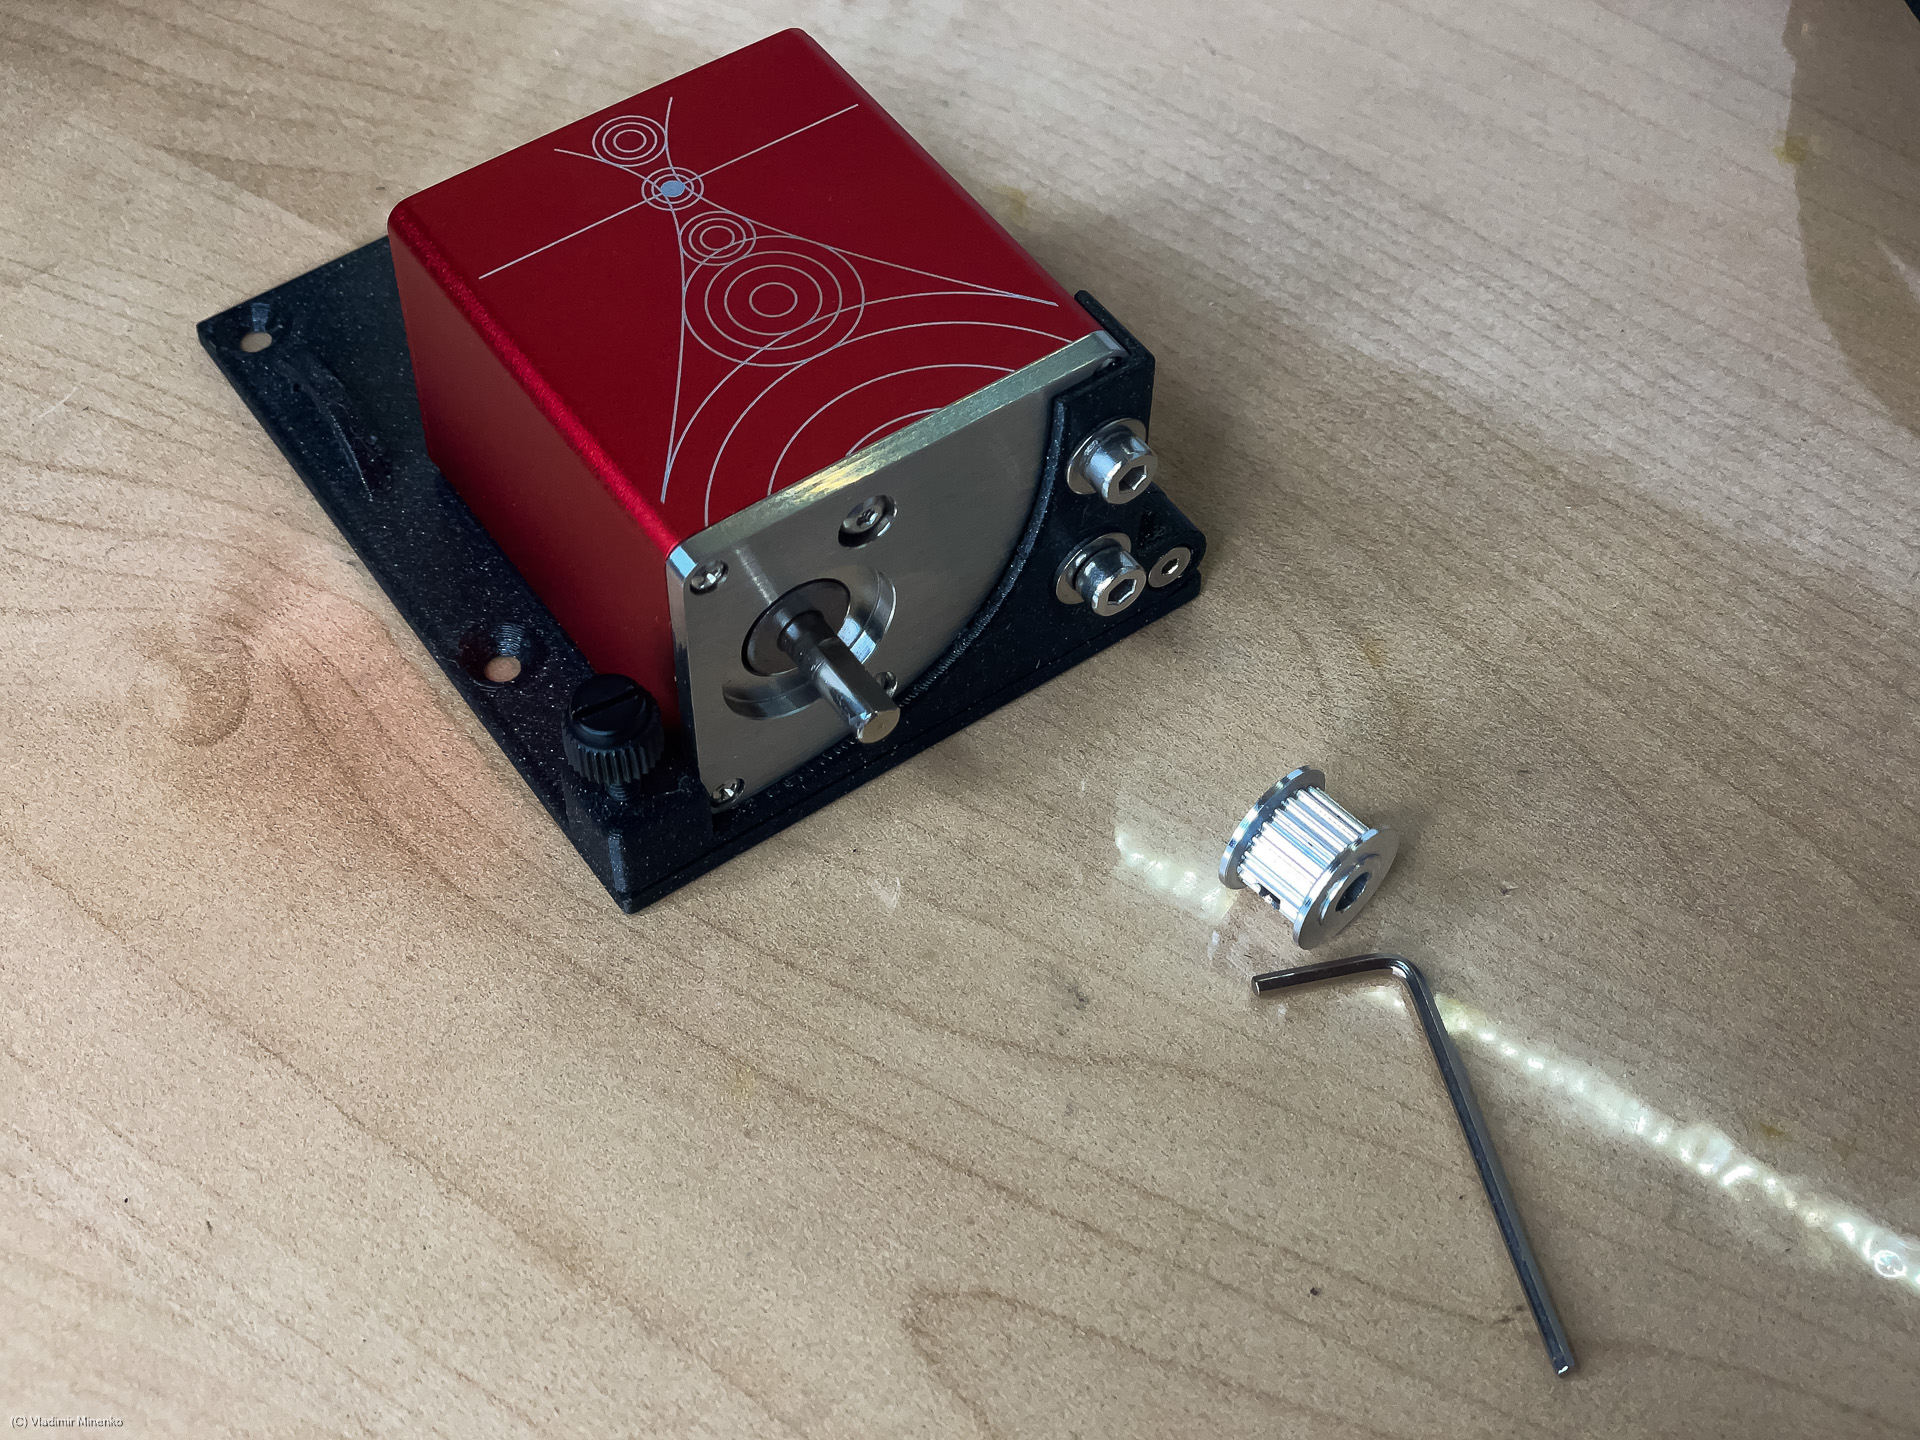
On the picture blow, the ZWO EAF is ready to be mounted on the plate.

Now, you switch to rings. The two pairs of mounting rings are identical. Their parts are hold by two M3 screws, which are also used to tighten the rings on the focuser tube.
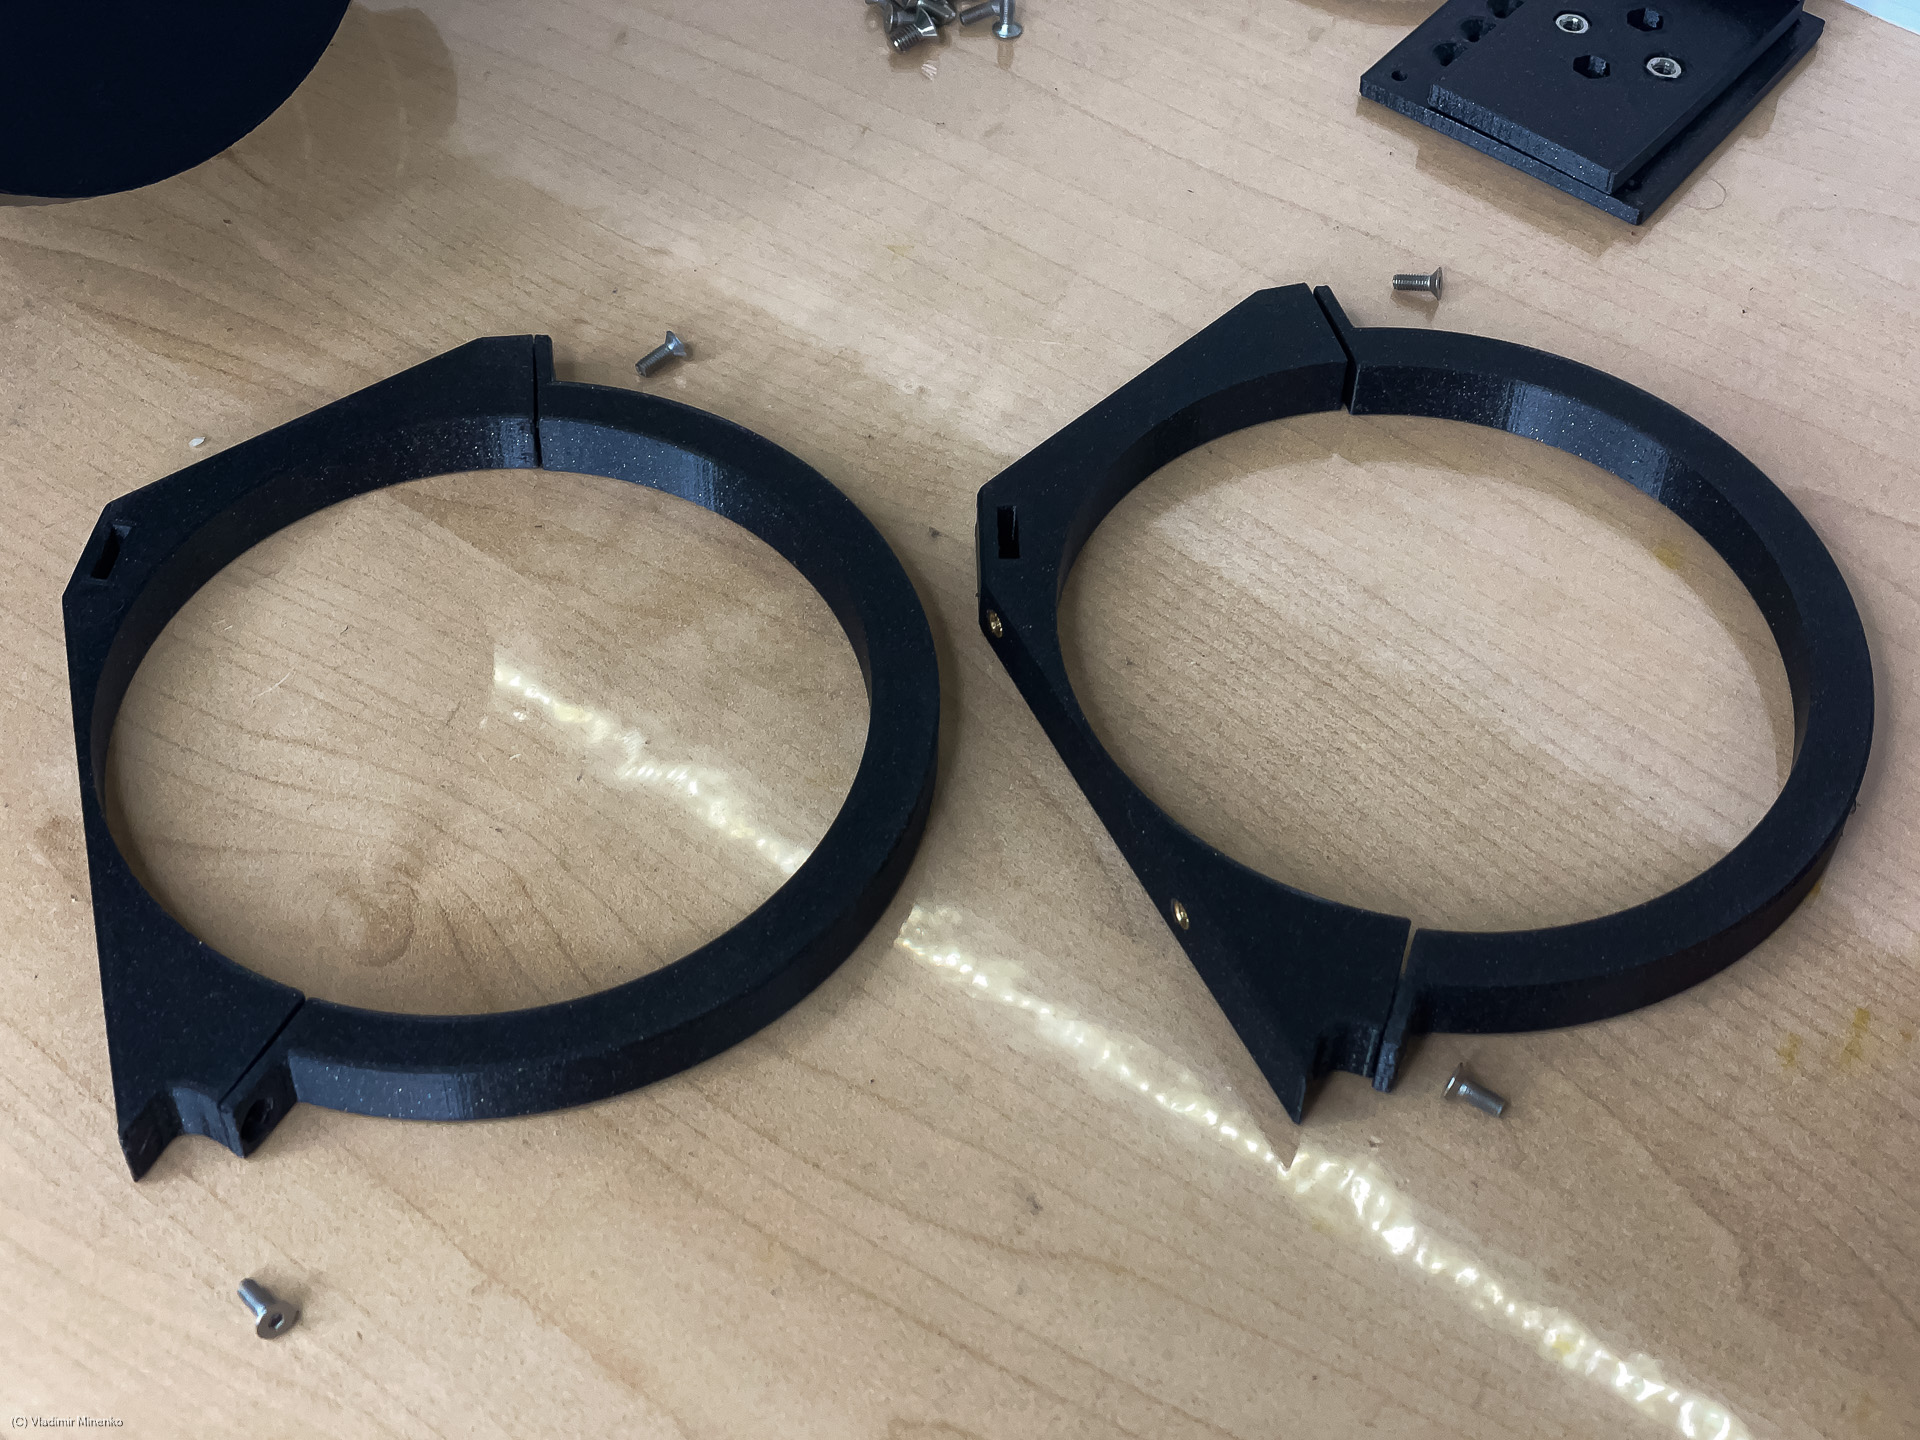
The left ring (as shown on the picture below) should be assembled on the focuser tube. The right ring can be pre-assembled and the put on the focuser tube. Watch out the orientation of the rings on the tube.
Tighten the rings slightly and make sure their top surfaces run in parallel to the flat section of the focuser tube.

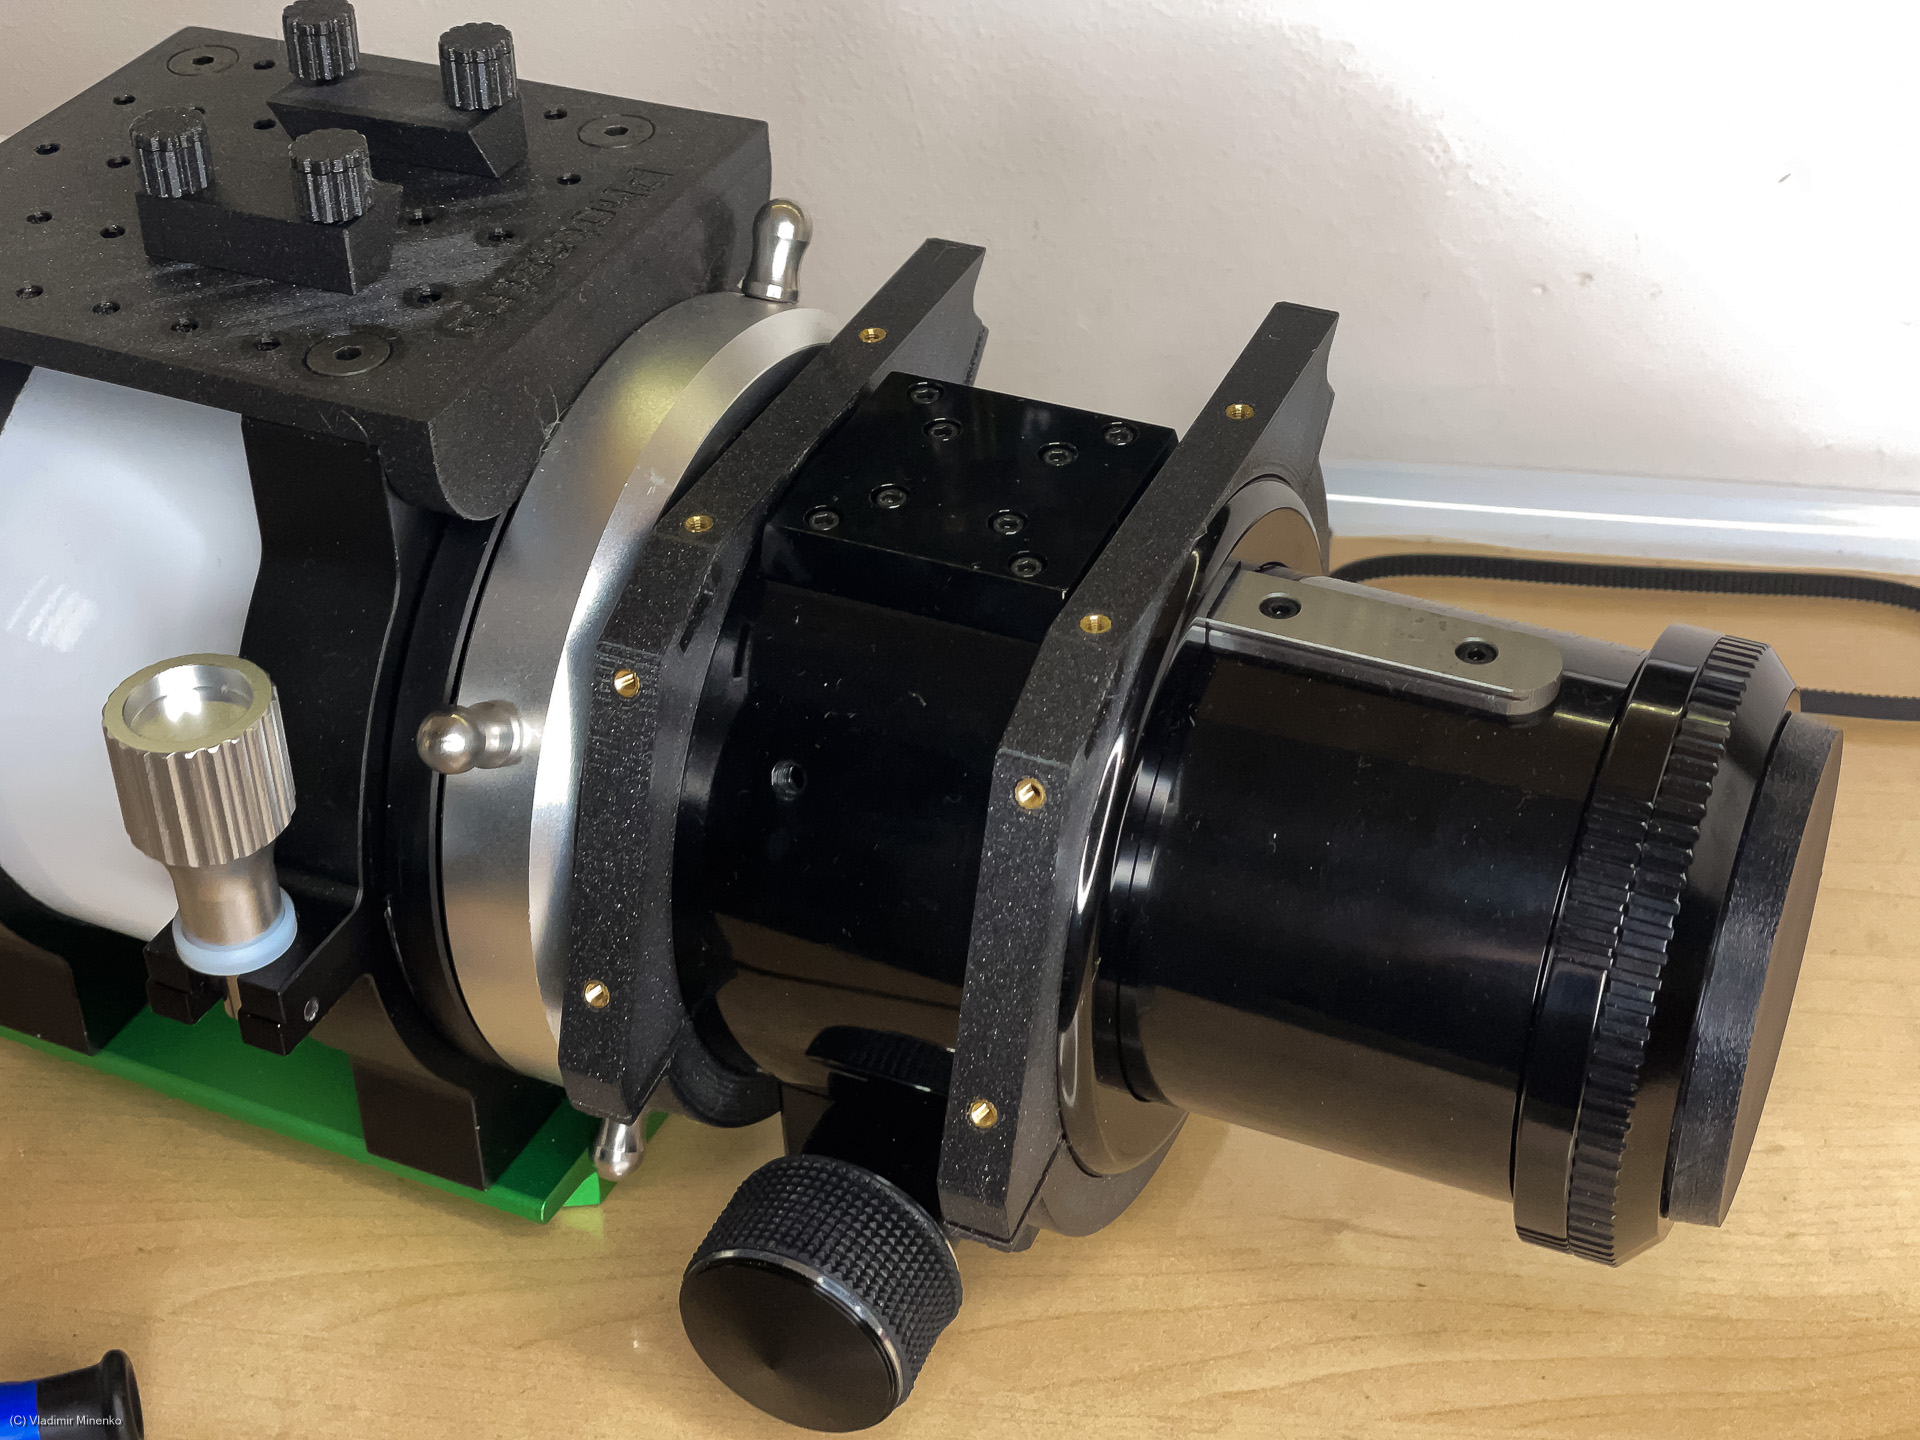
Mount the pre-assembled EAF component on the rings with four M3 screws.
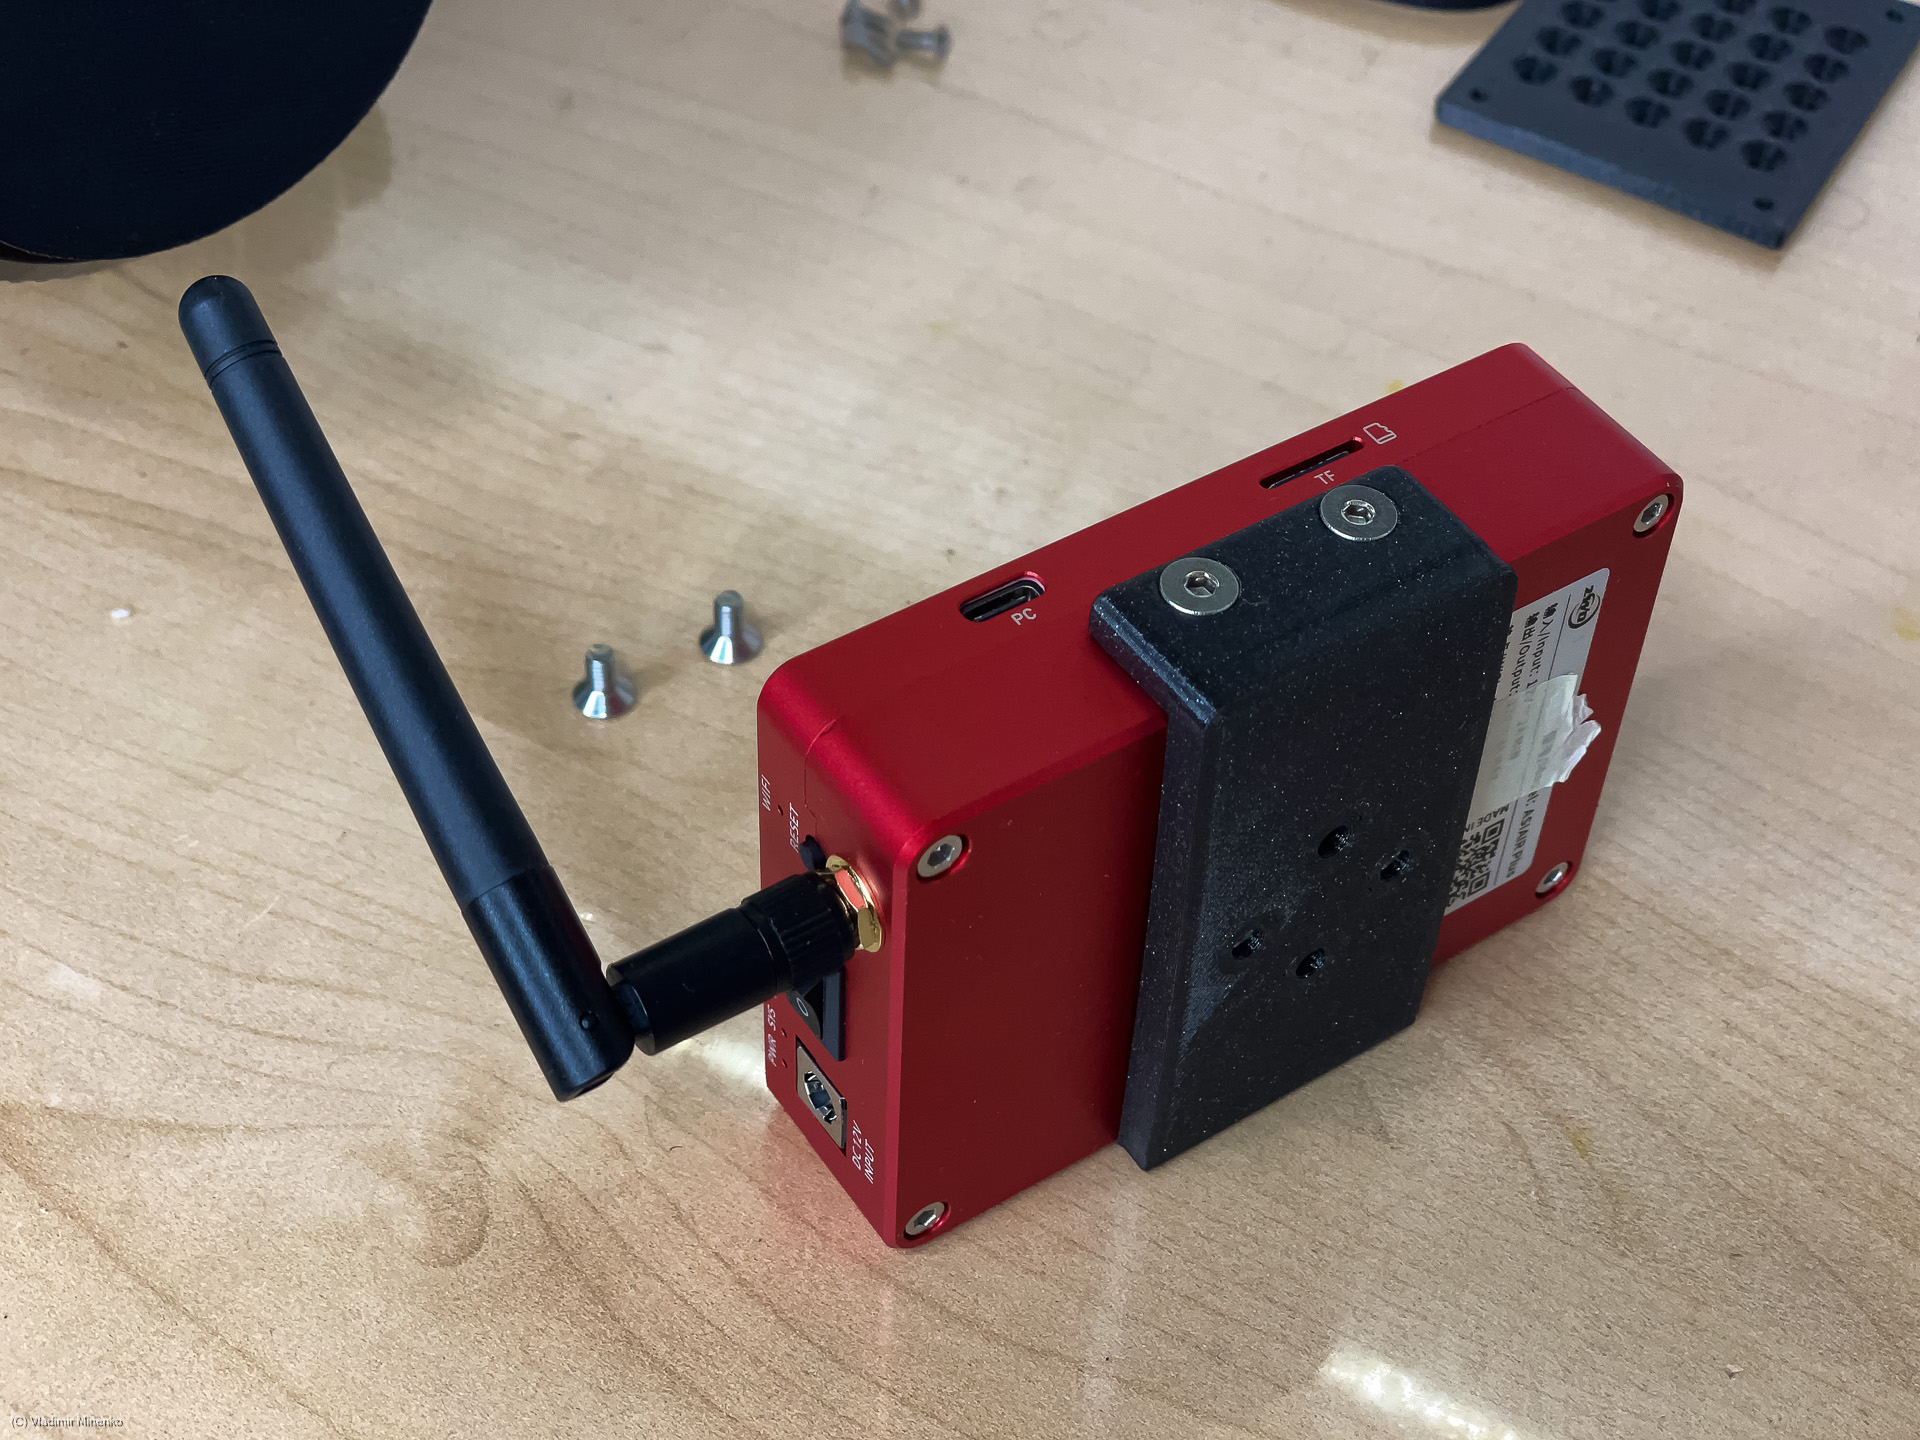
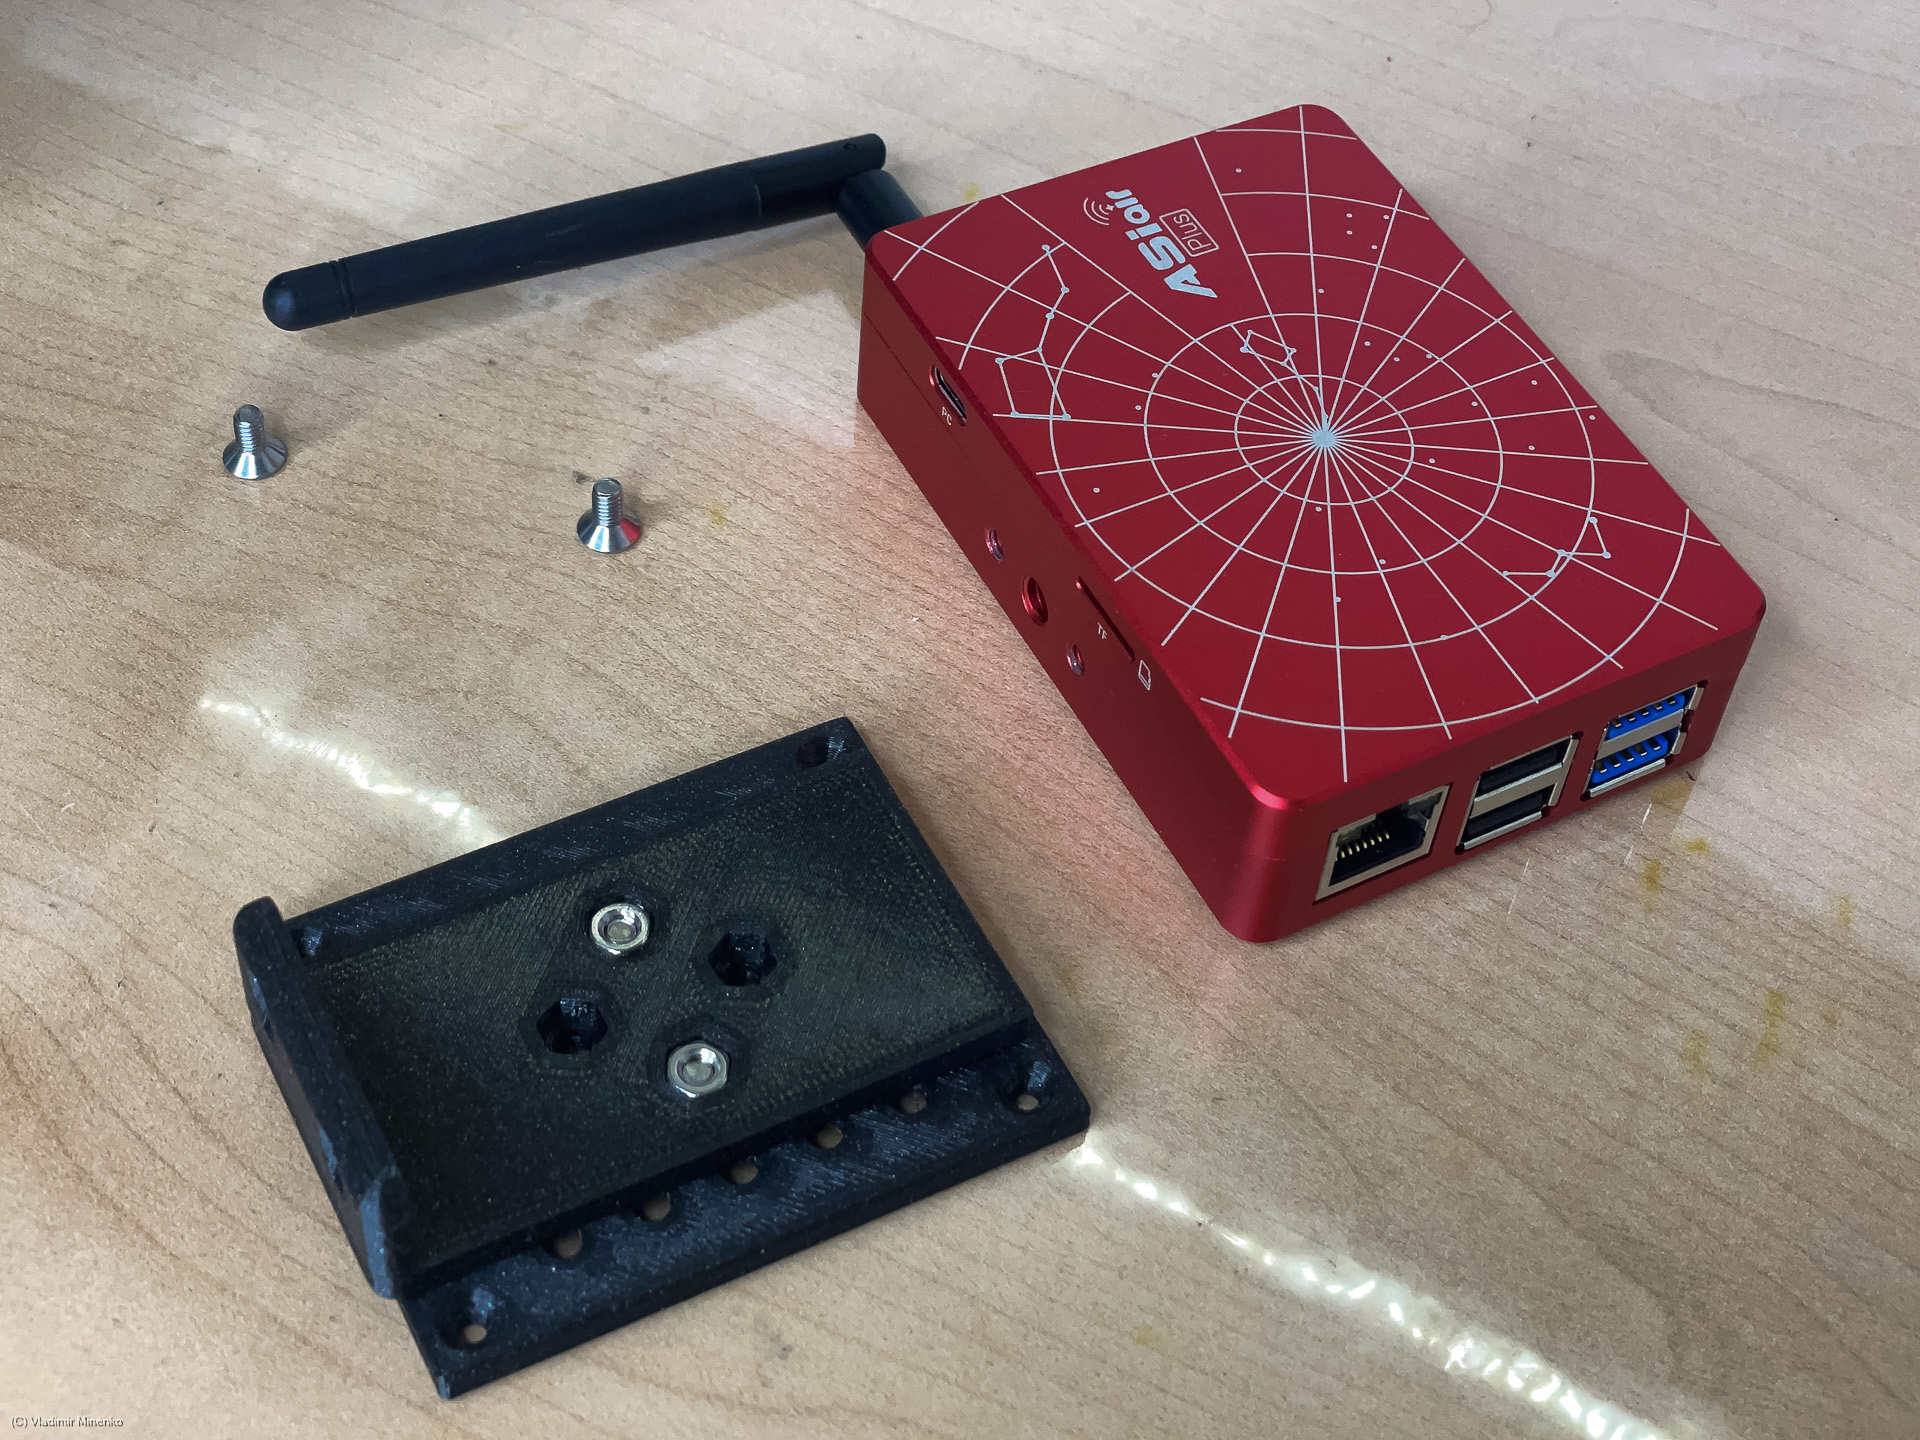
Now, you switch to mounting of ZWO ASIAIR. There are two parts for this. A mounting plate with multiple holes, and a bracket. There are two different brackets for ASIAIR Pro and Plus. You will get one according your selection when you order the kit. ASIAIR Mini is mounted directly on the plate and does not need a bracket.

Mount the bracket on ASIAIR temporarily. You need this to find out the right place where it will sit on the plate.
The plate will be mounted with chamfers for the screw heads towards the tube.

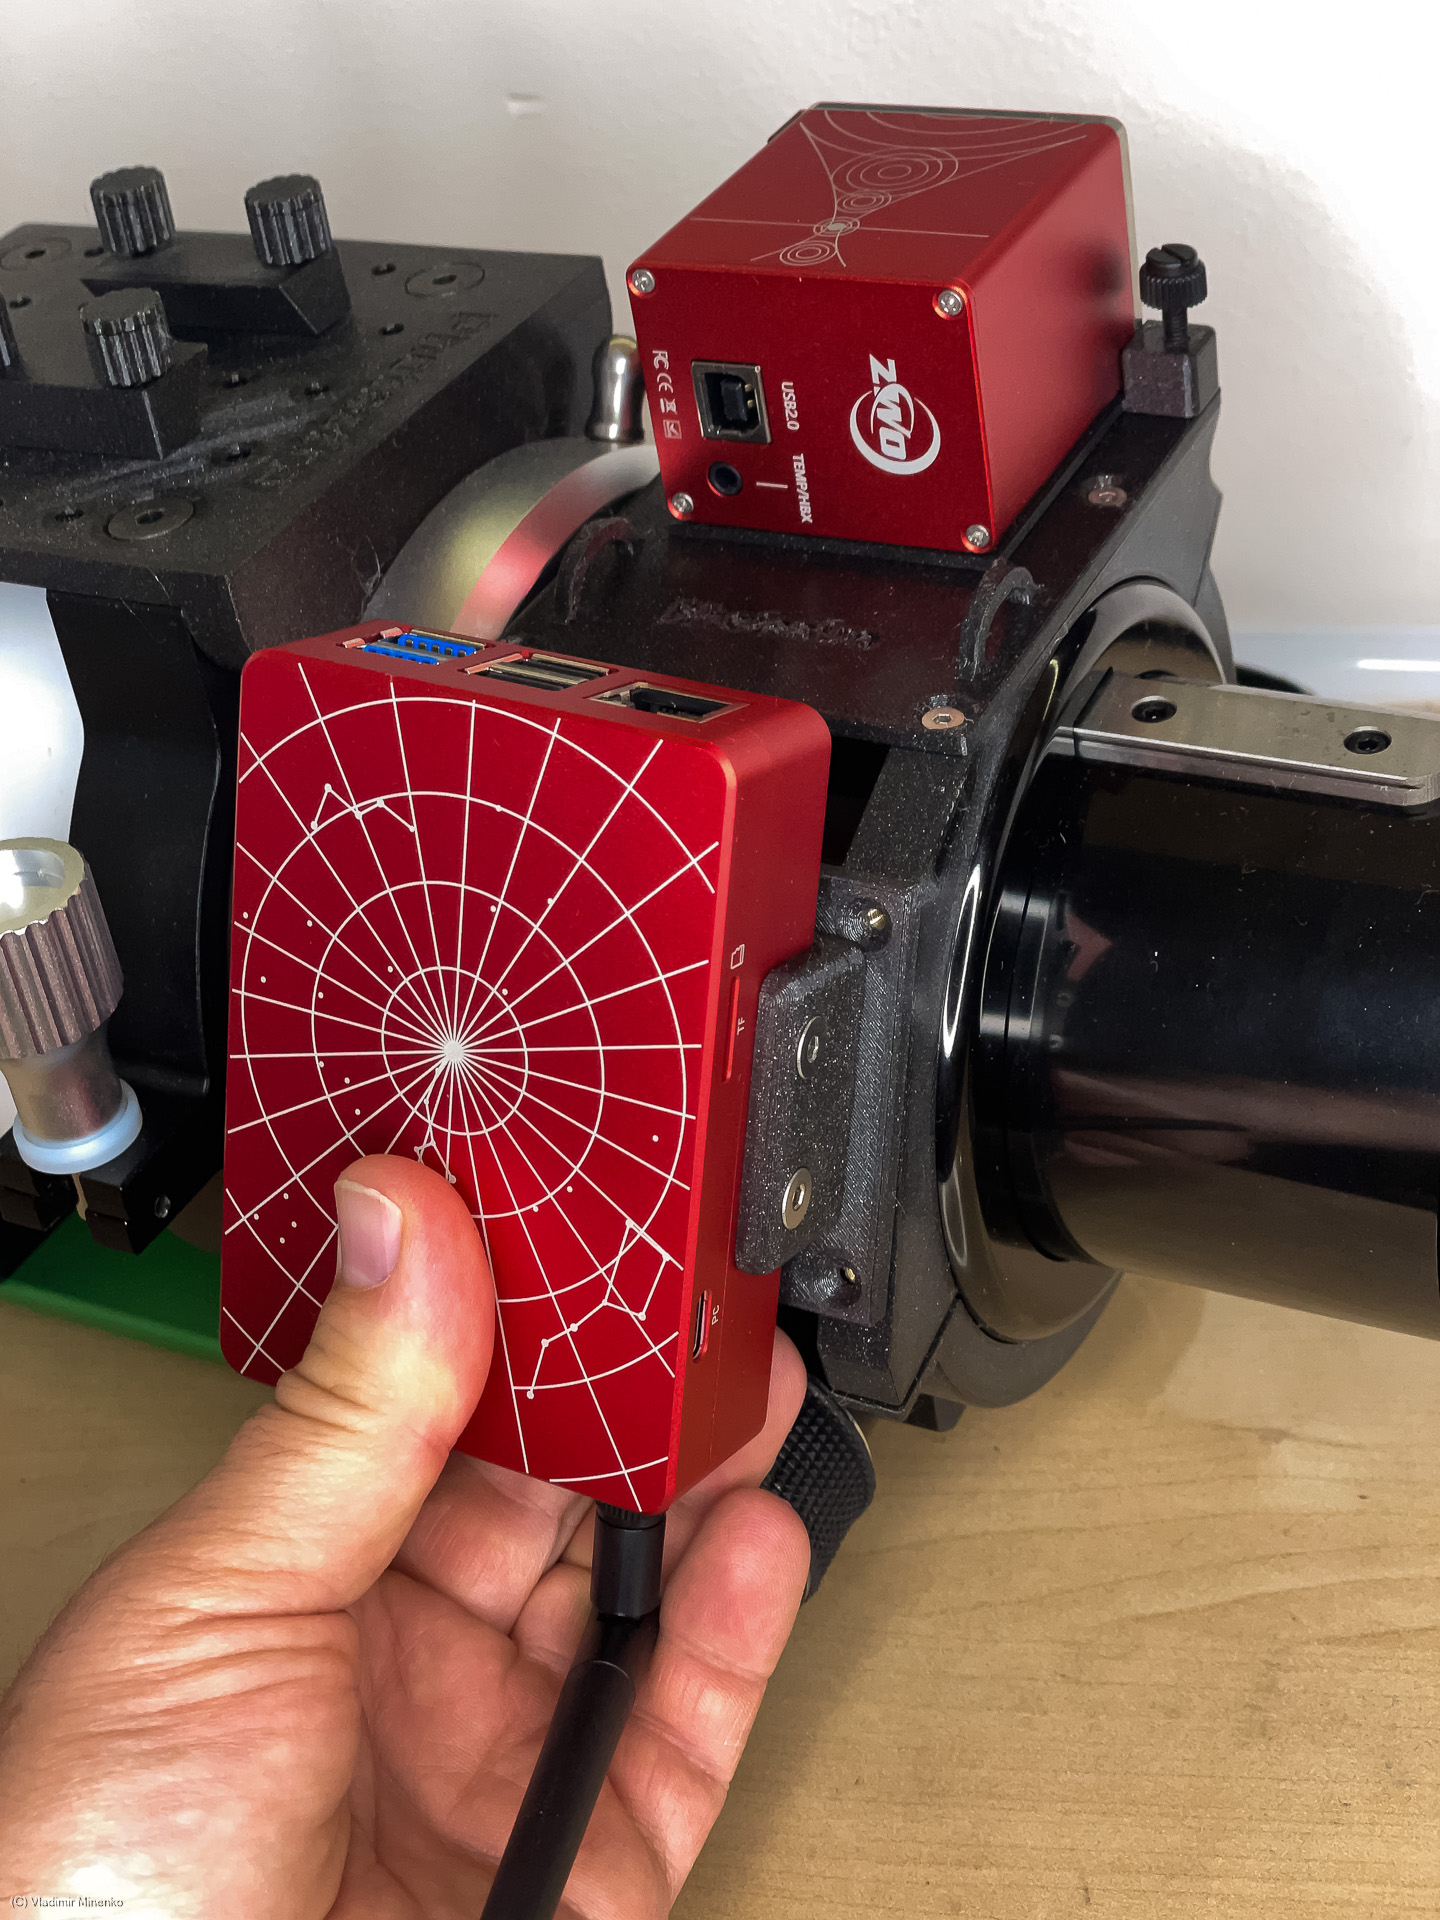
Hold the plate and the ASIAIR together on the rings and find the right place where the bracket will be mounted on the plate. Different orientations and positions are possible.
Unscrew the bracket from ASIAIR and mount it on the plate in the selected position
Mount the plate with the bracket mounted on it onto the rings. You need four M3 screws for this.

Now, you can mount ASIAIR on the bracket.
Tighten the rings of the kit now a bit more and put the belt on the EAF and on the focuser knob. The tension of the belt can be adjusted with the tumb screw. Always remove the tension from the belt when not using the gear. Do not put strong tension on the belt. The tension should be just enough for the belt to grip into the rills on the knob, not much more!

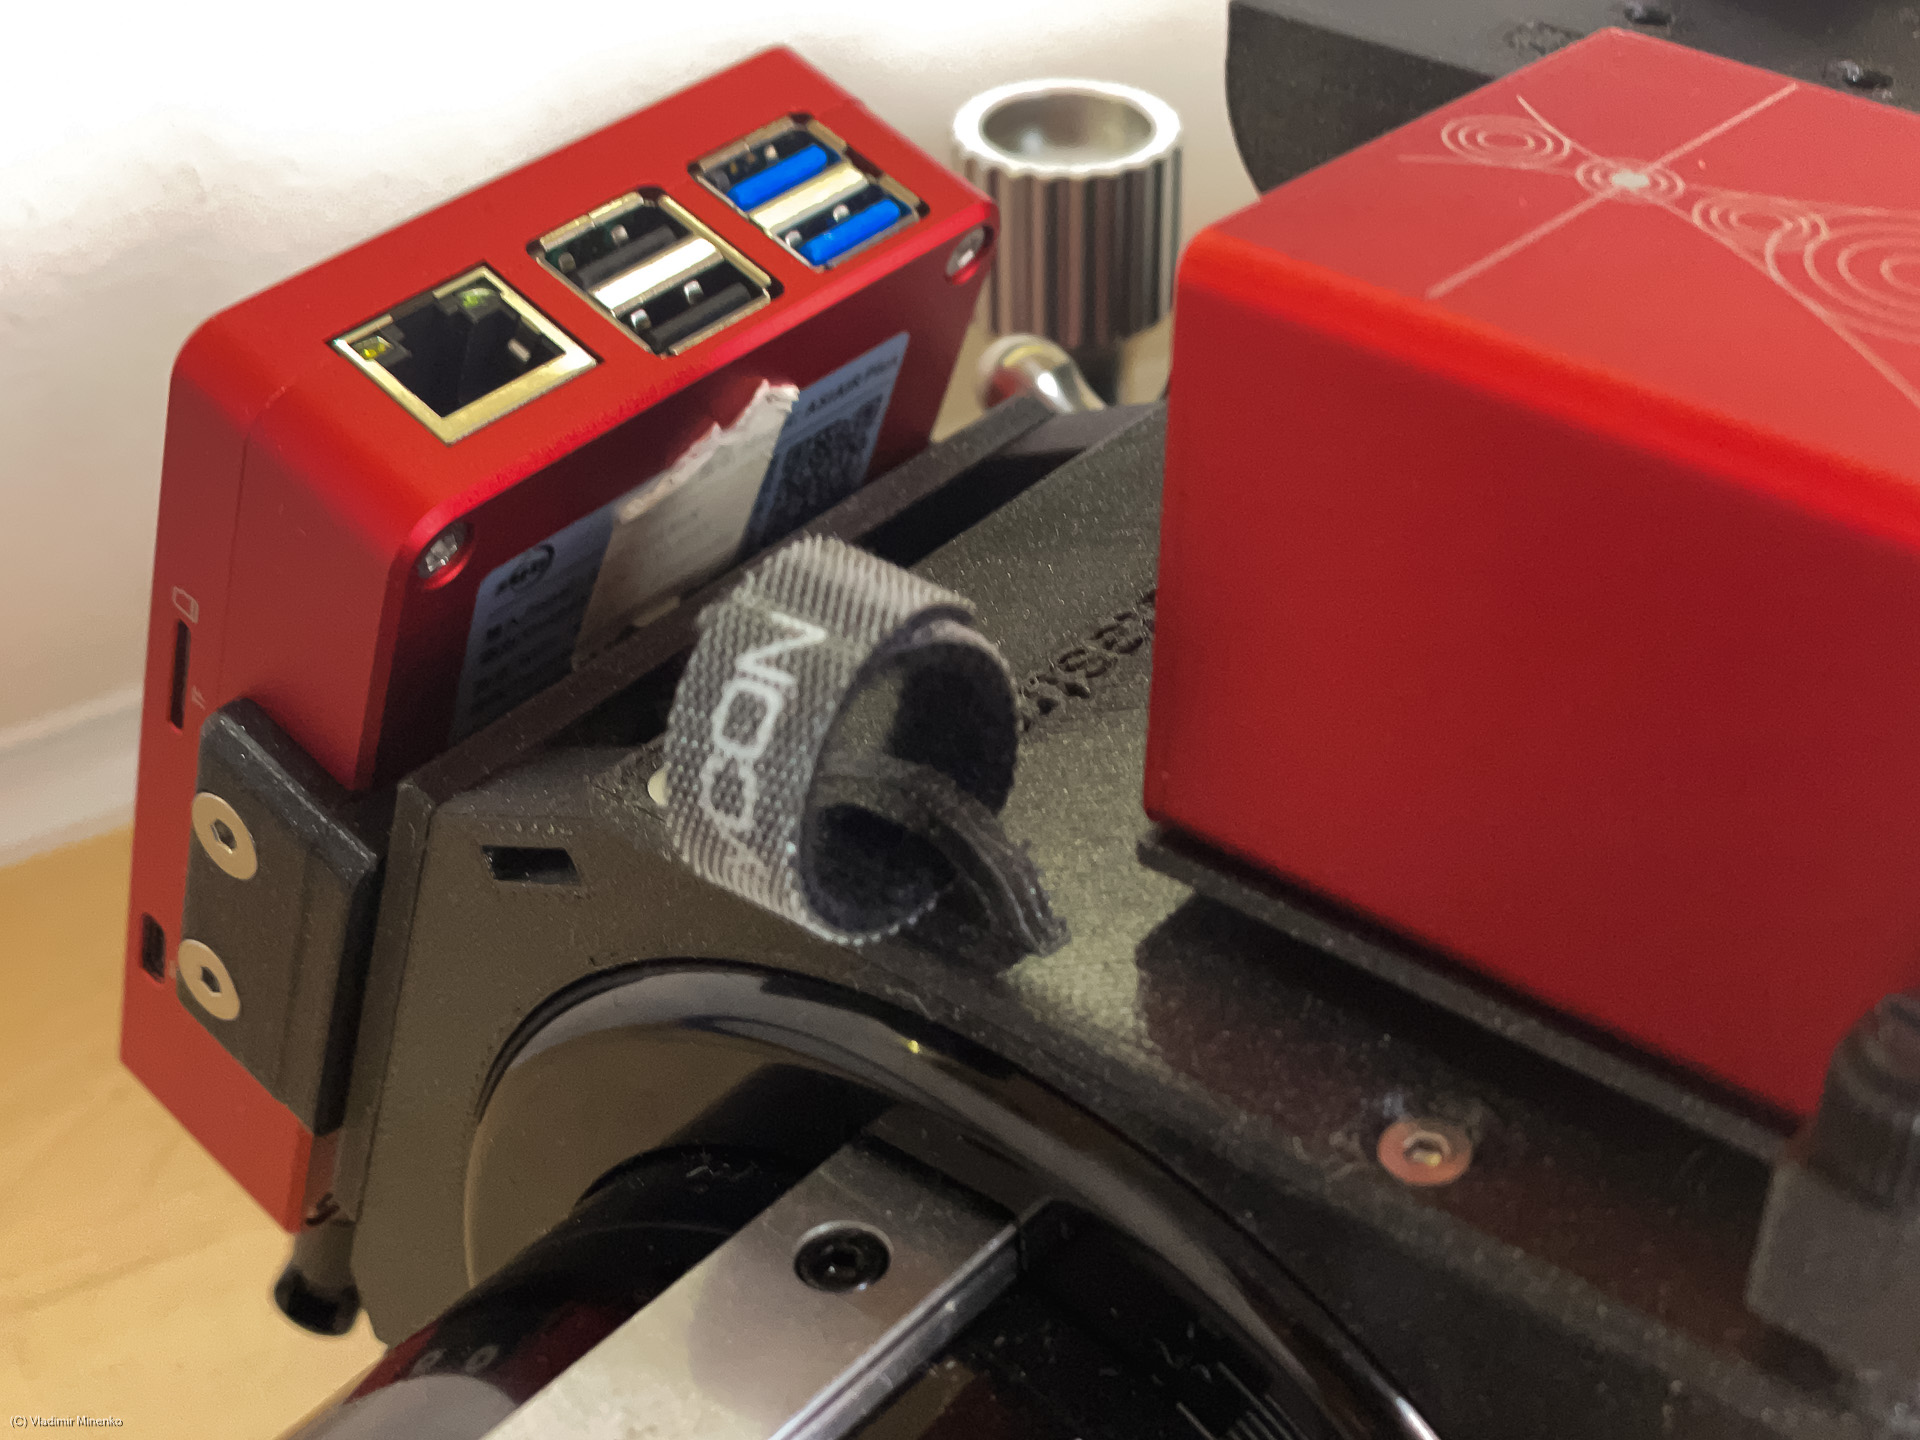
The kit has multiple eyelets fitting the provided velcro-strip. This should be use for cable management. Do cut the strip in pieces only after you install the camera and all cables and know the requires length of the pieces 😉
Now, it is ready!

The below picture shows the ZWO ASIAIR Mini mounted on the kit.

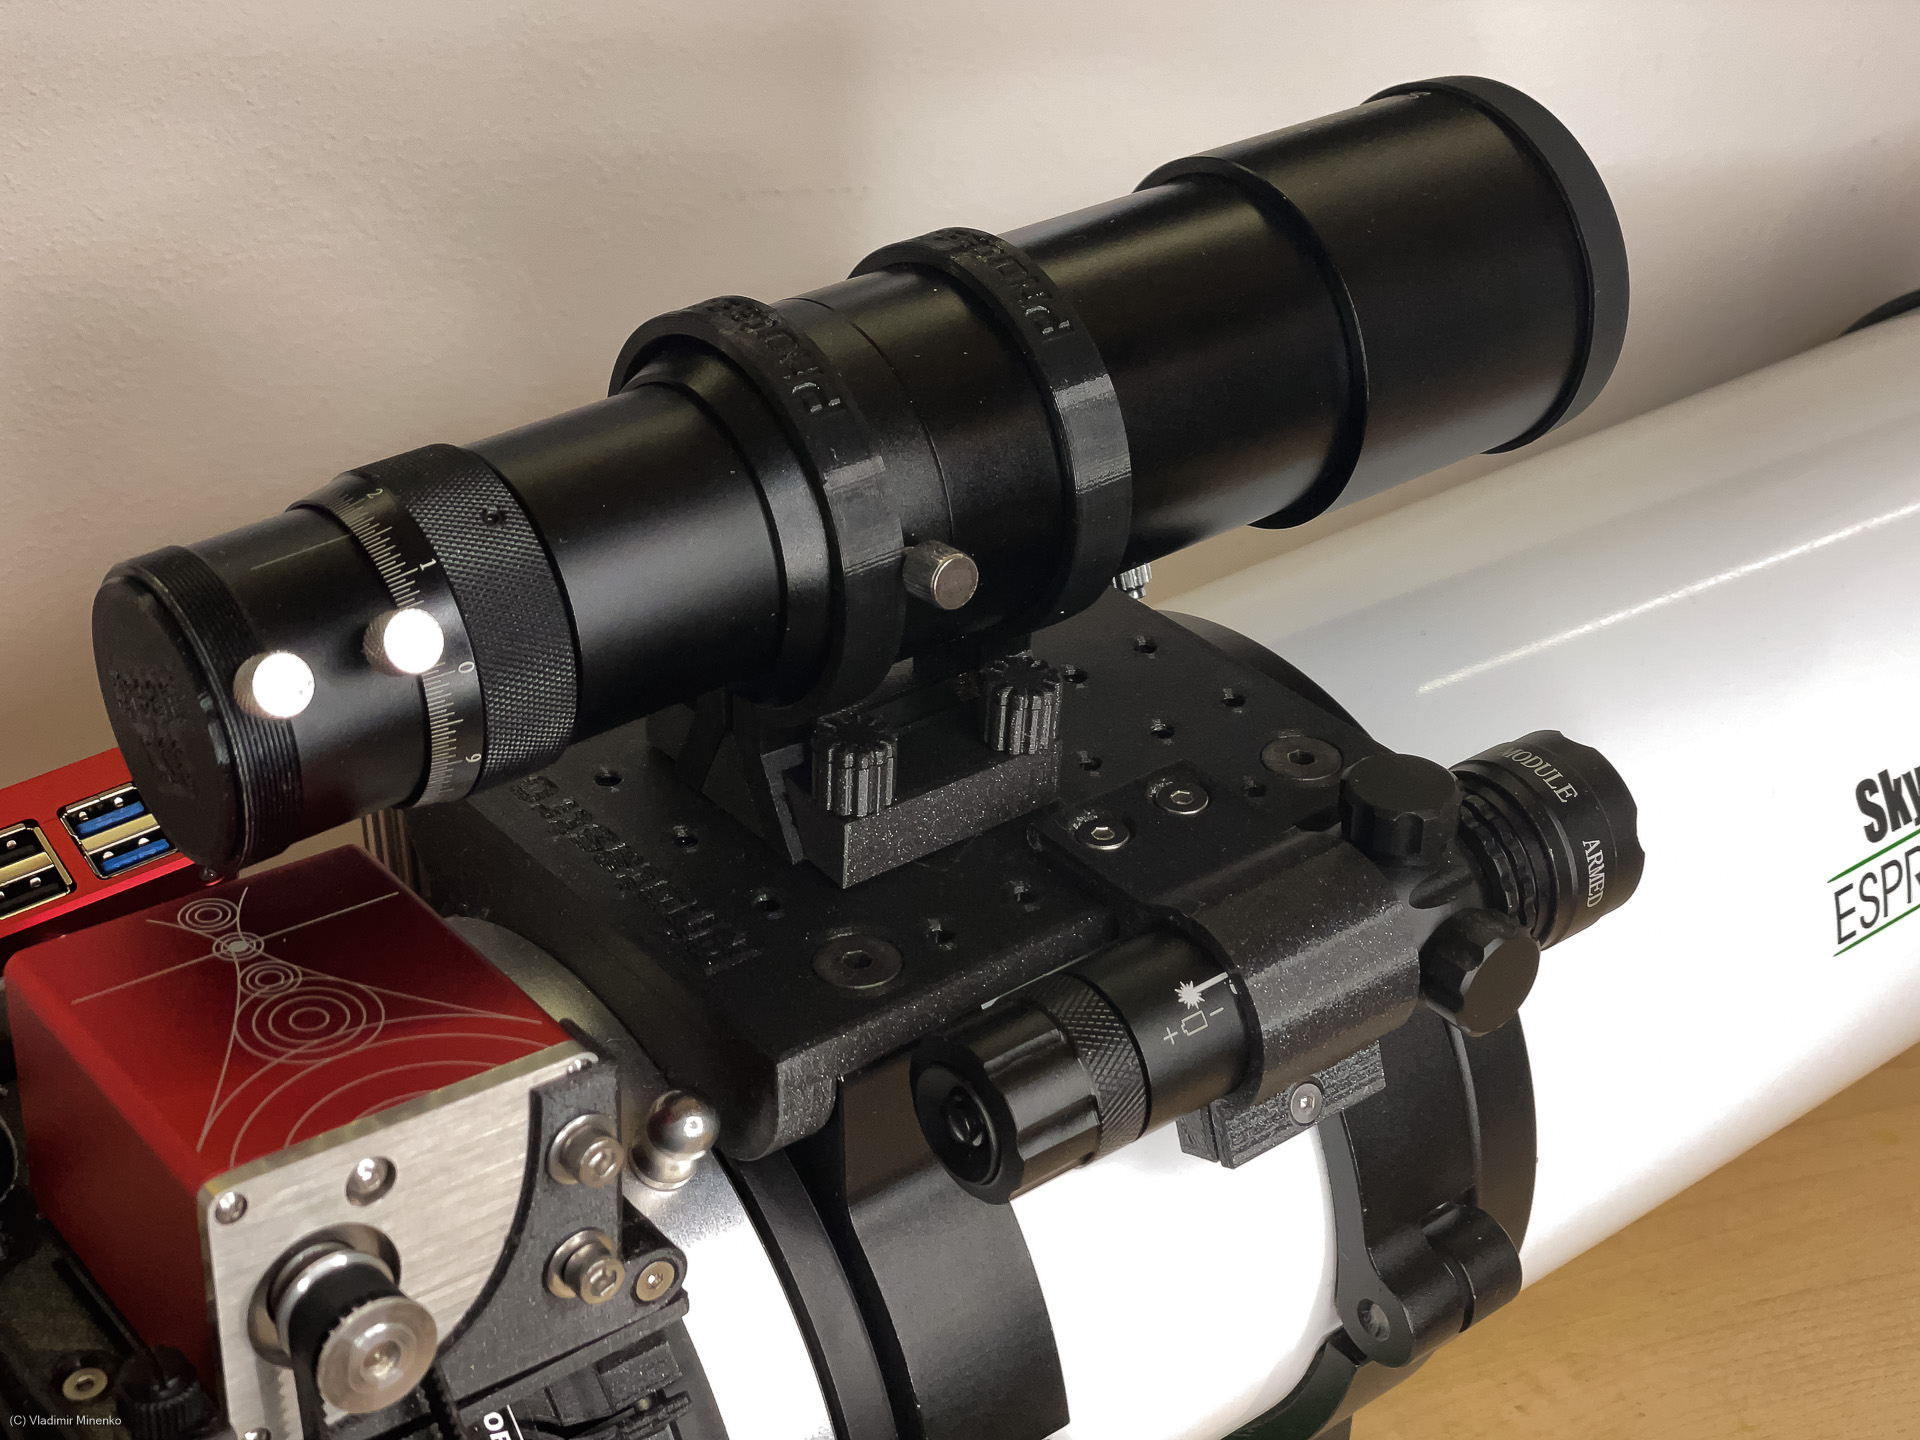
Mount your guide scope on the clamps on the top plate. You might need to move the clamps to a different position for different guide scopes.

The wholes on the top plate are positioned in the 21mm x 15mm raster. They allow mounting of other accessories available from Photastro. For example, a holder for a “Laser Scope” laser pointer.
If you use an off-axis guider, you can use the space for thermometer-hygrometer module which is also available as accessory from Photastro.

And now your kit is ready! More hassle removed! 🙂 You only need the next clear night and new moon!
Clear skies!
Comments
Got an opinion on this topic or found a mistake? Please add a comment.
0 Comments