Assembly and User Instructions for the ZWO ASIAIR Mounting Kit and EAF Belt Drive for Askar FMA180 Pro
I once got the Askar FMA180 Pro to cover the 180mm focal length. I was very impressed by its quality and decided to keep it and to create an mounting kit for ZWO ASIAIR and an adaptation for ZWO EAF. This kit is available in the shop.
This page describes how to assemble the kit.
The kit comes with all 3D-printed parts, a pulley for ZWO EAF, a belt, a belt adapter for the focuser knob and all required screws for assembling it:

Certainly, you need ZWO EAF and ASIAIR. The kit works with all ASIAIR models: Pro, Plus, mini:

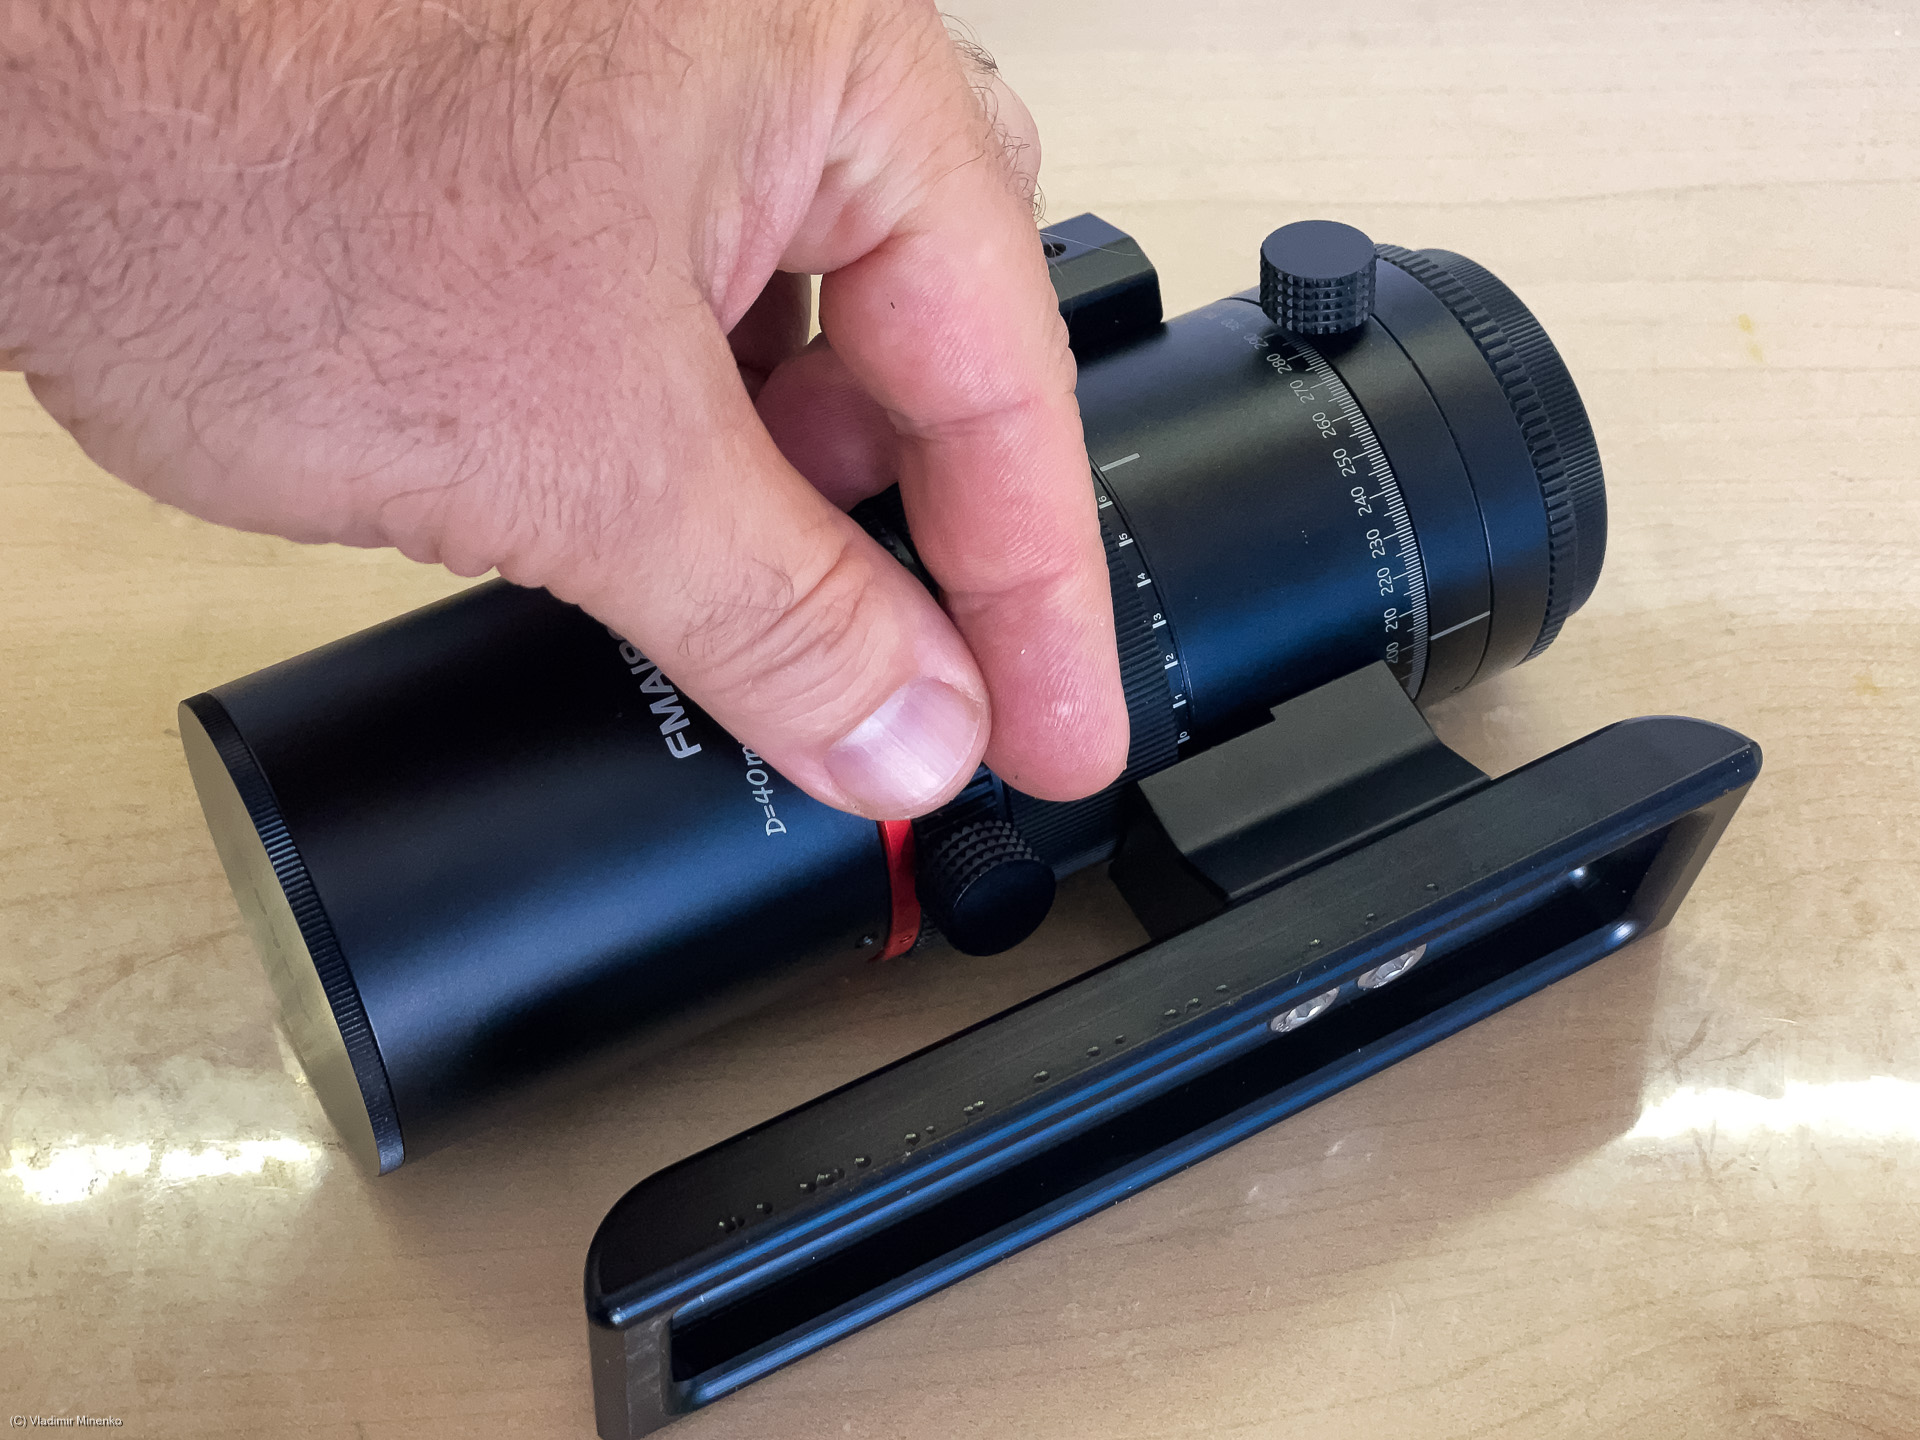
On the first step you have to remove the focuser / guide scope base. The base will be used in the kit on another place.
The focuser lock screw will not be needed, since the position of the focuses ring will be locked by the belt.
The first assembly step is to mount the main frame on the OTA. The holes of the base and longer M4 flat head screws are used for this:

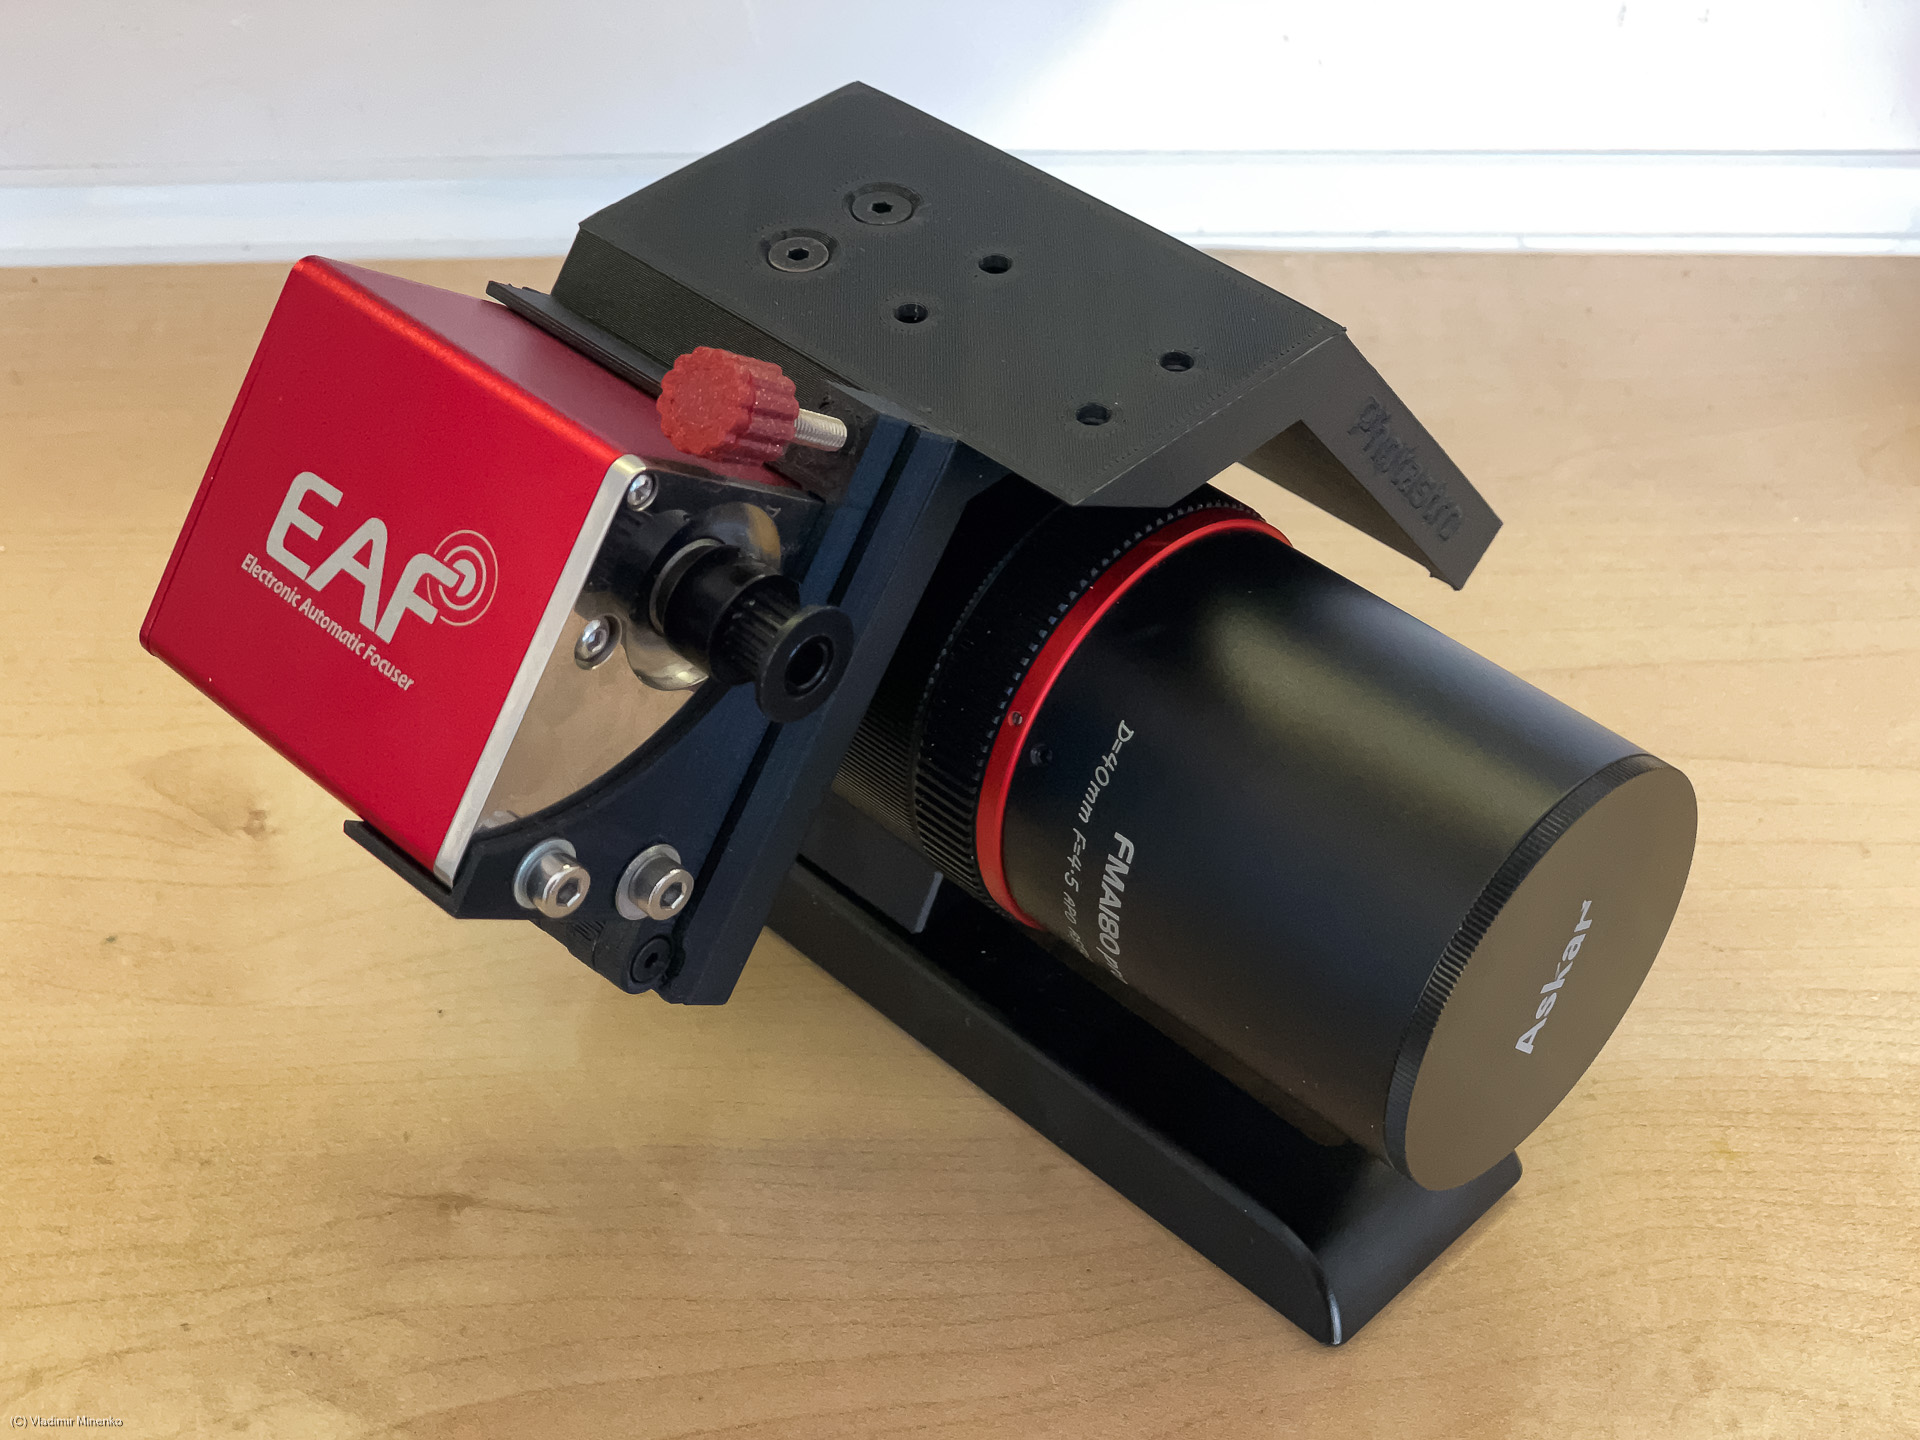
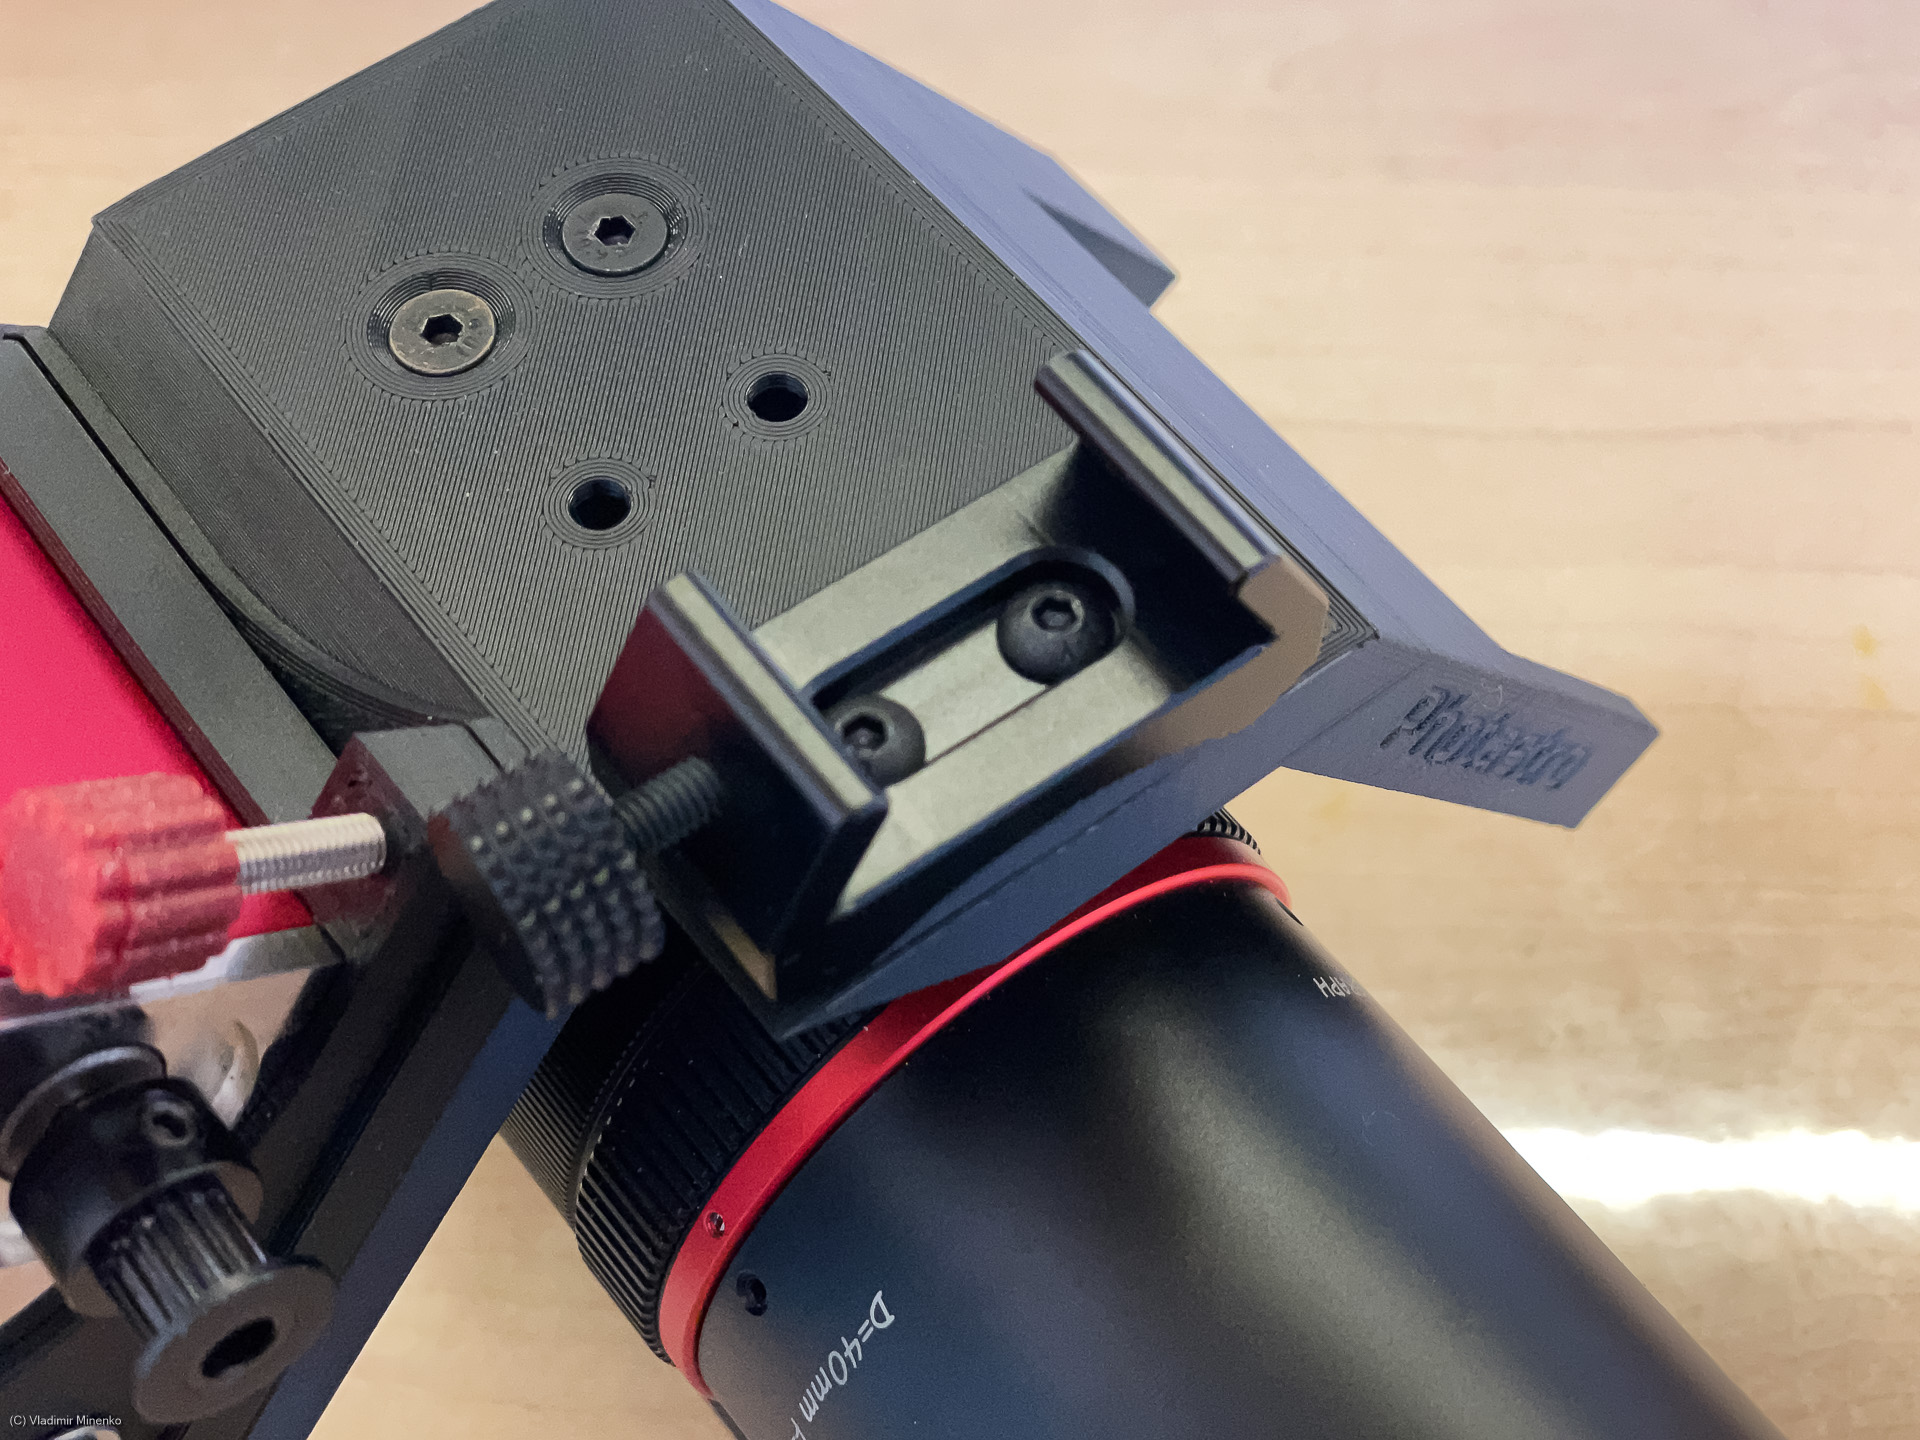
As next, we mount the EAF holder plate on the main frame. The small flat head M3 screws are used for this.

The EAF can be placed into the holder already now, but you might want to wait with this, since the scope might by unstable on its foot due to the weight of the EAF. It does not falls on the side but you need to watch it. Regardless of this, on this step, you should mount the pulley on the axis of the EAF. We will need this soon.
The guide scope base is placed on one of two available mounting positions:

In my setup, I used the front position since it better accommodates a longer guide scope:
ASIAIR can be placed in various orientations on three different positions. You might want to try out how ASIAIR would fit the best way and how cables can be arranged.

If you place ASIAIR horizontally, you will save space around the guide scope base, but then the USB connectors might be blocked by the camera or a filter wheel. The vertical orientation moves connectors to the top, but they might now hit the guide scope base:

You need to try what is best. The ASIAIR holder can be placed on three positions to balance the size of the setup and the space for connectors:
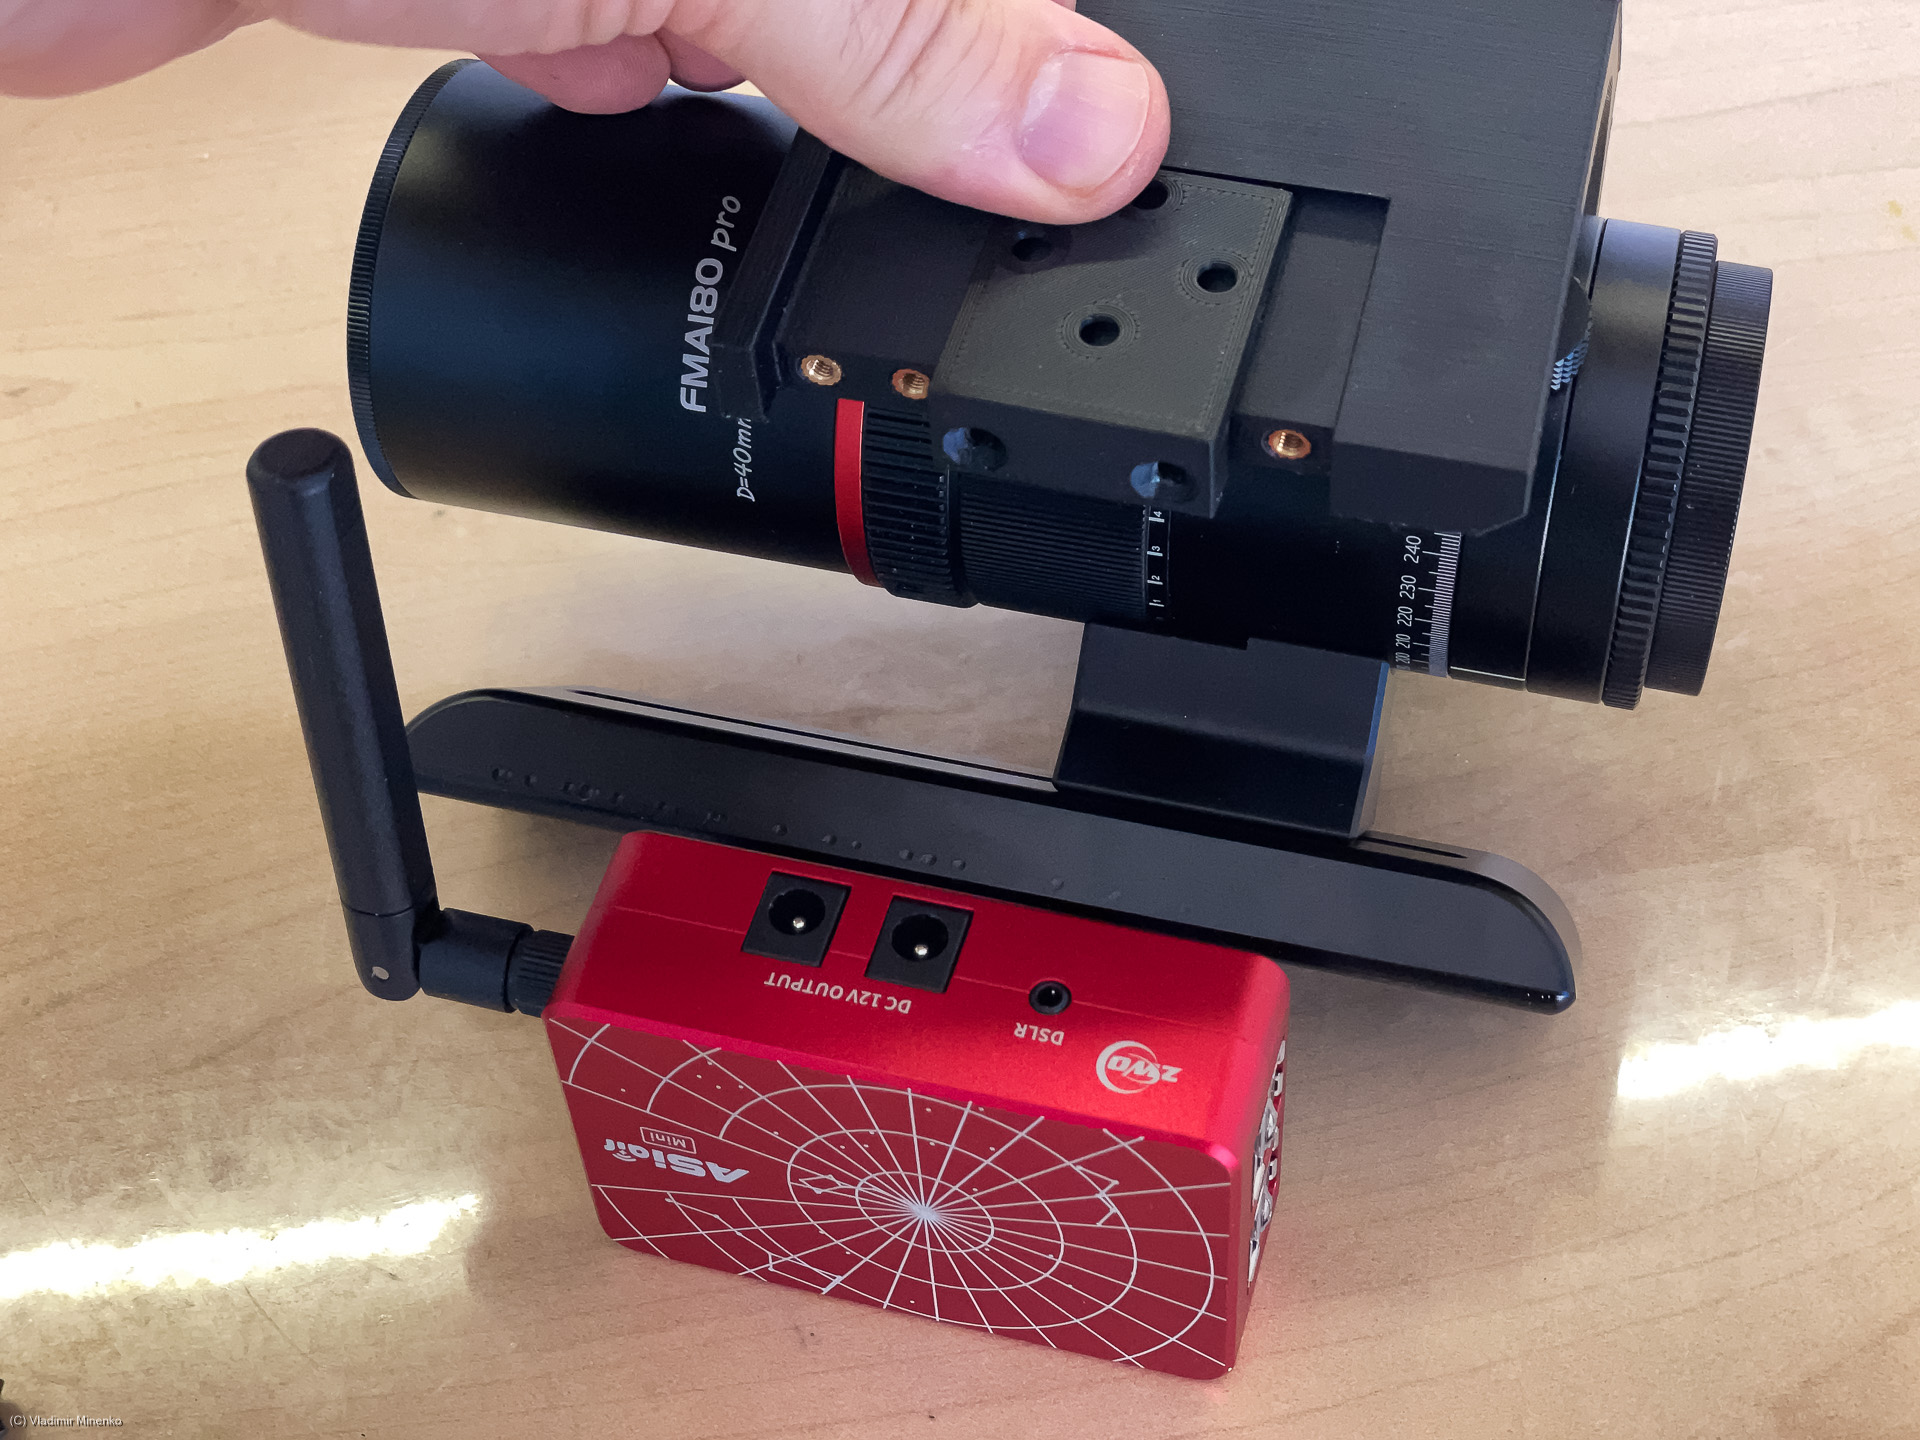
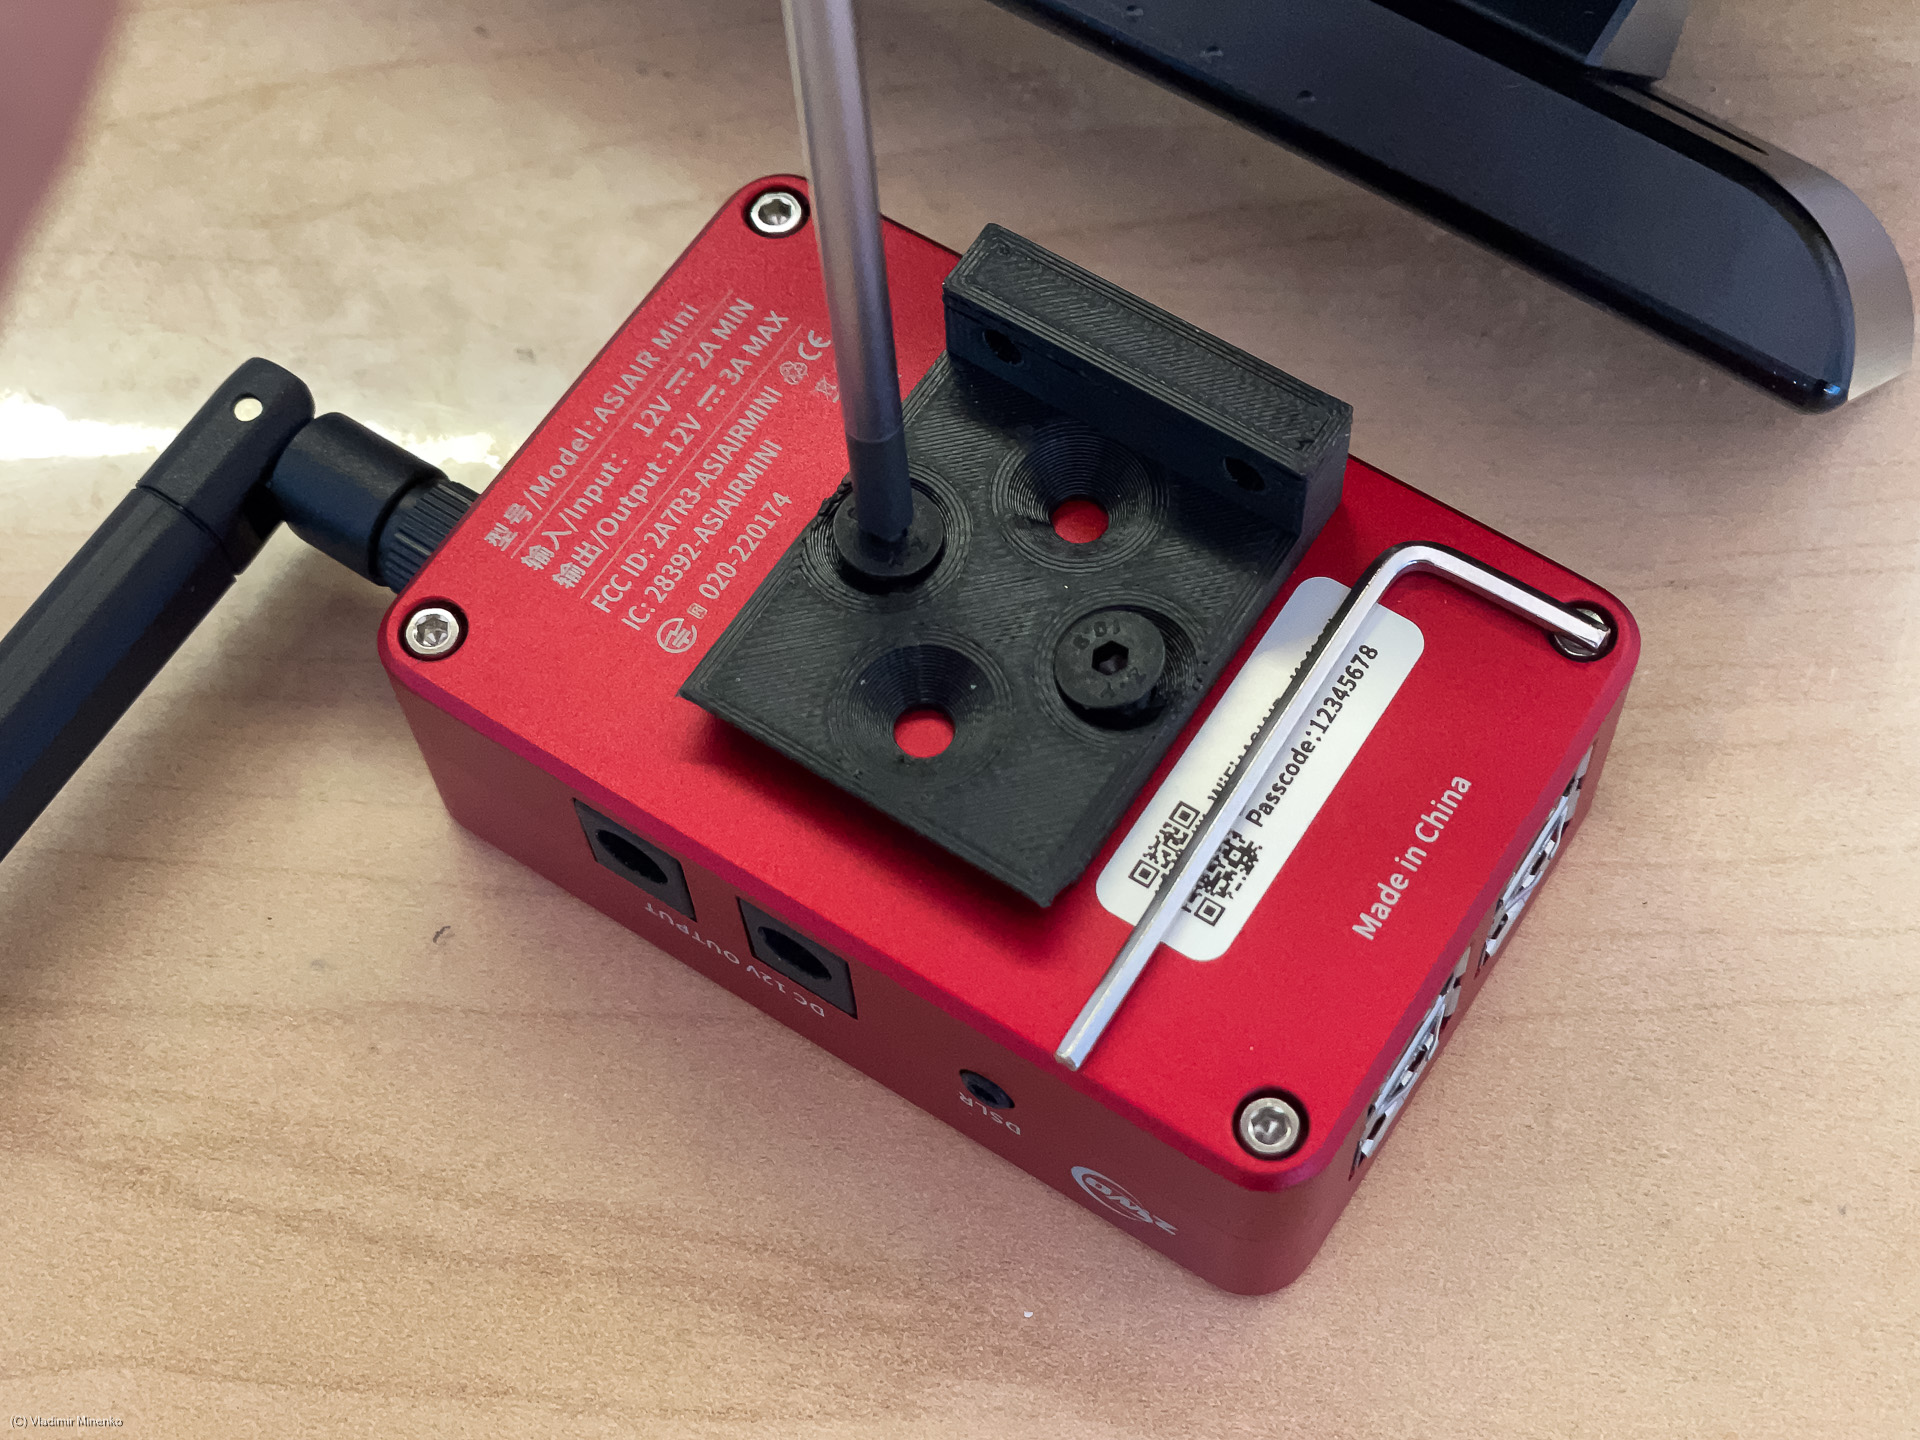
Mount the ASIAIR adapter on ASIAIR with the short flat head M4 screws:
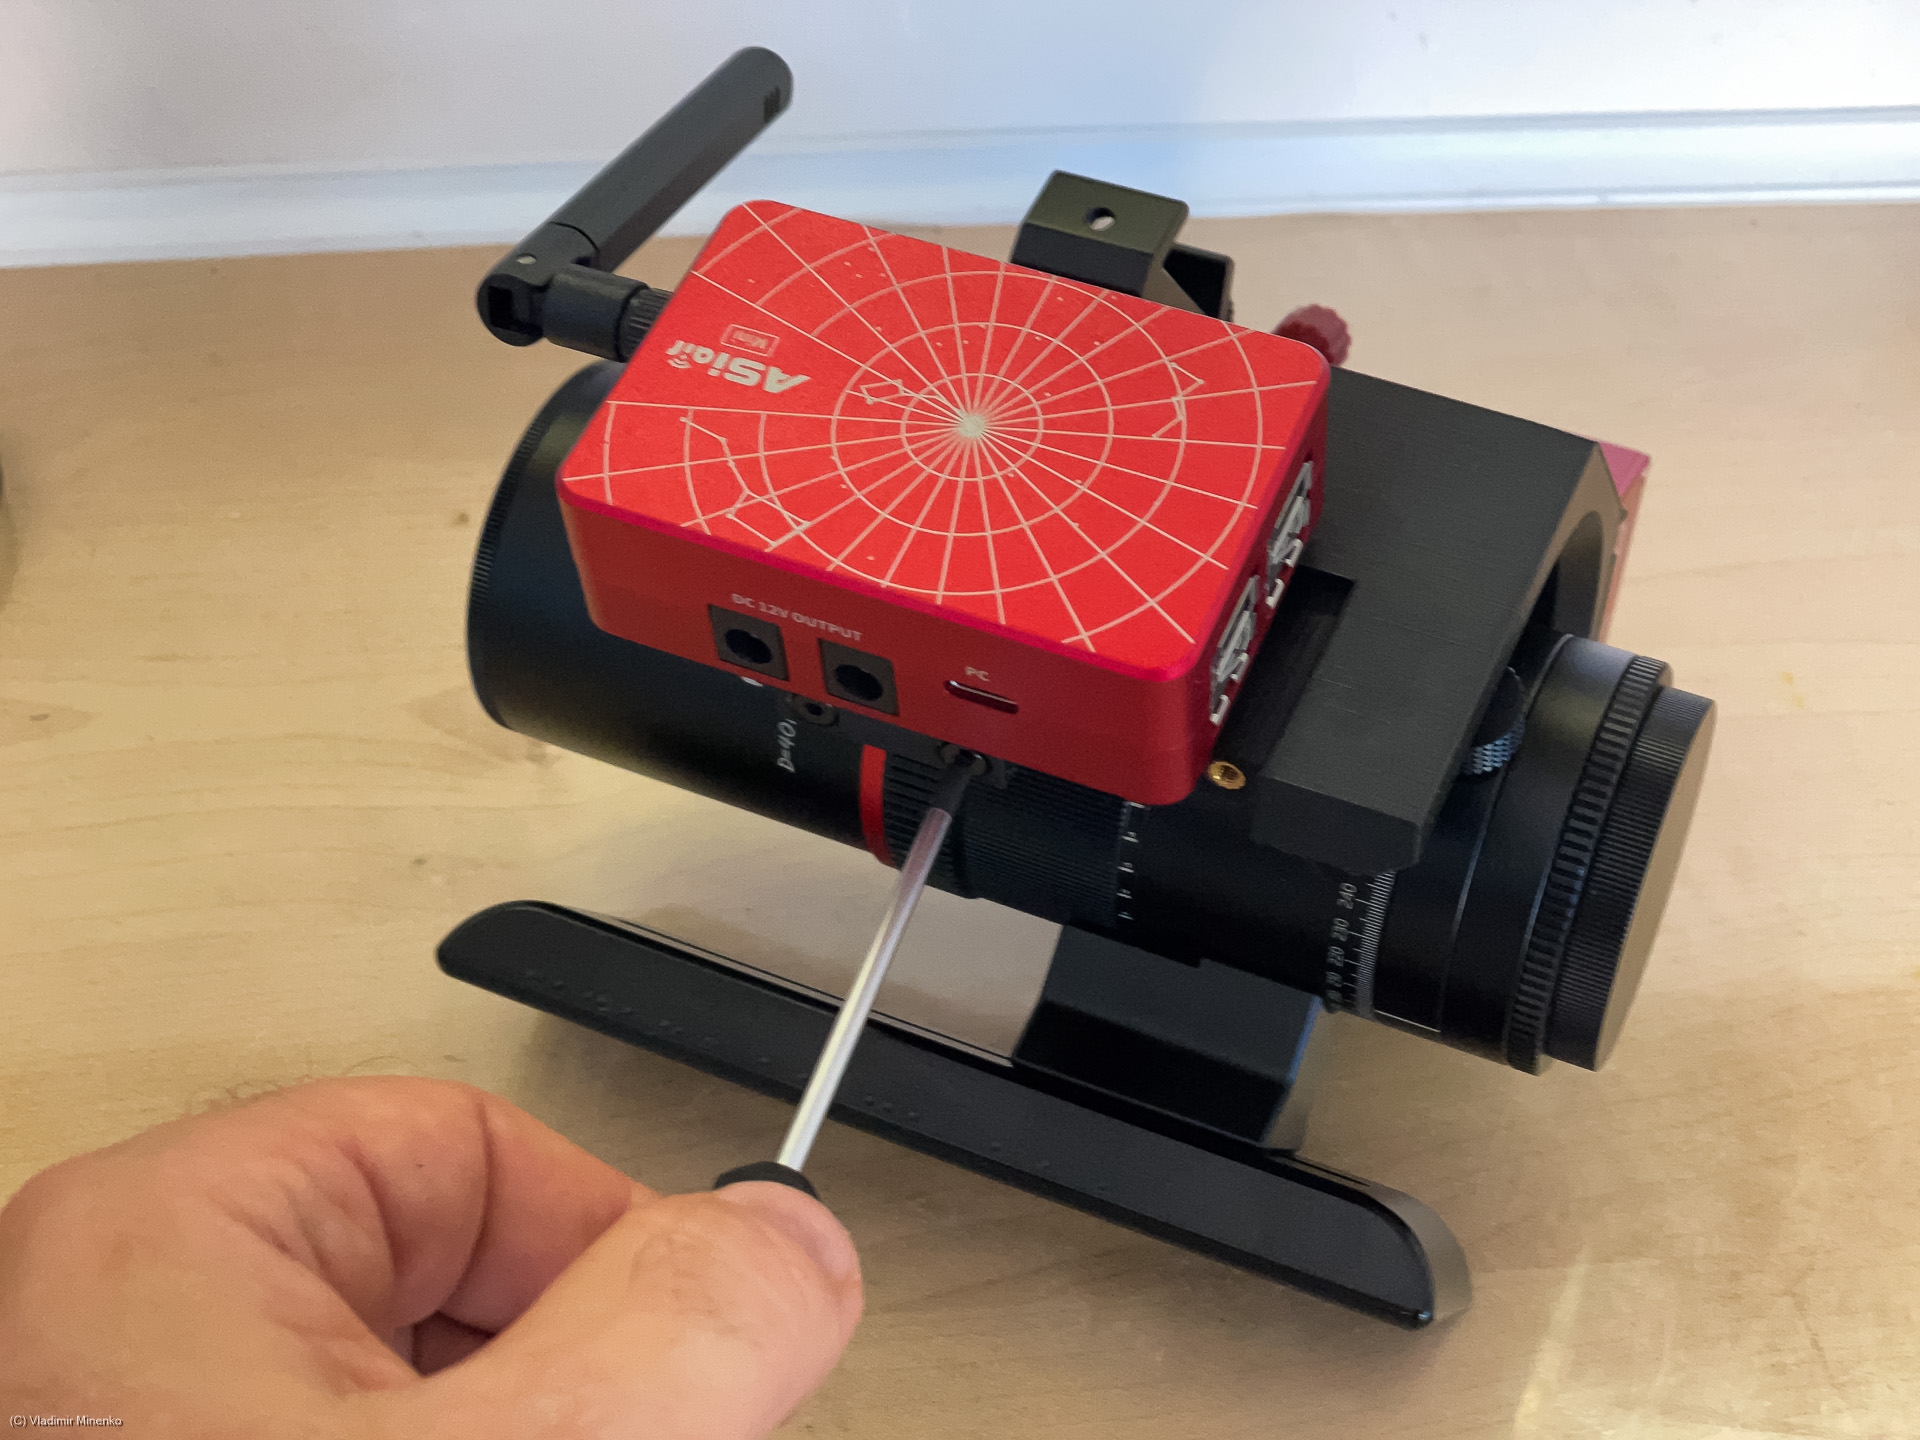
And then, mount the holder with ASIAIR on the main frame with the medium flat head M3 screws.
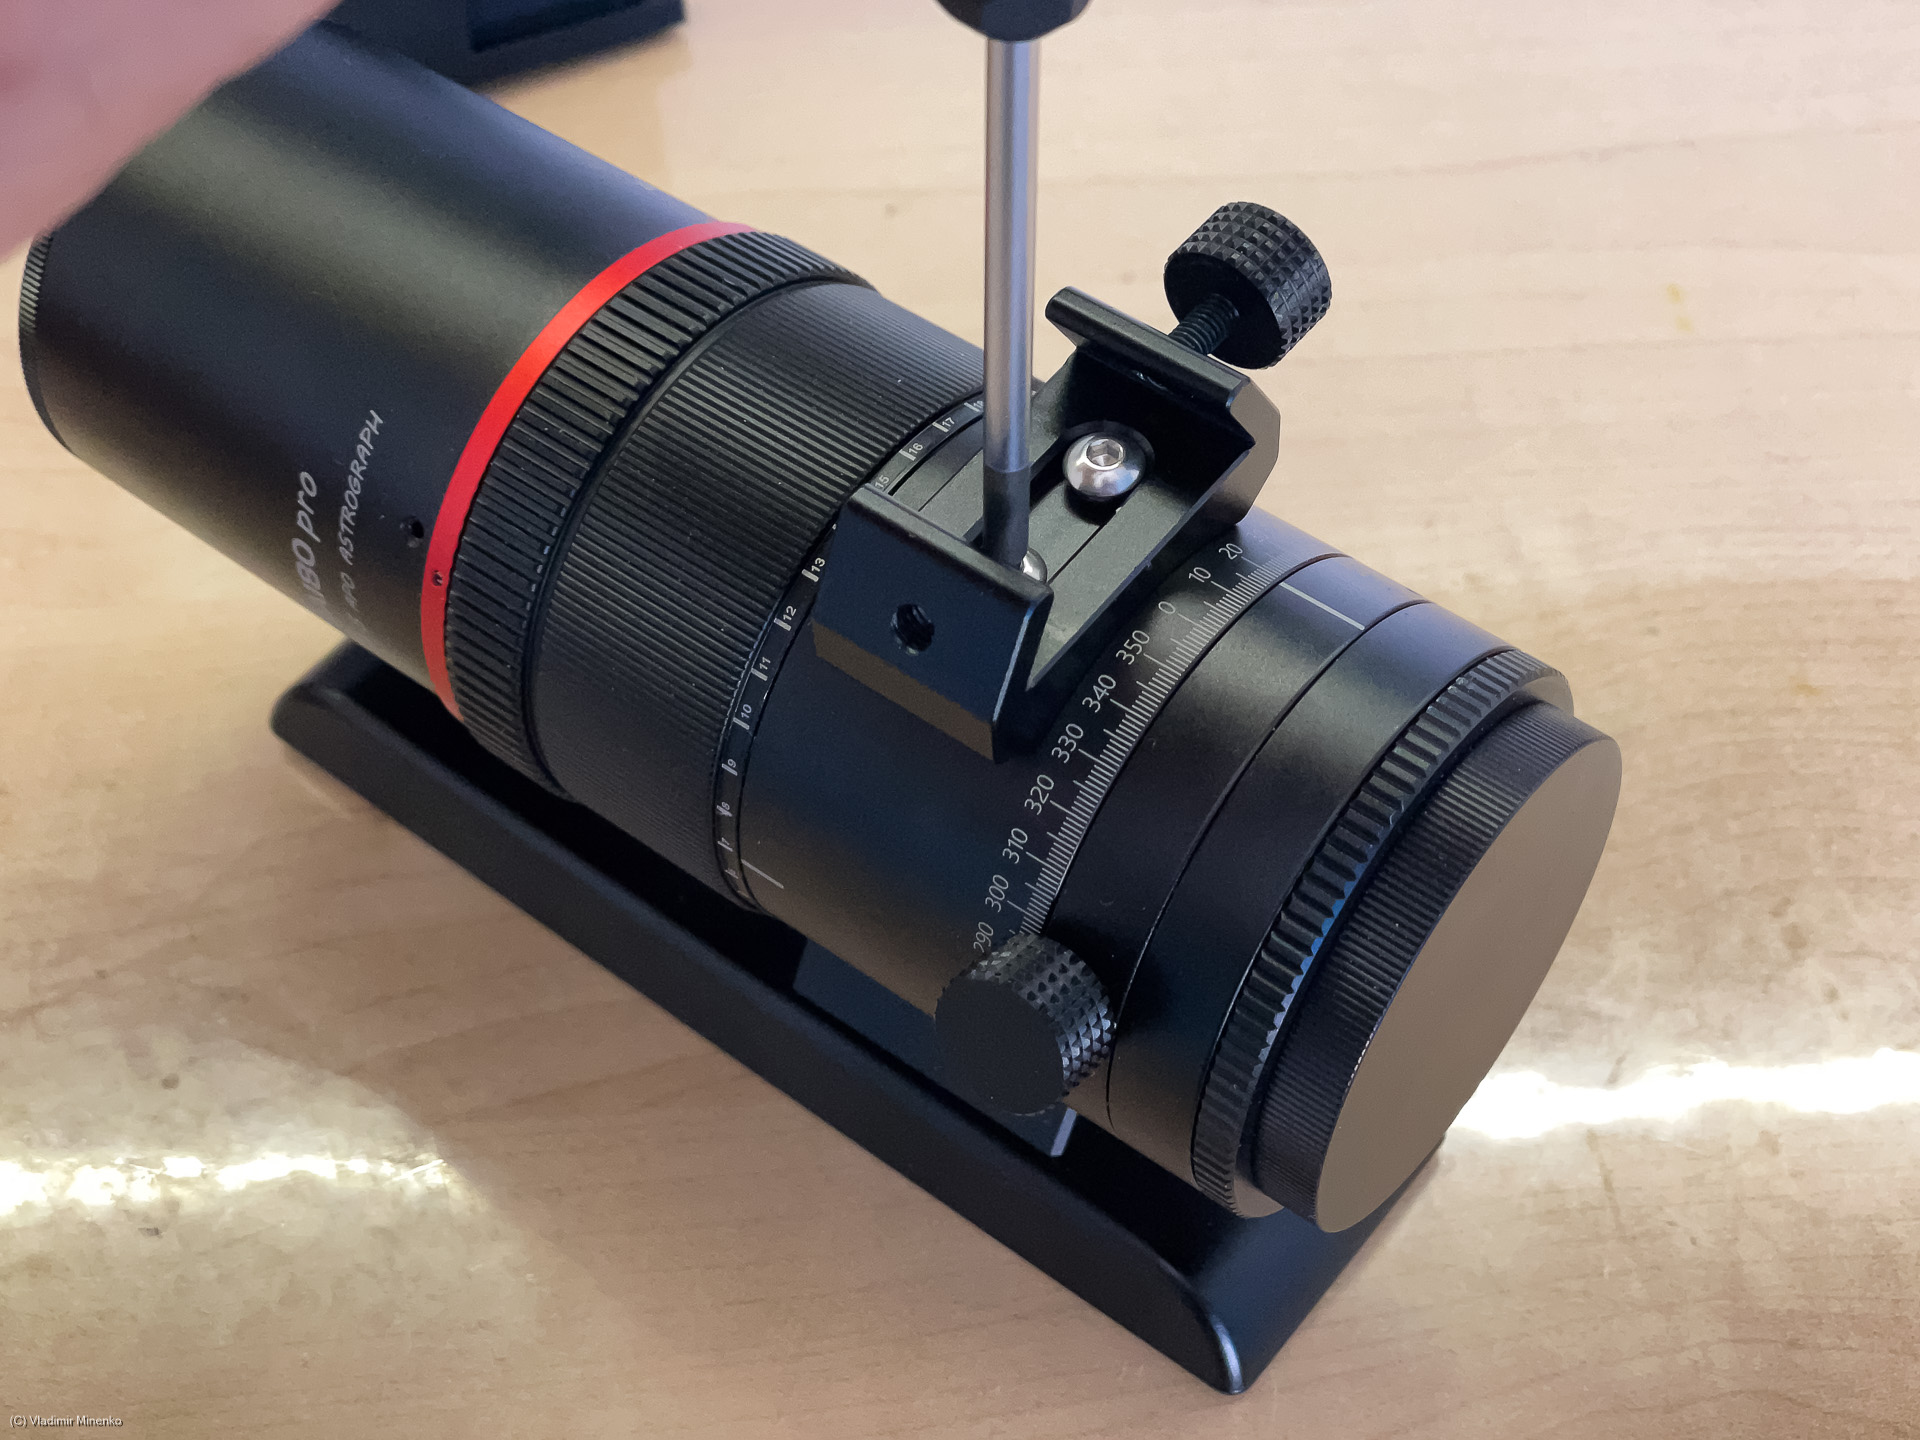
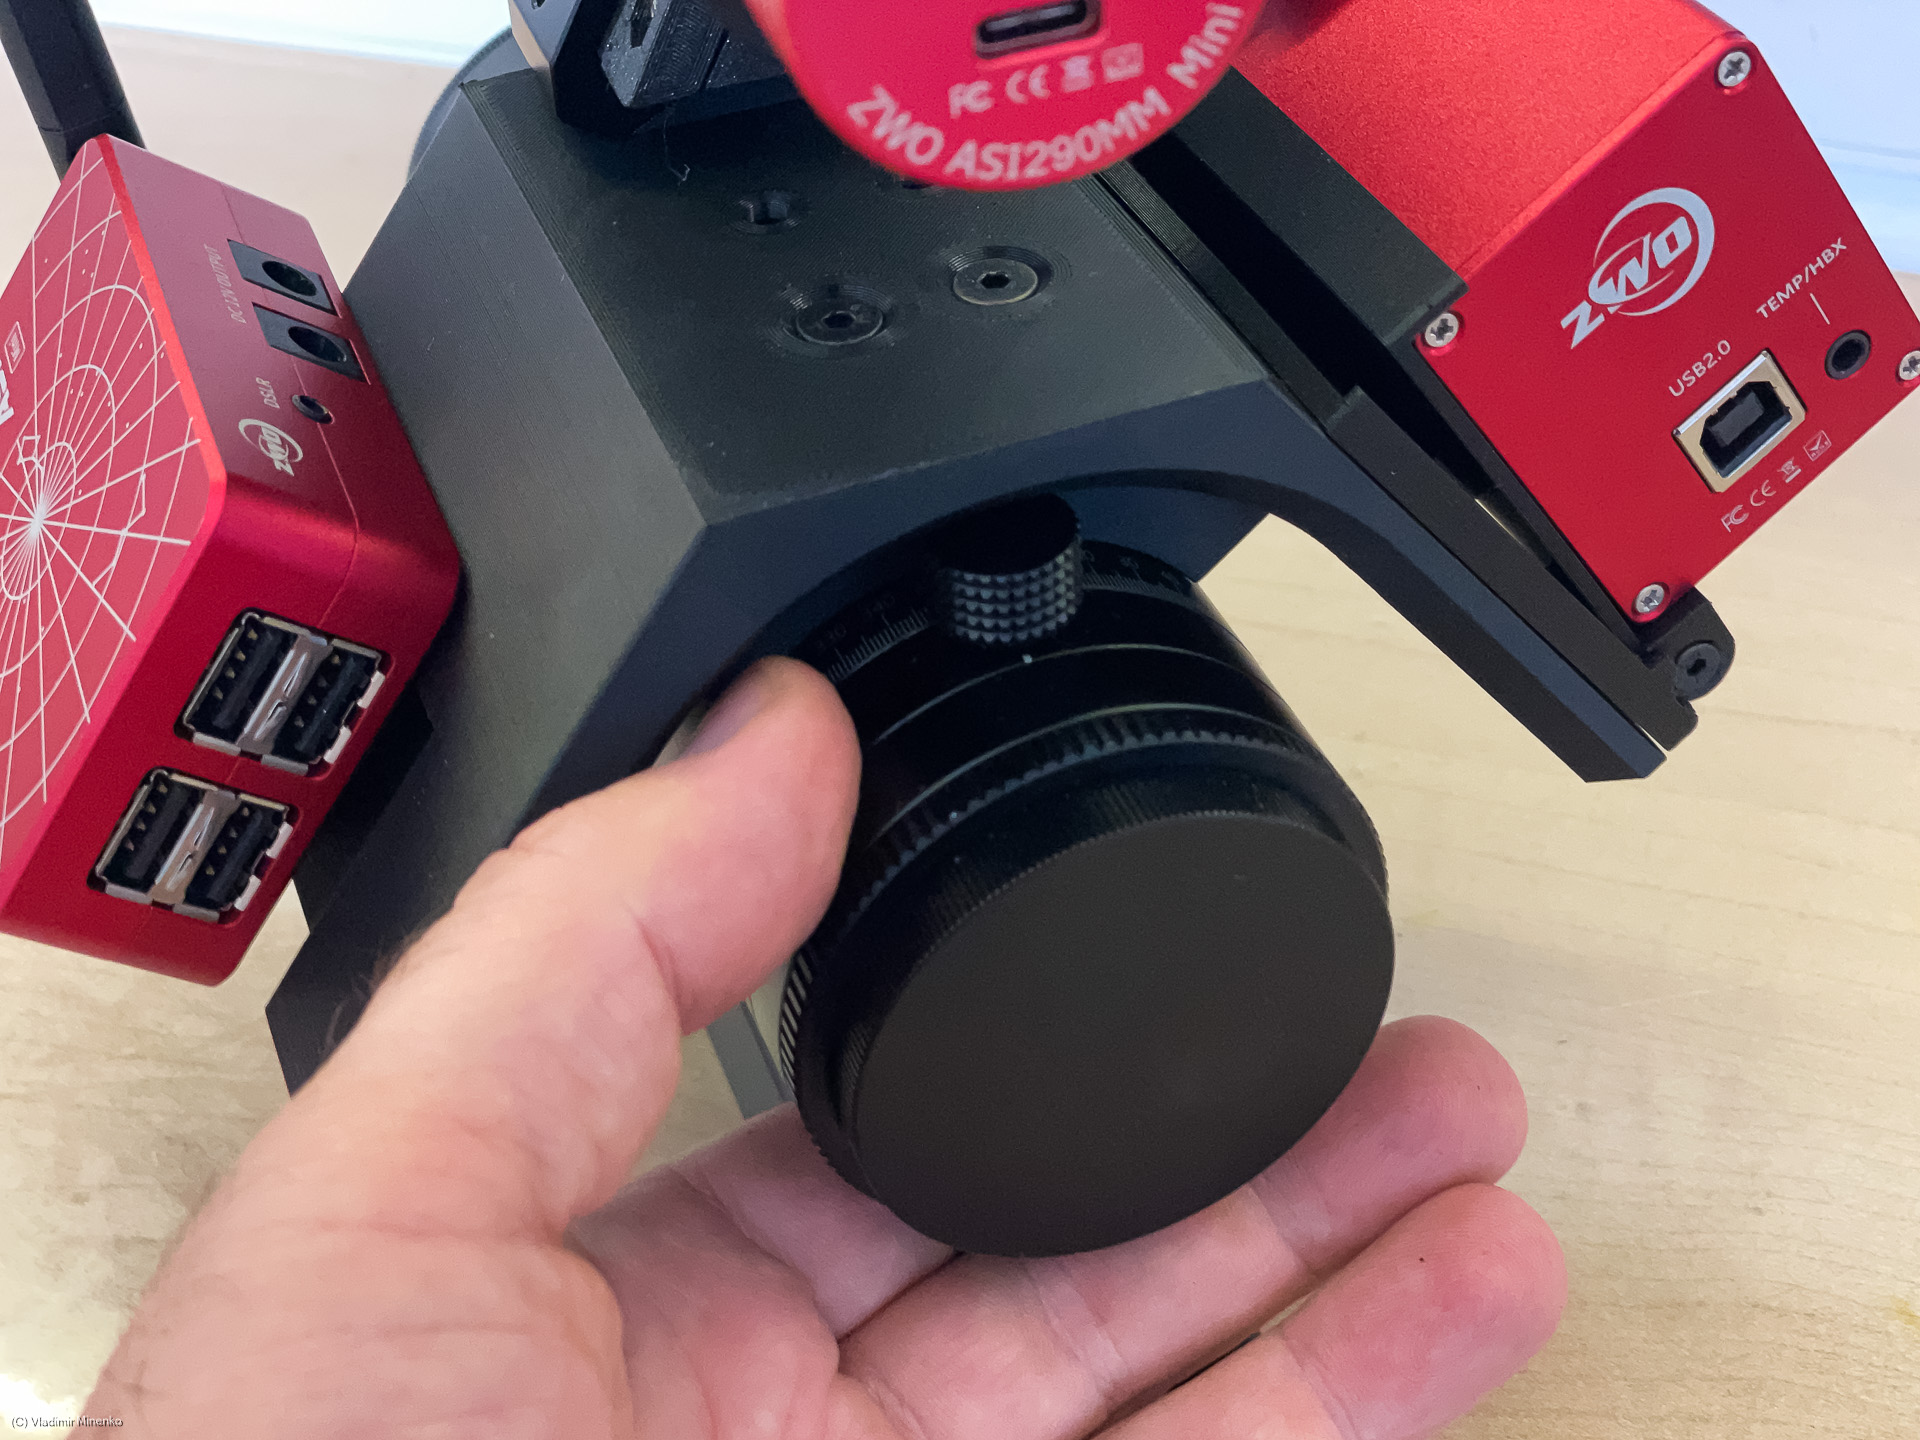
Now, we are ready to mount the belt drive. The kit is provided with a belt adapter which converts the non-standard rills on the focuser ring into a pulley with the standard GT2 profile. The size of this adapter is selected so that it fits the size of focuser ring on a Samyang 135mm lens. With this you can use the same belts as with the Samyang 135mm lens in the Universal on-OTA mounting kit.
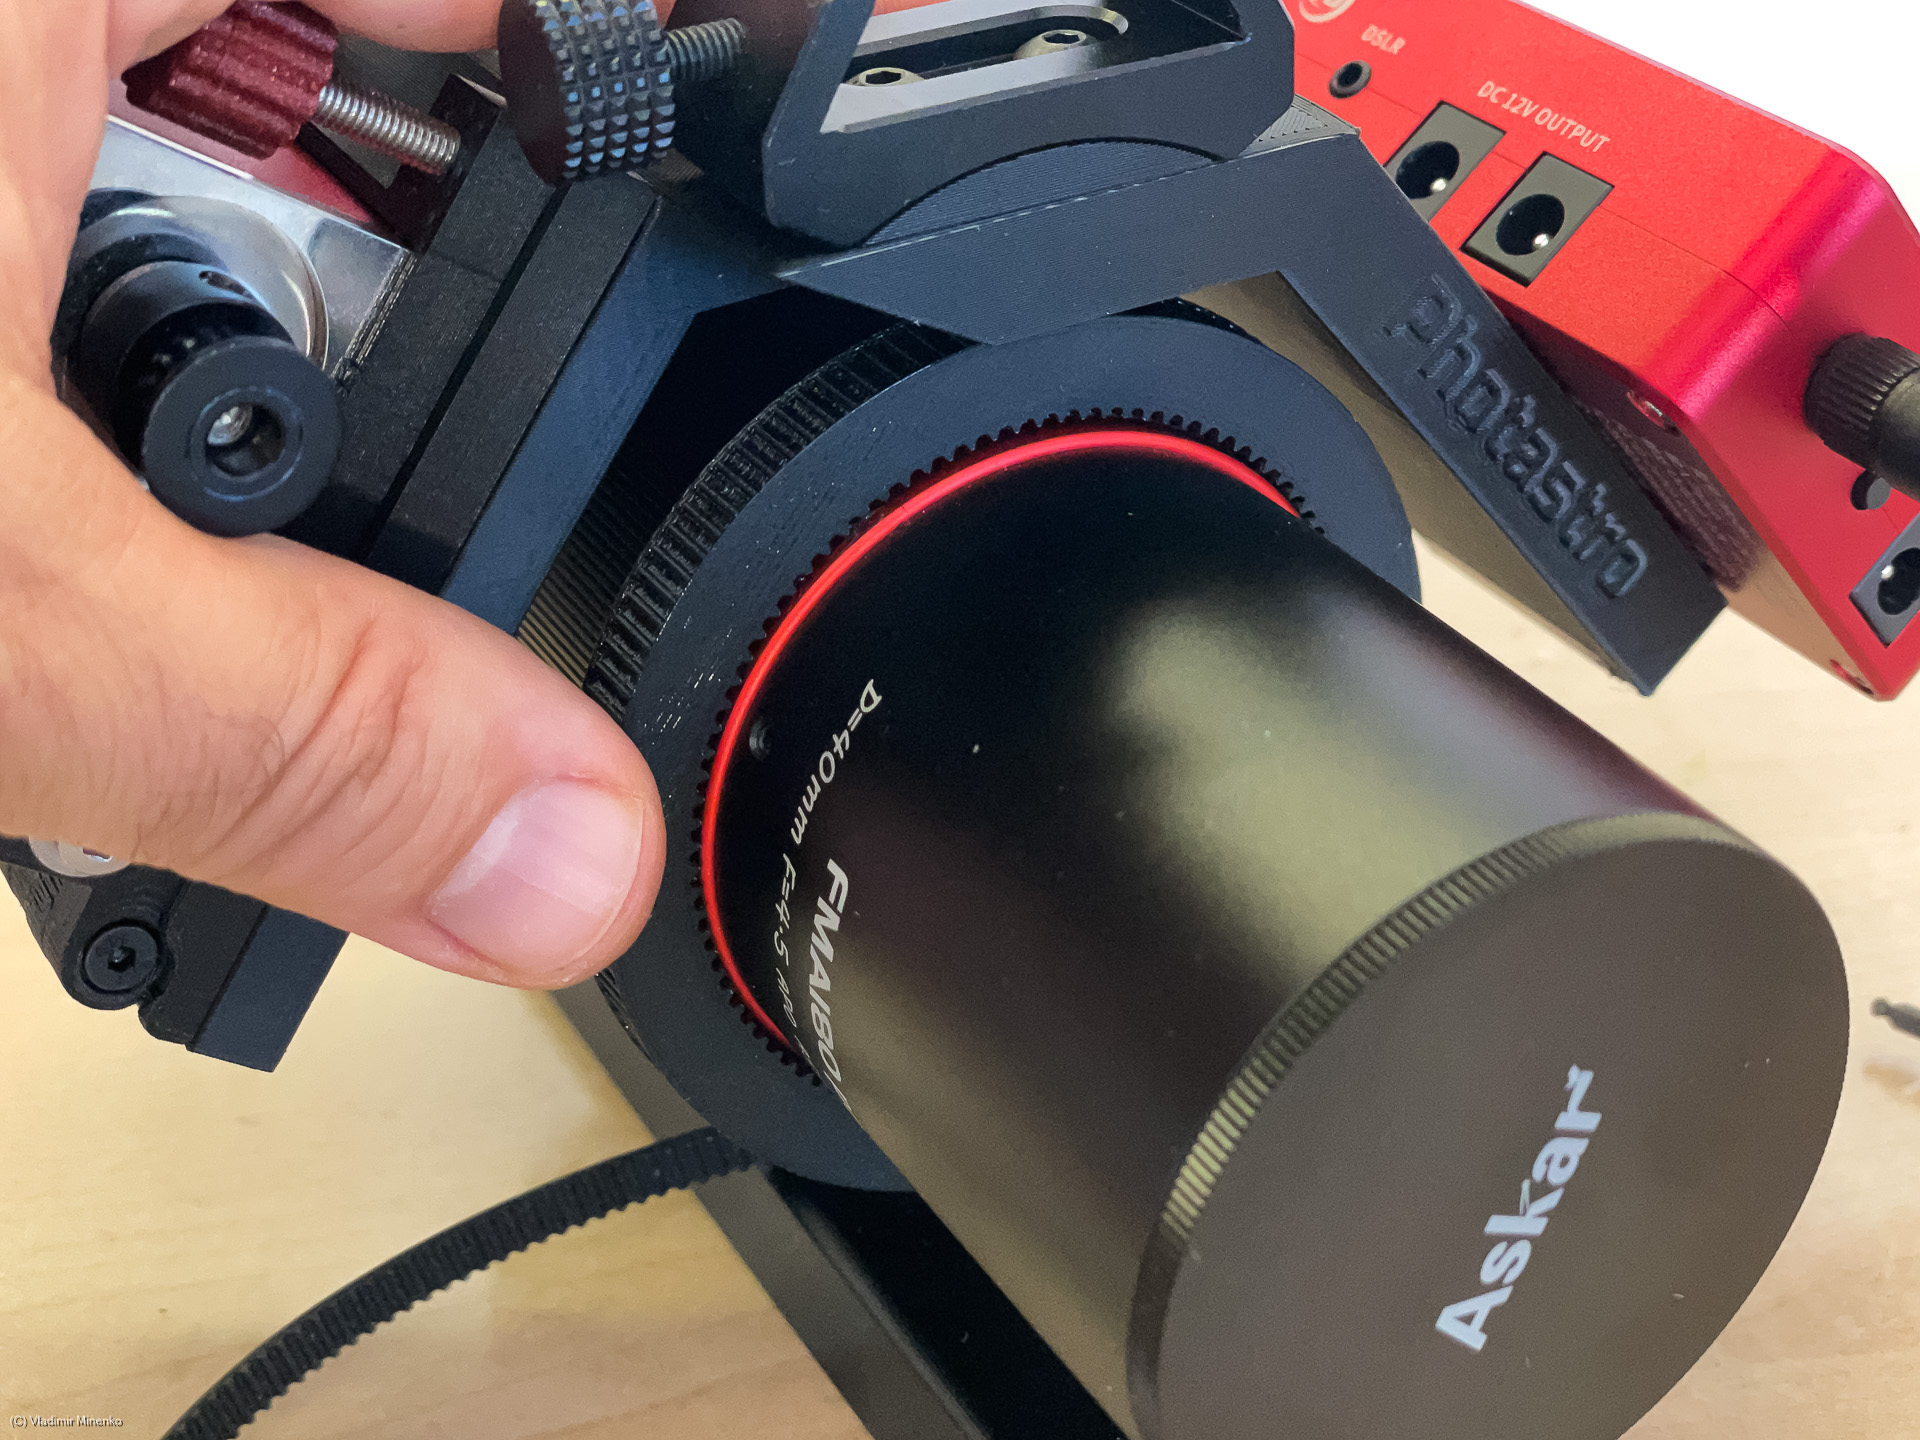
The belt goes on the pulley with no tension in the idle position. In this position, the adjustment screw does not push on the holder plate. This position is useful for manual adjustments of the focus.

When you got the rough focus position you can tension the belt with the adjustment screw. For long-time storage, you should remove the tension a bit.

The cuts on the back side make sure that the use of the 360° rotator is not blocked:
Put your guide scope on the base to verify its position:

A short USB cable is available as an option for the kit. Its plug on the EAF side is rotated so that it saves space:

Hey! We are done now! The setup is ready for imaging!

The kit is available in the shop under this link: https://minenko.org/photastro/mounting-kit-for-askar-fma180-pro/
Comments
Got an opinion on this topic or found a mistake? Please add a comment.
0 Comments