Photography Aspects in Astrophotography
You might be surprised!Many things you know from the daylight photography are different now!
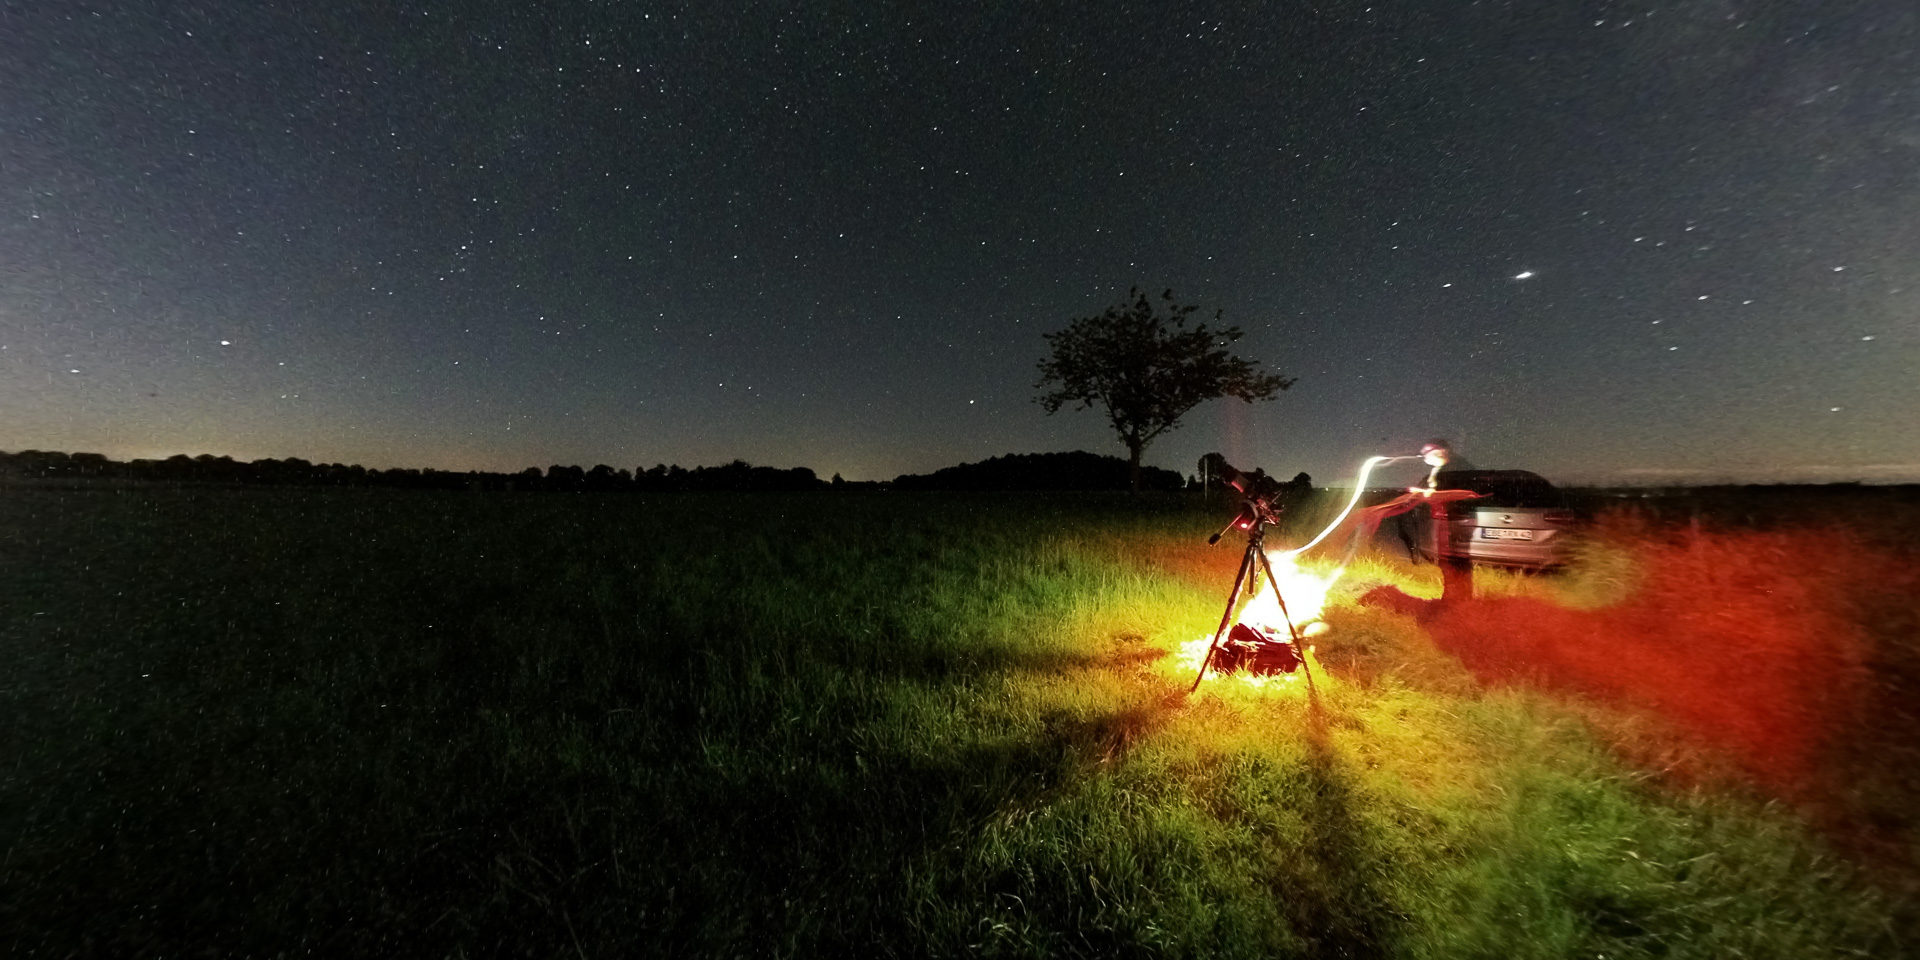
Seasonality
Page Contents
Unlike the regular photography, the selection of your astrophotography objects is strictly driven by time and your location. On top, it is timed by the moon phases. There are some astrophotography objects which are high in the sky only in a narrow time slot during the year in your location. You should try to have an object possibly high in the sky to minimize the way through atmosphere layers which the light has to pass before it reaches your camera. An example is the constellation of Orion with several interesting objects which rises in central Europe higher than 30 degrees only in winter months. If you combine this with moon phases, there are maximum 10-15 dark nights per year to photograph Orion in optimal conditions. And then the weather comes into the mix…
In earlier days, calculation of positions of stars on the sky was a hobby on its own. Today there is a large selection of different mobile apps and desktop applications for this. I mostly use I use SkySafari on mobile devices. On desktop, I use Telescopius and Stellarium. Telescopius is better for planning and Stellarium is better for navigation.
It might sound trivial, but moon phases contribute to seasonality in a certain form. Despite the fact that you can make the moon being a part of a nice scene, the moon is one of the major light pollution sources for DSO (Deep Sky Object) astrophotography. Fortunately, the day of the new moon is not the only one in a month, when there is no moon. There are 5-10 days in a month around new moon where the moon rises and sets so that still some sufficient dark time available.
By experience, Telescopius provides the best integrated services with an overview of seasonal rise and set times including a moon calendar mapped to the weather forecast.
Your Second Major Distortion After Clouds: Light Pollution and Sky Glow
Strong and dense light sources in urban areas are the next major distortion factor for astrophotography after clouds and full moon. Yes, it is generally possible to take some astrophotography pictures from the major square of a big city, but you would not do this on regular basis. If you live there, you have to go to darker places for serious projects.
The site https://www.lightpollutionmap.info ran by an enthusiast in the community. It provides the best integration of maps and so allows easy orientation. Do not try to go to the darkest place near you. This map is not very precise and should be used for orientation only. Scouting an area with a higher Bortle class might bring better results than a spot in the mountains where a farmer uses a strong spotlight with a motion detector to watch his caws in the night…
Sky Glow is another form or better an effect related to light pollution. Sky Glow is generally a source of noise-alike effects in many cases. Sky Glow can become a problem even on a dark spot if your object is located above a large town far away. Sky Glow is a constant problem for nightscapes with an urban view. You should take a more test picture to assess the situation. I once almost deleted this picture since I was not aware of many factors at this time:
BTW, Sky Glow is not the same as the Air Glow, which is much nicer even if it might disturb!
Cloudless Weather is Good, but Good Seeing is Far Better. Both Make “Clear Skies”
Seeing has a large influence on any astrophotography with focal length of 300mm and longer. The term “seeing” is sometimes mixed up with general visibility influenced by dust or moisture. I think this might be due to its relation to the English word “see”. Compared to general visibility which is related to air transparency, seeing is mainly caused by turbulences in the atmosphere and can happen in completely clear air. Good seeing is give by still air with smooth thermal gradients. Human eyes perceive bad seeing as blinking stars.
In practical terms, with a focal length of around 300mm to 600mm, seeing causes largest problem while disturbing guiding. Folks who use real telescopes with focal length 800 and longer have problems due to bad seeing in the actual images as well.
Specialized weather sites, like https://clearoutside.com/ or https://www.meteoblue.com/ provide seeing forecast along other values. But good values are for orientation only, since seeing also depends on may local factors, like the form of the landscape, sources of warm air streams, like heating. If you see many blinking stars, be prepared to fight for good guiding.
Average seeing in places most people live is around 2″ (arc seconds) in a good still night. It can get to 1″ in some selected places, go to 0.5″ in mountains on islands, e.g. La Palma, or even better, like on location of the VLT (Very Large Telescope) Observatory in Paranal, Chile.
This excerpt of a study provides a very good overview of this effect http://www.ifa.hawaii.edu/~meech/a281/handouts/seeing.pdf (the original source seems to be lost)
If you use a DSLR or mirrorless camera with a super telephoto lens of around 400mm, the resolution of this setup will be most probably be around the same 2″ in numbers, but effectively, it is still not good enough be to be affected by 2″ seeing, see the blogpost by Jerry at Catching the Light for explanations. So, with this setup, seeing will have the largest influence on guiding. Seeing results in various optical effects with stars in the guiding camera and software. When the human eye sees seeing as blinking of start, in the guiding camera the stars move, reshape ans change their size. This results in misleading calculations in the guiding software results in more guiding errors. There are some measures how to minimize this.
Taking Pictures at Extremes
Despite the fact that stars as very bright and very small objects drive any optics to unknown limits, there are a few other facts which are extraordinary in astrophotography.
Very Long Exposures
In regular photography today, a long exposure (or shutter speed) is a time span at which you thinking using a tripod now is a good idea… In most cases, it is not much more than 10 seconds. In astrophotography, a long exposure is much longer and most photographic tripods are not steady enough. Each frame in astrophotography is exposed at least 2-3 minutes and you need a lot of them (see below).
Contrary the regular photography, you have to find the right exposure manually, in multiple runs of trial-n-error. Most probably, you will not see your astrophotography object in the preview of the camera while shooting. In this, you should not try to increase the ISO up until you see something! In astrophotography, ISO is not a value which is used to adjust exposure parameters! See about ISO settings in the next section. Using a pre-set ISO value, you should increase exposure time only! You increase until the peak on the histogram is not touching left (standing for “completely back”) side of the entire range. Only if this is not working well, you should switch to the next largest ISO value. Most probably, you will find a one or two most used exposure parameters for each given camera-lens combination and darkness of the sky. On the astro-modified Canon 100D with a CLS (City Light Suppression) filter, I initially used ISO 1600 and exposure time of 120s or 180s. When I moved to Canon 800D (T7i), I started to use ISO 800 and 180-240s exposure time to ensure a good dynamic range.
An Unusual View on ISO Values as a Potential Source of Noise
Now, the most unusual photographic fact coming from astrophotography. In short, the total noise does not increase with higher ISO. The base for this fact is that ISO is not a value reflecting the sensitivity of the sensor. ISO is the level of amplification of the same signal, i.e. the same amount of photons which hit the sensor. They only way increase the amount of connected photos is to increase the aperture or the exposure time. Still, higher ISO values are a popular way in regular photography to get acceptable exposure parameters. And the apparent noise still does rise there with higher ISO, since the most users want to keep exposure times short, compared to astrophotography. With these short exposure times, higher ISO values amplify more noise. On top, different cameras show different behavior with ISO higher than the critical low ISOs. Some camera show the same low level of noise in the whole ISO range. This is called “ISO invariance”.
It is not possible to describe this topic in a few lines due to its actual complexity and many factors playing in. There are several very good and detailed discussions about this. It might take quite some time to read and digest most of them, unless you are a specialist in sensor technology:
- Your first read should be the article on DPReview
) It is a good first read since it looks on the topic from a “non-astro” perspective - The second read about ISO in astrophotography is the article by Chris v.d. Berge What is the best ISO for your DSLR for astrophotography?
- This article by Ian on Lonelyspeck also discusses dynamic range.
- And if your German is good enough for reading you should not miss this one
A few practical tips in short:
- Choose the ISO high enough to minimize such effects as background banding. In most cases your minimal ISO is not lower than 400. Keep in mind that popular day light ISO values of 100 or 200 expose a lot of noise under exposure parameters required for astrophotography
- The maximum ISO is limited by decreasing of dynamic range with higher ISO. In most modern cameras, the dynamic range start to decrease with ISO 1600 and higher
- In most cases, popular ISO values in astrophotography are in the range of 400-1600
When coming from regular photography, it is hard to believe the above. Do you own experiment! You do not need more than a tripod for this:
- Find a low light scene with some bright elements in it. The scene should result in exposure times of at least one second as measured aromatically by the camera
- Note the measured values and set them in the manual mode
- Switch to RAW and turn off any picture post-processing in the camera
- Make a series of pictures keeping the exposure time the same and changing the ISO value only. Use the range of 100-6400 and increment in standard steps. Using the standard increment steps is handy since they fit well with the EV scale
- Load all pictures in a preview with equalized EV. Lightroom provides comfortable tools for this.
- Watch the result: the noise increases with lower ISO…
- Get a strong drink…
Taking Pictures in Astrophotography is Called “Image Acquisition” and This for a Reason
In astrophotography, you are by far not done with taking one or max 2-3 pictures of the scene as you might know this in the regular photography. In astrophotography, a picture of an object in the sky is based on a large number of separate pictures. There are at least 20-30 separate pictures. They called “subs” and the whole process is called “image acquisition”. After the “image acquisition” you do “processing”, and this is where the actual picture comes out. One of the key parameters of an astrophotography picture is “integration time”. The “integration time” is the exposure time of single frame multiplied by the number of all frames (or “subs”) used later in “stacking” to produce the actual “master frame”. A good picture has at least one hour integration time. Better ones – several hours.
“Stacking” is a generic approach in photography and image processing to combine multiple images in order to achieve a given effect. An example of stacking is “focus stacking” where separate pictures from different focus planes are combined in one to produce an effect of a very wide depth of field.
In astrophotography, stacking is used to improve signal-to-noise ratio. Basically, to make the collected photons stand out and dismiss possibly any kind of noise of image defects produced by the camera, e.g. hot pixels. There are many algorithms for stacking in astrophotography. If you are interested in details read this article by Clarkvision or watch the talk by Dr. Craig Stark who is one of the developers of the popular image processing Nebulosity suite and PHD2 guiding software.
In short, be prepared to take at least 30 frames (subs) 180s each resulting in 1.5h integration time for your first good picture. The best pictures you will make will have more subs. By experience, 1.5h integration time usually results in 2.5-3h being in the field due to planes and satellites flying across, failing guiding, minor problems with gear, time to setup and dismantle.
Some iconic works are a result of 100h of integration time and more. This one is 250h in total, for example. Take your time to zoom and realize the details you actually see. And then read the about “Project Orion” by Matt (a 200 panel mosaic containing over 500 hours of imaging time and 2000+ individual images) to get a sense of dimensions of making such images!
If you are interested in details of camera technologies applied to astrophotography, watch the talk “Deep Sky Astrophotography With CMOS Cameras” by Robin Glover (developer of SharpCap). This talk discusses sources of noise and how to deal with it.
Making and Using Calibration Frames
Image stacking in astrophotography goes beyond expanding the total exposure time and so collecting more photons. It uses additional, so called calibration frames. Any stacking software works without them too, and it is very tempting to skip this as a hassle taking time. Do resist this temptation! After spending almost the whole night for one picture in the cold or feeding mosquitoes, it is a good investment to once take some time and create a library of calibration frames which you can reuse in other sessions. I went through my fight with this temptation and I won! There are tons of guides on Internet or in the book how to do calibration frames. I will not repeat them, rather share my personal learning:
- Use calibration frames. Yes, it is a boring hassle, but it improves the results more than you might think
- Start with “bias”,”dark”, and “flat” calibration. Ignore others kinds for now.
- Invest in a flat-field lamp for the “flats”. Using a t-short, office paper, a monitor screen works, but produces the same cheap results it produces. It is sad to realize and very hard to fight some strange effects in your picture at the end, where you spend so many hours to get there. I passed through this at least twice, and I will never return.
- Flats are not expected to have the same exposure time as the actual scene. Still, if you use a flat-field lamp, the shutter speed should be not faster than 1/25s to avoid any flickering. And this is not nitpicking! I passed through this too!
- Collect a library of calibration frames, and spend some time to a get proper sorting structure. You can re-use them over and over.
- Do not be religious with numbers. More is not always better. For example, depending on your camera, there might be a big difference between ISO 400 and 800, but there is small to none difference if you have 20 dark frames or 60. The latter will increase stacking time on each run. The former is easier to make and handle.
- Sort darks by temperature ranges and not exact temperatures, but make notes of the conditions. I use the outside temperature and not the sensor temperature for sorting. It is easier to memorize. Use reasonable temperature ranges, like “very cold winter”, “freezing”, “cold summer” or “hot summer”. There is barely any visual difference between darks made at 16 or 18 degree Celsius outside temperature. Remaking darks for each given temperature costs a lot of time and disk space too. Save your time now – you can always make more darks when you know better hot to benefit from them.
Good to Know
Intensive and Detailed Image Processing
Compared to regular photography, post-processing in astrophotography takes 10 to 100 times longer in average. And it is absolutely mandatory. There are some estimations that the first run in post-processing takes roughly 3-4 times of the integration time. This can be much longer than that and almost endless… If you are an “out of the box” photographer and image processing is always boring you, astrophotography might not last long for you.
Since there is a large number of Lightroom users in general and you get a PhotoShop license along with the Lightroom subscription, there seems to be two larger groups of people. One group uses Deep Sky Stacker as freeware for stacking and then PhotoShop and Lightroom for post processing. You still will need PhotoShop again and again even if most steps are doable in Lightroom. The other larger group uses PixInsight or Astro Pixel Processor for both stacking and post-processing. Even though fine tuning is possible with these tools too, as a beginner it fast to use PhotoShop for fine tuning if you have some experience with it. This is my personal observation and not the evaluation of the software offerings. It will take some time to find your own choice. If you have no access to PhotoShop, you can use Gimp in the beginning. In total, solid commercial solutions are not for free, but they save a lot of time and limit the complexity.
Most Used Focal Lengths
In regular photography, each focal length has its own use, and there is a large artistic difference between 35 and 50mm when used on the same scene. In astrophotography, the ranges are driven by field of view:
- 14mm – 35mm: nightscapes
- 100-150mm: very wide-field astrophotography of areas of the sky
- 200-600mm: deep space astrophotography. Folks who own a 1000mm telescope call this wide-field too 😉
- 800mm and longer: not sure how this is really called, but often it is also called deep space astrophotography. In any case, this is a limit where you can really need a telescope and can target smaller objects, i.e. 30″ angular size and smaller.
Roger from ClarkVision has a good detailed overview on this topic
You might already own a lens in this range. Start with it! In our times, you can do a lot with good photography lenses before you decide to buy a telescope 😉
Where Are the Natural Limits? Do Some Math About Your Equipment
I already mentioned my appeal to be less religious with numbers. I saw this myself. As a beginner it is hard to realize the sensible limits and draw a border. There are many folks in the community who do this hobby since ages and polish every aspect in it, with sometimes a bit extreme opinions or measures. For example, I saw a blog post from someone who discussed a good selection of materials for mounting elements which are expected to not produce vibrations caused by tensions and friction do thermal shrinking and expansion. Well…
Some time ago I was reading of the angular size of 2″ (arc seconds) as a magical number showing up as a “pragmatic limit” in various aspects of astrophotography.
For most locations, basically those where most of live or can go to on regular basis, Earth’s atmospheric conditions limit the resolution to 2″. Basically, any a star smaller than 2″ will show up at the size of 2″. And yeah, just to notice: 2″ is an 10mm object in at a distance of 1km.
An optical train and camera with a total resolution which is sufficient for imaging of details of 2″ in size should have own resolution of around 0.7″ (1/2 or 1/3 as a rule of thumb). This is a hight-end equipment if you consider that you need a very large aperture to get into this regions. The Canon 800D with a 400mm focal length and entry 77mm diameter lens achieves a resolution of 2.2″ per pixel. According Dawes Limit formula, this setup would have a max resolution power of 1.55″ (120/77mm) and the Rayleigh criterion gives 1.79″. If we apply the above rule of thumb, the above setup is not capable to capture details smaller than 4-6″… So it makes no sense to target small objects like ZZZ Georgina from ATIK Camera wrote an interesting article about this aspect and how the rule of 2″ affects the selection of the hardware.
There are some more interesting calculations related to a selection of a guiding scope. My highlight is the article Selecting a Guide Scope and Autoguiding Camera for Astrophotography by Brian at Agena Astro Products.
Another good article about calculations and the meaning of their results is Telescope Equations
Doing some math on your equipment has another purpose. It helps to calculate the field of view (FOV) for each of your camera-lens combinations at various focal length. No one is interested to know the field of view values in regular photography, since you can see the scene when you take the picture. In astrophotography, you can see only brightest stars in the live-preview and even less through the eyepiece of the camera. Moreover, there is not much to see even if you take an test picture with maximum ISO. Even if you can use plate solving to verify the target coordinates, you still need to know if the picture is framed as desired. FOV numbers is a really big help in planning of your next session.
The Astronomy Tools website provides an FOV calculator which includes a preview of the object framed into the calculated FOV. SkySafari provides the same functionality. I mostly use Telescopius, since it also allows to store various configurations in your profile and provides graphs for rise and set times for almost all objects in the sky, moon calendar, weather forecast with seeing, and many other features.
The previously mentioned Canon 800D (ASP-C) with a 400mm lens has a FOV of 3.19x.2.19 degrees which means that the most photographed objects the Andromeda Galaxy and the Orion Nebula just fit into this field of view. Well, the Andromeda Galaxy is actually a bit too large 😉
0 Comments