Getting Into Astrophotography for Daylight Photographers
Notes from my personal experience on what to do, not to do and in which order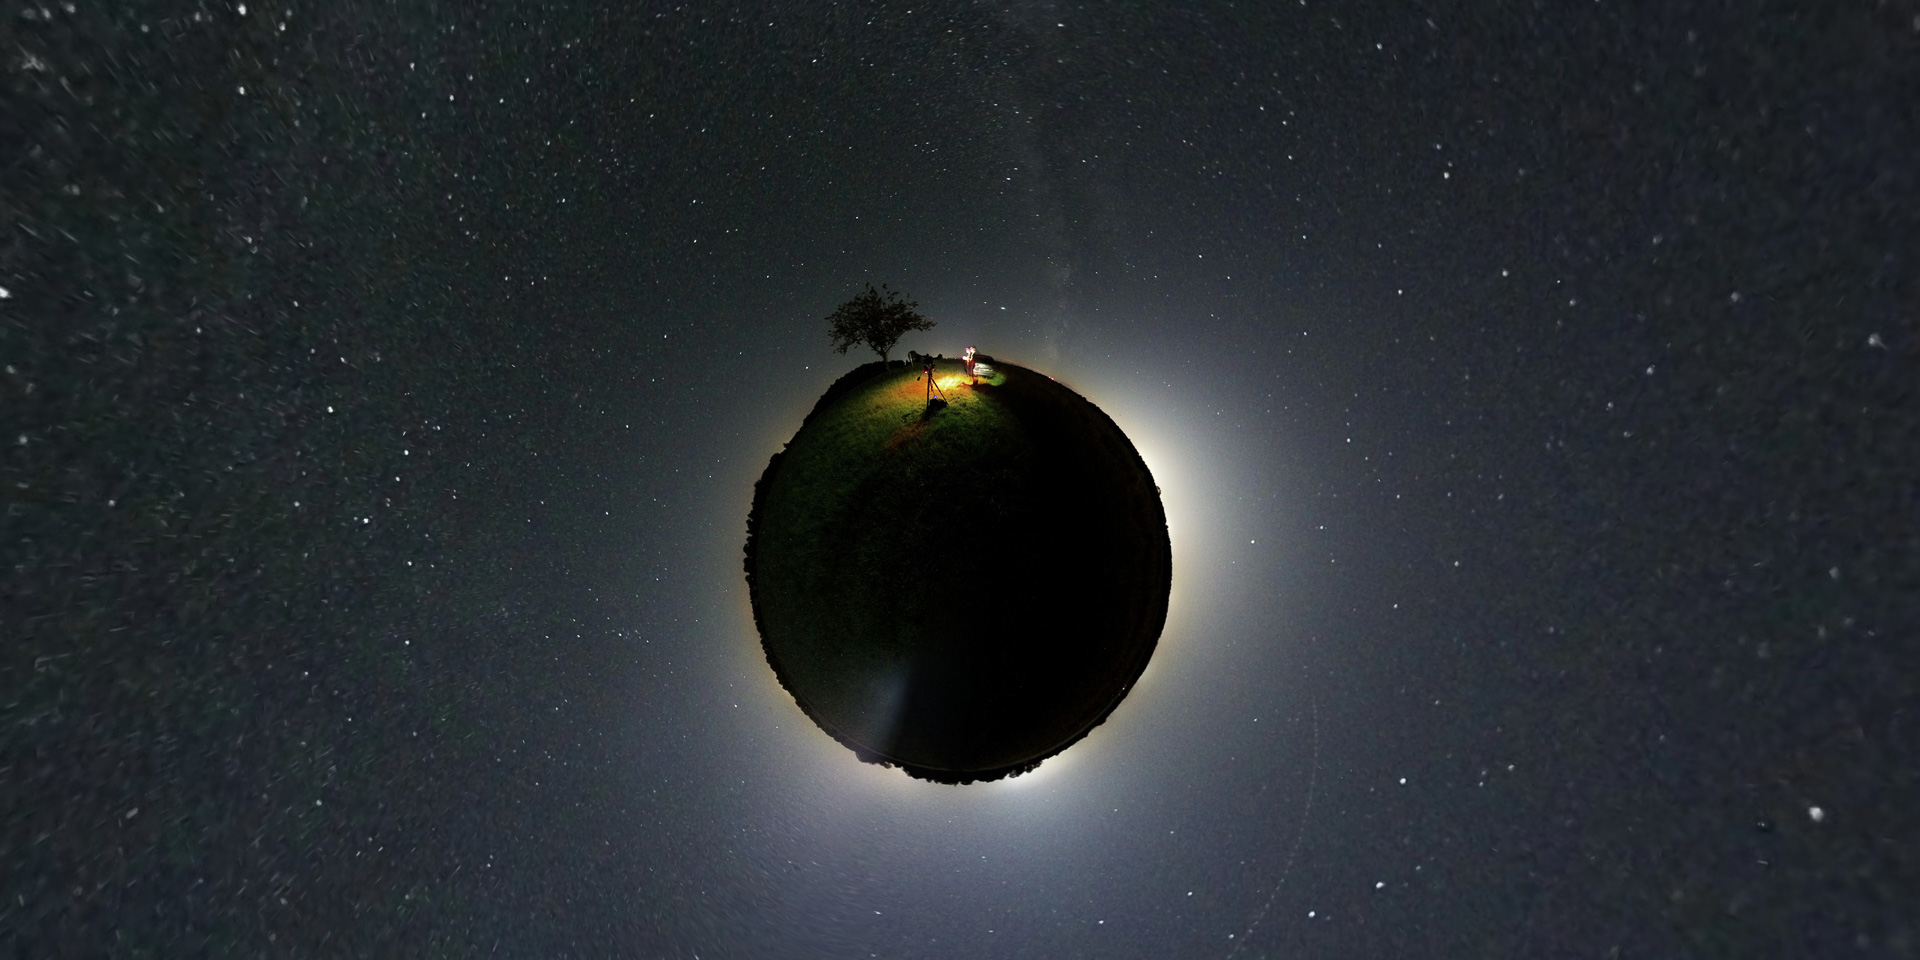
How I Started
Page Contents
I used time of the Corona lock-downs to get into astrophotography, and more precisely, into the “Deep Sky photography”. I approached astrophotography from a photographers’ perspective. I didn’t have and still don’t have an interest in astronomy as a science , neither in instrumentation research. I just wanted to see those exciting things in the night sky which you cannot see with naked eye and try to make some (possibly cool) pictures of that. I also wanted to place the night sky as a background in landscapes. I already own a star tracker since 2017, and used it a few times:
My initial intention was to find a way to simplify the polar alignment procedure with my Star Adventurer Mini and try to shoot some real astronomic objects hidden along the Milky Way. I started to search and read. Soon I realized that I’m almost opening a Padora Box of abbreviations, terms with varying definitions, and tons of special and expensive equipment. It seemed to be literally a “rocket science” with a cost of a used car. One day, I saw a used high-end Meade 10″ telescope with an azimuthal LX200 mount along with tons of additional accessories. It was tempting. I was very close to buy it. I thought, I will just get this one package, and it will help me to get first results in one step. And the end, fortunately, I didn’t buy it! And this made me start right way. I hope I can help you as a photographer to start right way, in shorter time and potentially to spend your money for the right gear. Like in my case, this will probably be not a telescope.
Sharing Experience
As a beginner, I’ve learned astrophotography as a hobby with an weird mix of deep frustrations and joy in discovering the unknown and achieving some cool results. With these pages, I intent to reduce the former for you and so gain more space for the latter. At the beginning, I had some expectations how things should work for me. I think, today I still keep on with the most of them:
- Keep using the photography equipment I already have as much as possible. If I need to buy new equipment, try to get something which can be used for daylight photography as well. New special equipment should solve special problems and bring significant improvements
- I wish to stop creeping and crawling around my tripod, and look up faint markings in cheap eyepieces to get the polar alignment done
- I wish to see “administrative” and routine aspects on the astronomy side sorted for me by a computer. I would like to use my time for actual photography
- When (astro)photographing, I refuse to bring and use a notebook along with almost a half of an office, plus a fat battery to make sure all this stuff runs for 4-6h in a cold night
- My setup has to be light and portable. My backyard is not well suited for astrophotography being obscured by trees and the roof. I need to drive out to reach nice, open and dark places
- I wish to keep using MacOS and iOS, since I use that most of the time for my other work at computer
Is This Yet Another “Primer” About Astrophotography?
Hopefully, not! I intend to make it more a kind of “meta-primer”. I was reading a bunch of primers about astrophotography, and later bought some books. There is no need for another one. Some of them are pretty old – 10 years and older. Too many exciting developments happened since then. Others sources do not mention some essentials which I believe you need to know as a beginner. The third ones are telling people they need to buy more and other gear which is not quite fair, since beginners in astrophotography cannot judge what they actually need.
My pages focus on essential findings putting them in a certain order. They will refer to other, more detailed sources on Internet and some books.
I was writing these pages quite a while, in several iterations, mostly as text initially. Iterations were needed to re-write some topics where I thought I’m done with this, but learned new things changing my opinion. Maybe some of you can comment on selected pages with your own findings. I think it is worth it. There is a large potential to make astrophotography more accessible if we take the “rocket science” element out of it. Our experience and 21st century would make this real.
Suggested Step-Stones Into the Deep Sky
- Do NOT buy ANY gear in the beginning, despite a tripod if you still do not have one. Make your first pictures of the Miky Way or of a part of it with the camera and a lens you have. Watch the excellent video made by Nico about this. Learn about basics of astronomy and about photography specifics in astrophotography
- After you’ve made your first pictures, do NOT buy a telescope as your first special gear! Just do not! Even if you see and read on the Internet that most people use a telescope for astrophotography. Invest your time and money in refining your lens in the 24-100mm range. You can and will use these lenses for astrophotography and they will improve your gear for daylight photography.
- Learn about specifics of the low-light-long-exposure photography. Be aware that this is NOT the same as the popular “available light photography”. See the page about the photography specifics in astrophotography and tools.
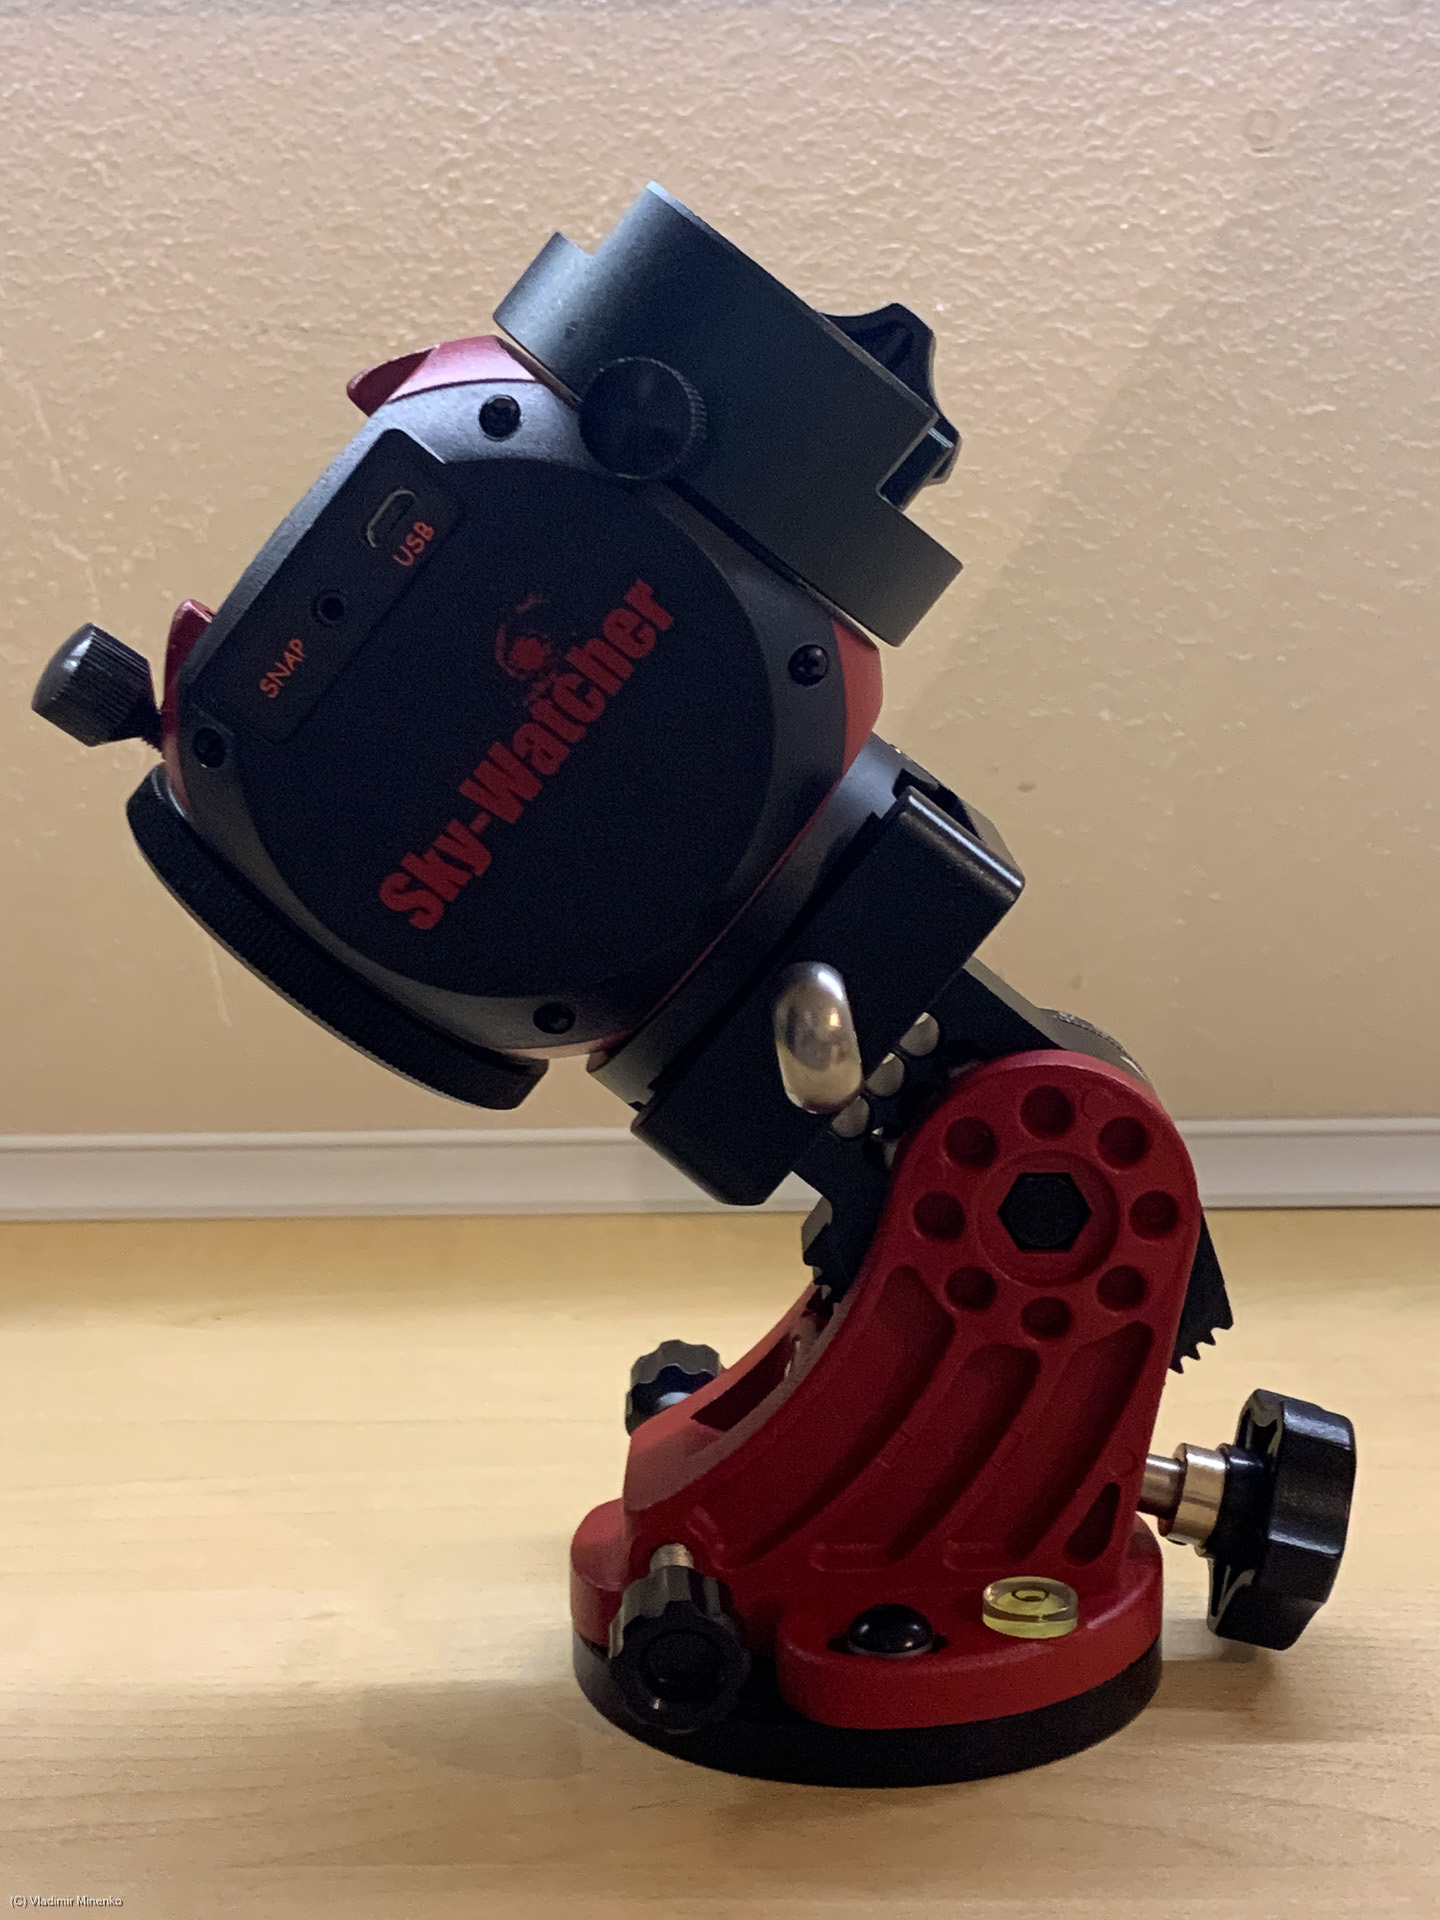
- Your first investment in special gear should be a star tracker. A star tracker will allow making real long-exposure picture and using long focal length lenses. You still will need a lightweight and simple star tracker in the future if you get a real mount. Even if you decide that the Deep Sky Photography is not for you, you still can use a star tracker for nice landscapes at night (sometimes called “nightscapes”) and otherwise when traveling. See this page about star trackers and mounts
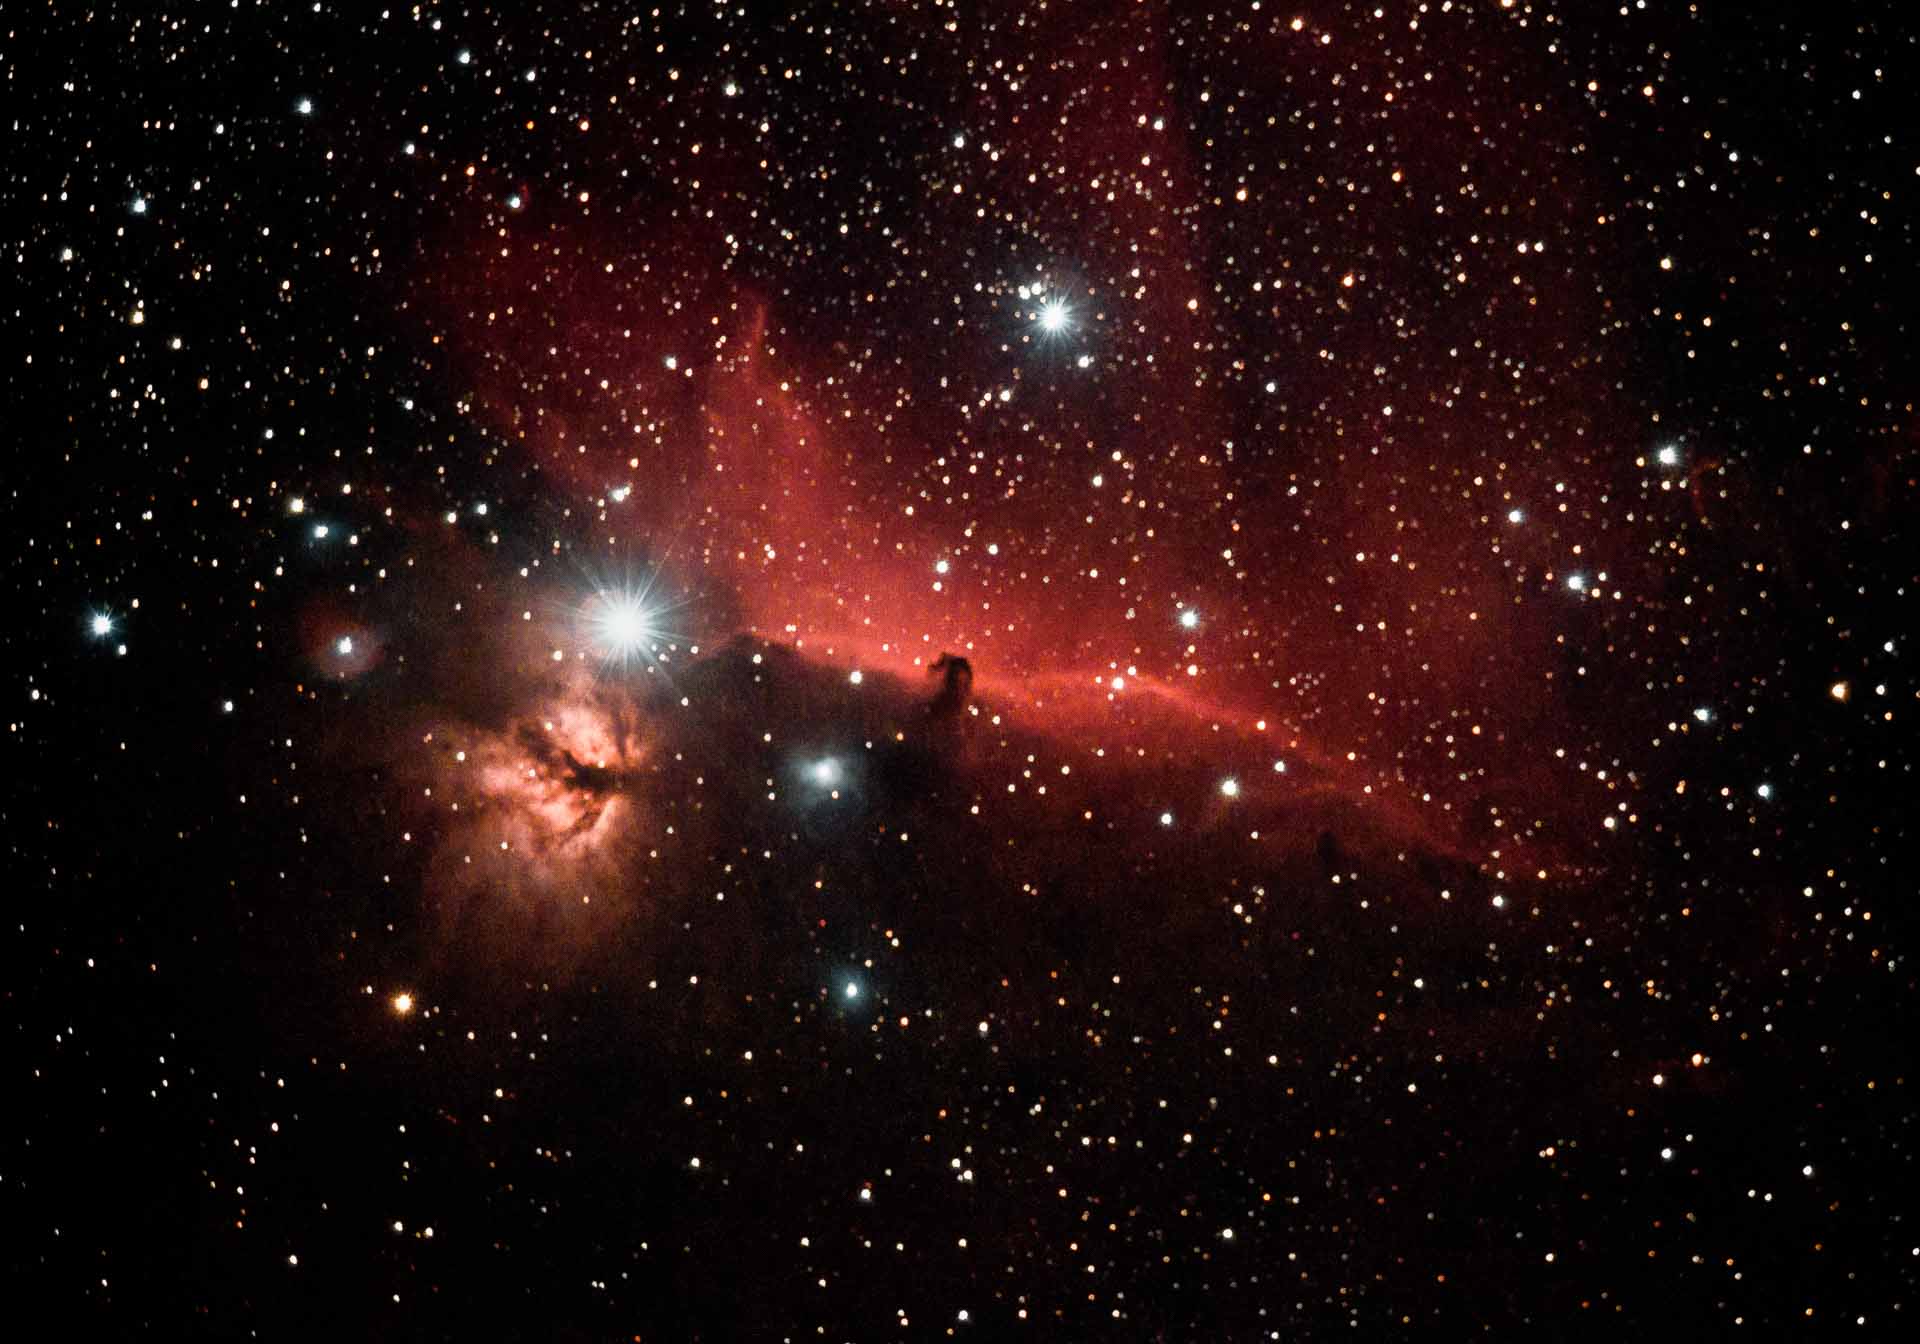
- After a few nightscapes, try to photograph a large Deep Sky object, for example Andromeda, the Orion belt or the Sadr region. These objects are 2-3 times larger on the sky than the Moon. Surprised? It is actually true. See the page Seasons of the Astrophotography to find one. For this, you still do not need a telescope or you have a good 200mm lens.
- Using lenses with a long focal length, you need to learn how to focus. There are some tools simplifing this.
- Making astrophotography pictures the first time, you will realize that it is not easy at all to find Deep Sky objects in the sky. It is even more difficult to frame them in the camera in an optimal way, since most objects are not visible with naked eyes. This is the point where I stared to think about a Go-To mount. See the page about mounts
- As explained on the page about photography specifics in astrophotography, astrophotography is about collecting photos and composing them in an exciting visual representation. Most Deep Sky objects are small and very faint. You will need a lens with an effective (including the crop-factor) focal length of 300mm and longer. More and finer details will require exposures being longer or the optical train much faster. In this, the least expensive and a long-term oriented step is to start using auto-guiding. You should at least try it before buying any more powerful and so very expensive optics, since then you will definitely need auto-guiding.
- Later on, you will reach a level where you can do a lot of cool astrophotography pictures, including Deep Sky ones. You will probably wish to shorten and even dismiss routine preparation works, or automate focusing.
- When you arrived here, you should feel and see if astrophotography is something you will do for a longer time and potentially more intensively than before. If you still stop here, I hope my pages helped you to learn more and spend less money on gear which you will not use anymore. I did not stop and going my way.
- If you keep going, you can select various directions to enhance your gear, for example, finally consider buying a real telescope, gain more image processing skills, get deeper into the space and, in total, improve the final results. On the page What is Next you can read about some considerations from my side.
What These Pages are not About
I did not get to photograph planets yet. I tried and failed. Planetary imaging is by far more tricky and uses totally different techniques than photographing Deep Sky objects. My first and for a while the last attempt to make a picture of Jupiter (400mm on an APS-C camera) resulted in this totally boring picture: 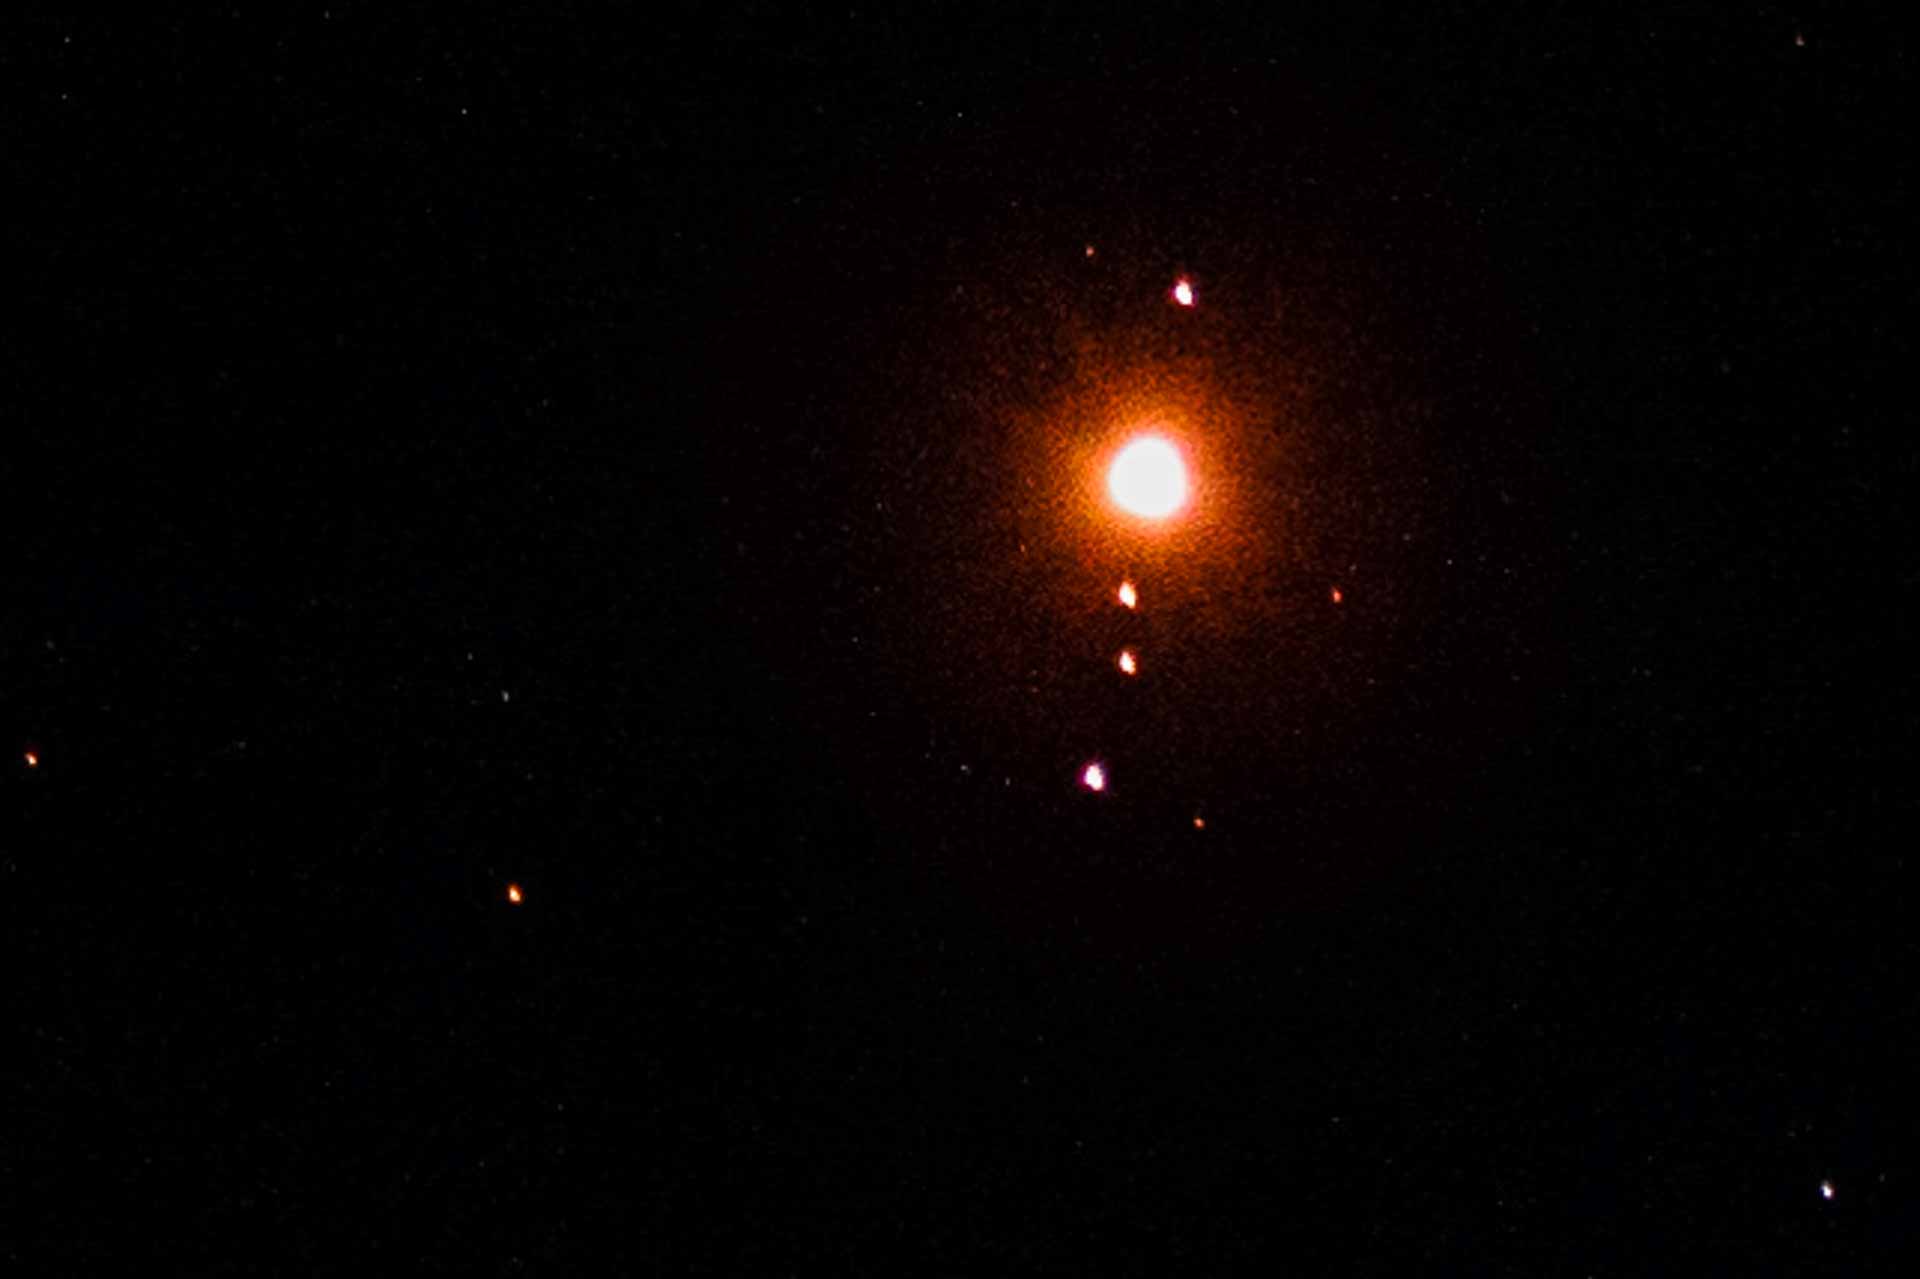
I also bought a very expensive 77mm ND filter which is strong enough (ND100000, density factor 5.0) to photograph the Sun. I failed the same way as with planets. See the result: 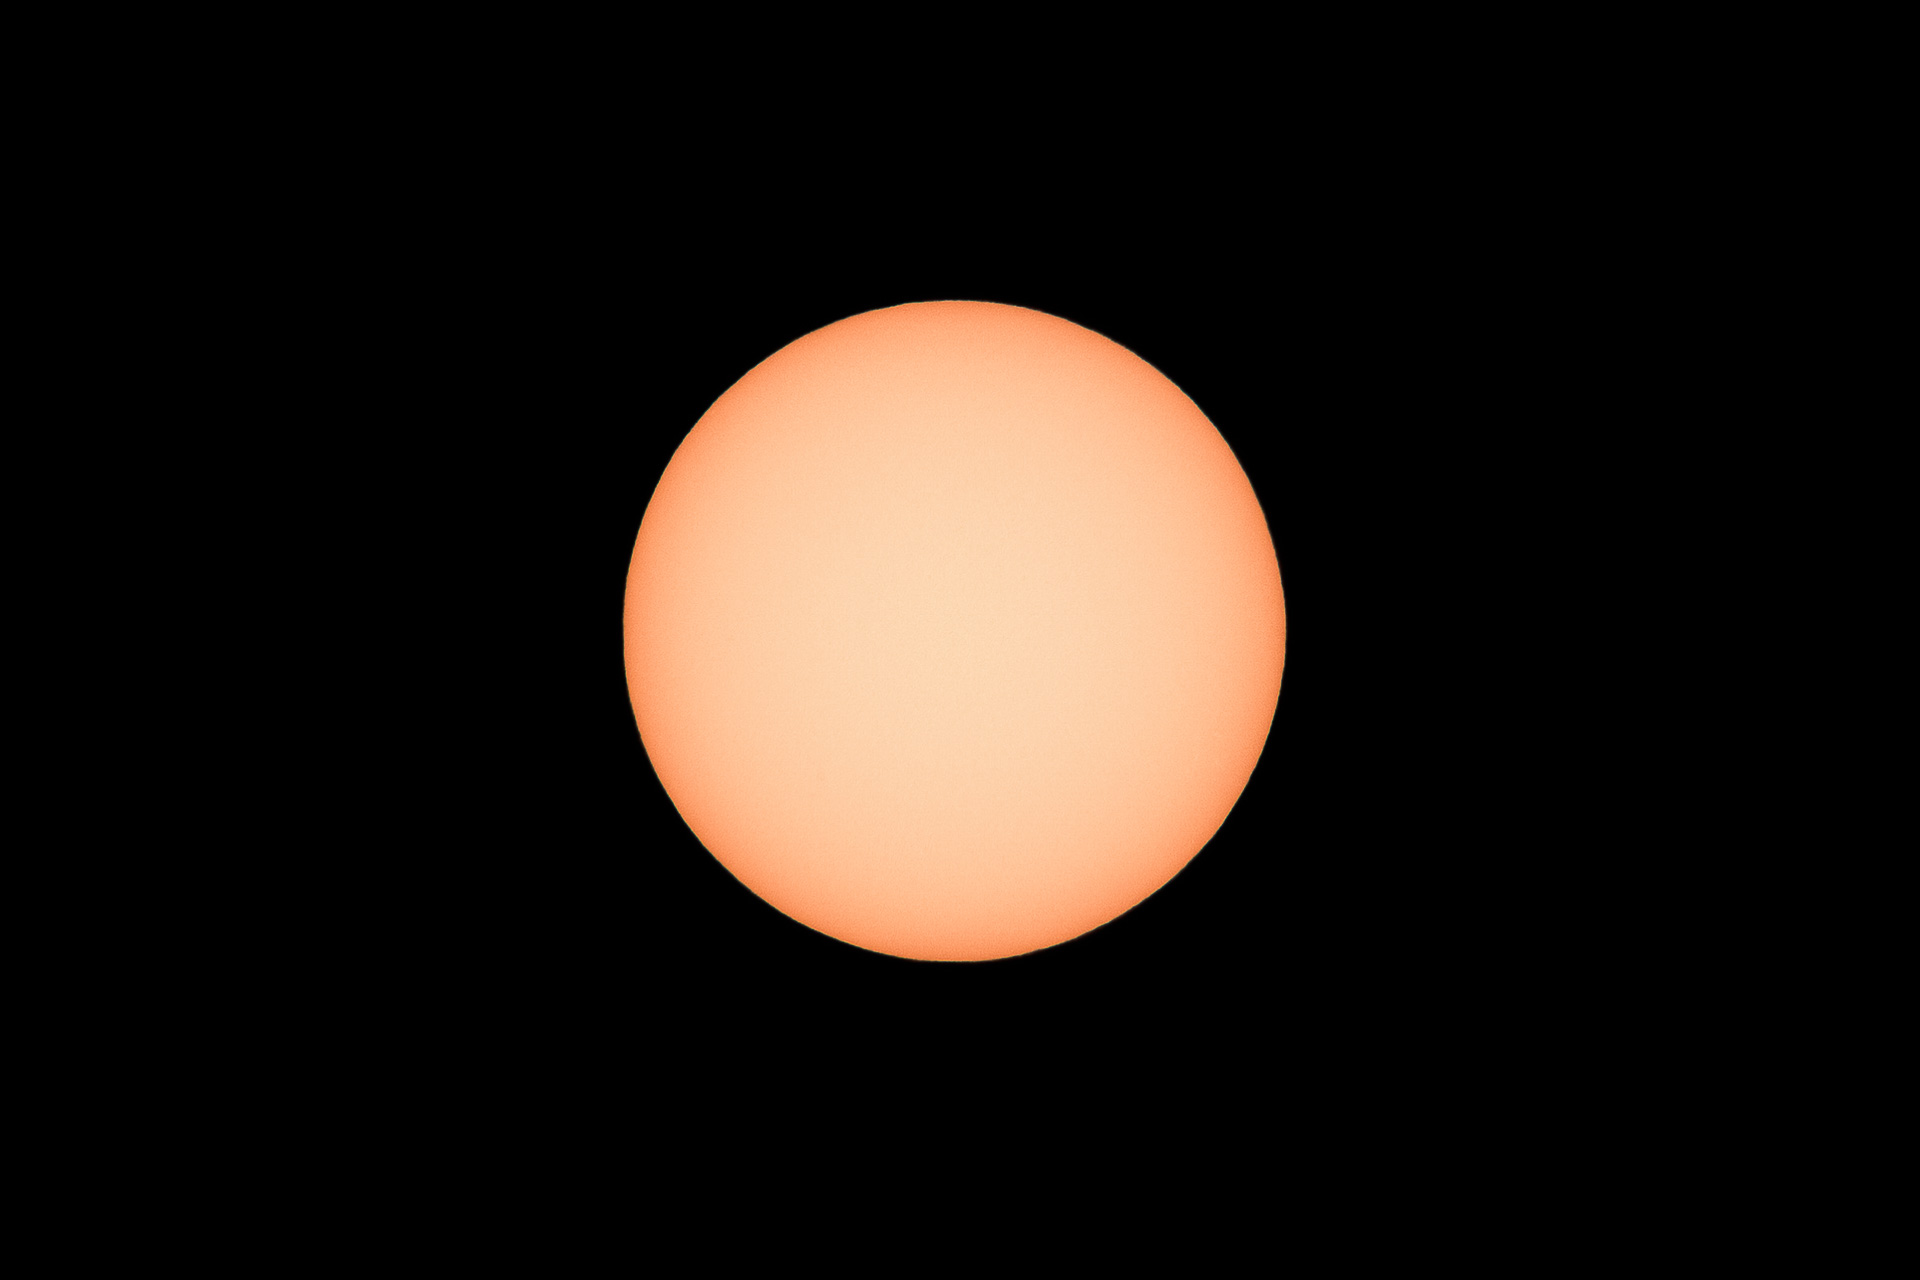 Planets and the Sun require a dedicated, more structured and better educated attempt 😉 This might be another “next step”.Have a look on my other pages about astrophotography.
Comments
Got an opinion on this topic or found a mistake? Please add a comment.
0 Comments