Using Open Belts with Locks
A few products are supplied with open belts. Learn how to use them.It is not always possible to find a belt on the market in the exact length as needed. Some of Photastro products are supplied with open belts. For these cases I designed special locks.

(the above picture shows five locks in one blister)
The locks are designed to fit the shape of the pulley so that they so not have a large influence on the belt drive when the lock on the belt hits the pulley in a longer rotation cycle. This requires small sizes and avoidance of additional mounting elements like screws.
The locks are made to sit very tight and require a bit of effort to put them on. One lock set consists of a simple rectangular frame which embraces two layers of belts and an additional U-formed pin. In most cases you would need only the rectangular frame. You will get at least five locks for later adjustments and for a case if something goes wrong.
Your first step should be to find the right length of the belt. This can be done by using the belt as a measuring tape. Mark the required length with a pen on the belt and add around 20mm to this before cutting the remaining part. Put the two ends of the belt together so that teeth fall into the tooth gaps on the other side. These two ends should look being one piece when put together this way.
While keeping holding it, cut off around 1mm from the end of that tail made by to make sure that there is a nice, clear joint cut. On the next step, you should push this “joint tail” into the frame. It will go tight. do not get confused. You should try to start with one corner of the tail and start pushing it in the middle of the frame. Swipe it back and forth a bit and keep pushing into the frame until it completely sits on the belt. When the frame is on the belt you can move it to the right position as marked. Leave 2-3mm additional space. Do not use a knife or other sharp metal tools, fingernails are the best tool here.
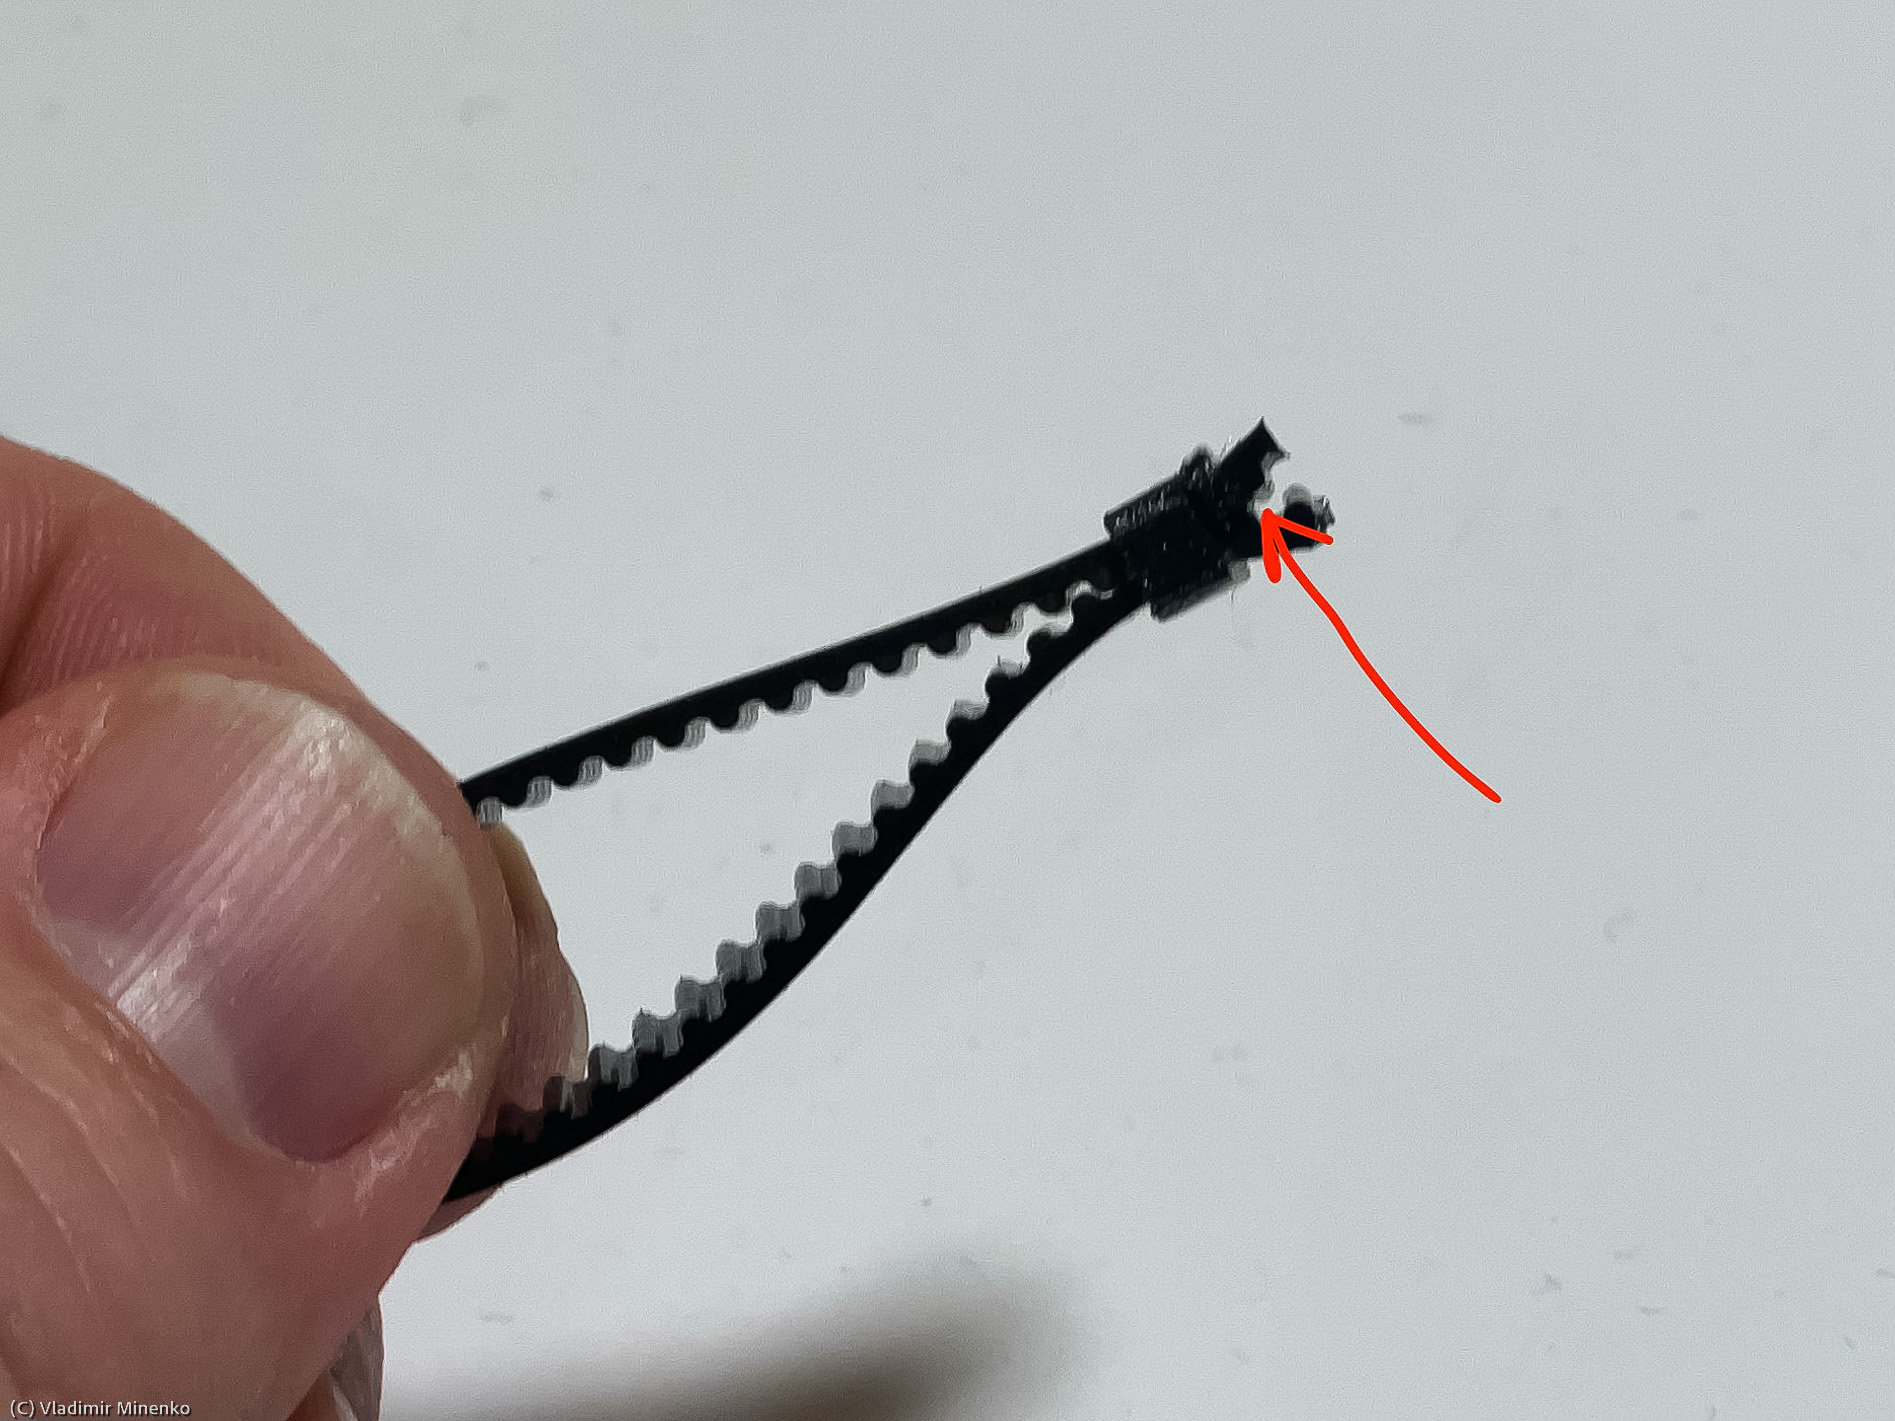
Put the belt on EAF and the lens (or OTA) and control its length by putting in under tension and controlling how well it grips the focusing ring. Be aware that you need some extra space, or better belt length, to put the belt off. Do not rush to cut the ends, and first try it out.
When the belt is pulled under tension, it cuts a bit into the rims of the frame and this stops it from sliding out. It certainly will not hold a very hard pull with a large tension on the belt, but your lenses will not like that much tension either. You just need so much tension that the focus ring starts rotating.

If you feel very concerned that it will still loose the tension, you can use the additional U-formed pin, but this is not needed in most cases.
The pin can be used to completely block potential sliding as it sits between a tooth and a tooth gap on the other side. In order to put a pin on, you should first spread the ends of the belt which stick out of the frame. Insert one of the U-sides into the gap between a tooth and a tooth
gap on the other side.
Comments
Got an opinion on this topic or found a mistake? Please add a comment.
0 Comments