Assembly and User Instructions for the Mounting Kit for ZWO ASIAIR and EAF Belt Drive for the ZWO FF65 and Askar 65PHQ Telescopes
This page goes through the assembly steps for this mounting kit . We want to get compact and tidy gear setup.

You will need three hex allein keys, ZWO ASIAIR (Mini is used here), a EAF with its mounting screws.

On the first step we shift the handle bar on the top on step to the left. This frees up space for the guide scope clamp which will be moved to the front ring.

Next, we remove the clamp and the extra screws from the focuser.
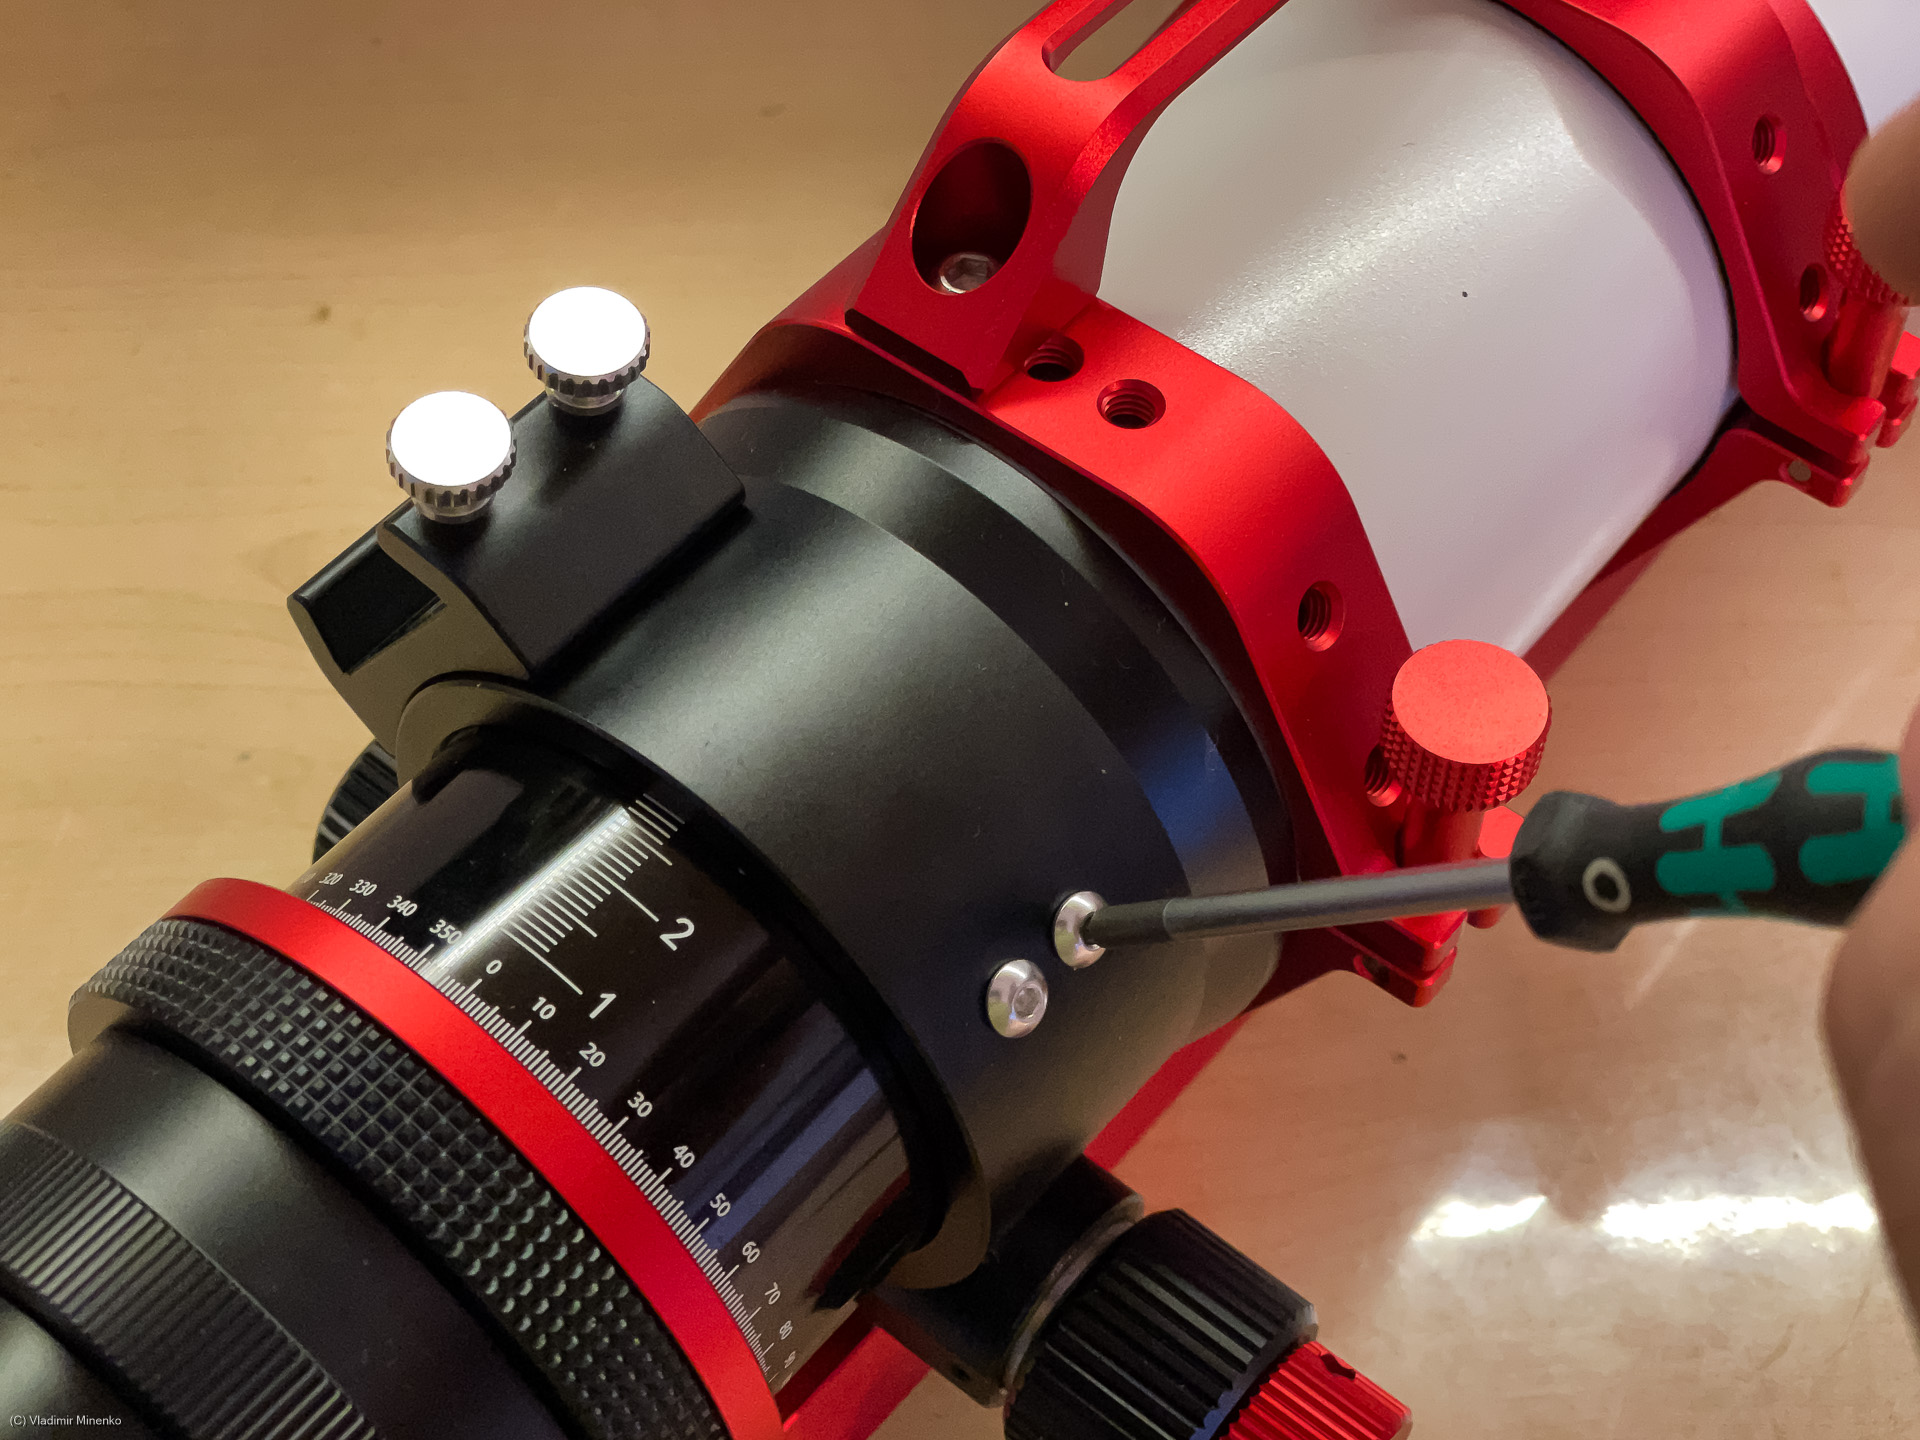
Pay attention that they might have different length. We will need the longer ones to place the clamp on the new location. You might want to keep the spare pair other needs.

On the next step we mount the clamp adapter on the front ring. We use TBD M6 screws for this.
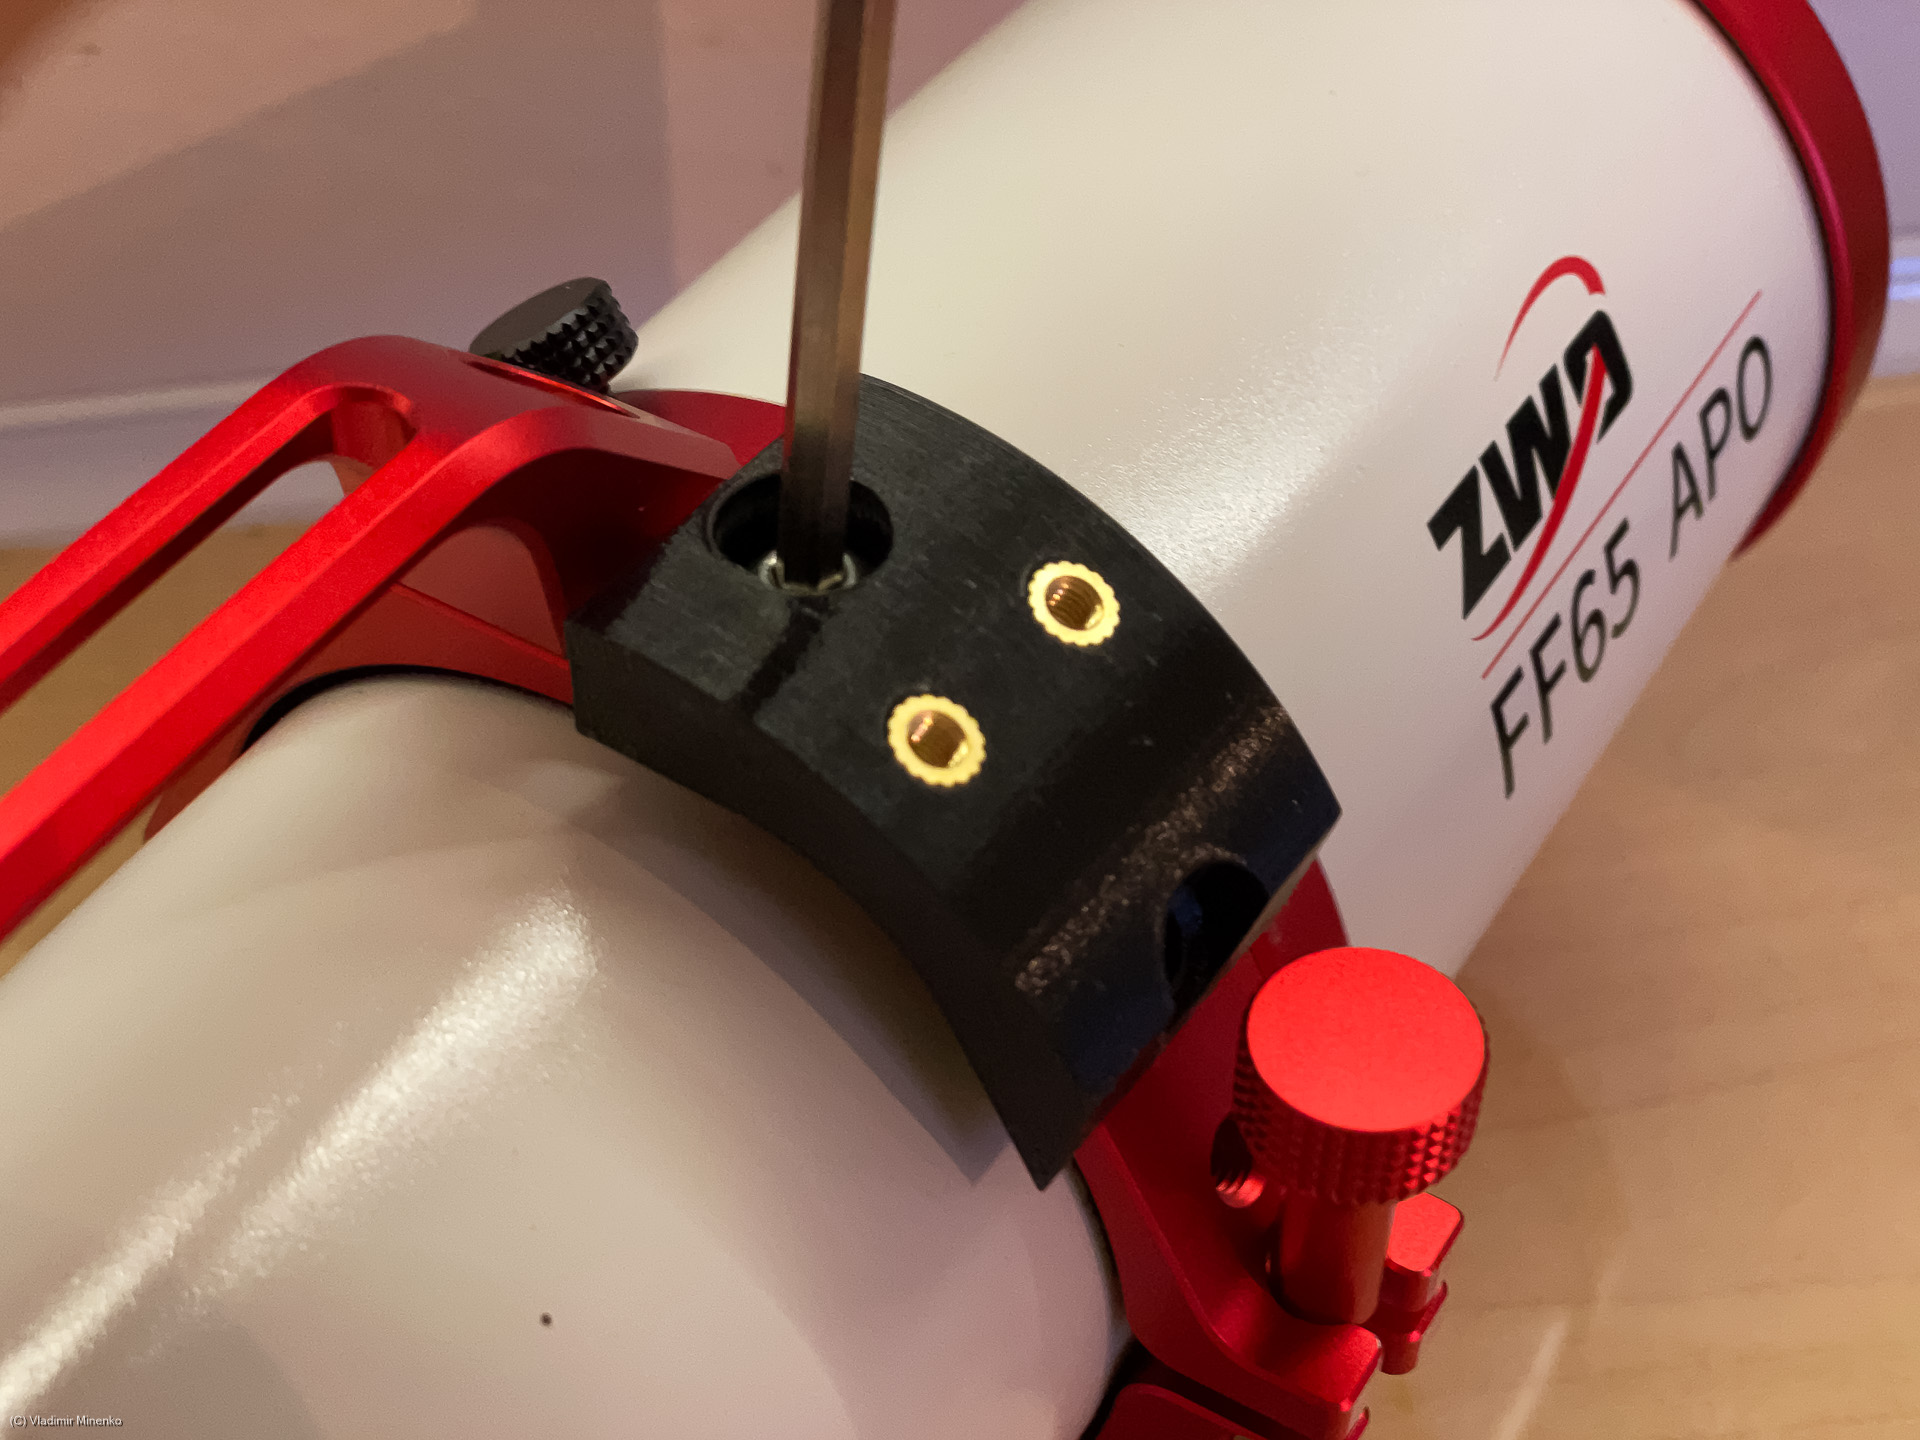
As next, mount the clamp on the on the adapter. We use the longer original screws for this.

The main frame of the kit is placed on the focuser. The holes of the guide scope clamp are used for mounting.

The plate of the EAF holder is mounted onto the main frame so that the holder frame would swing to the front. We use TBD M3 screws for this.

Mount the ZWO EAF into the frame and put the pulley on axis of the EAF. Do not tighten the screws in the pulley. It is better to do this on the next step.

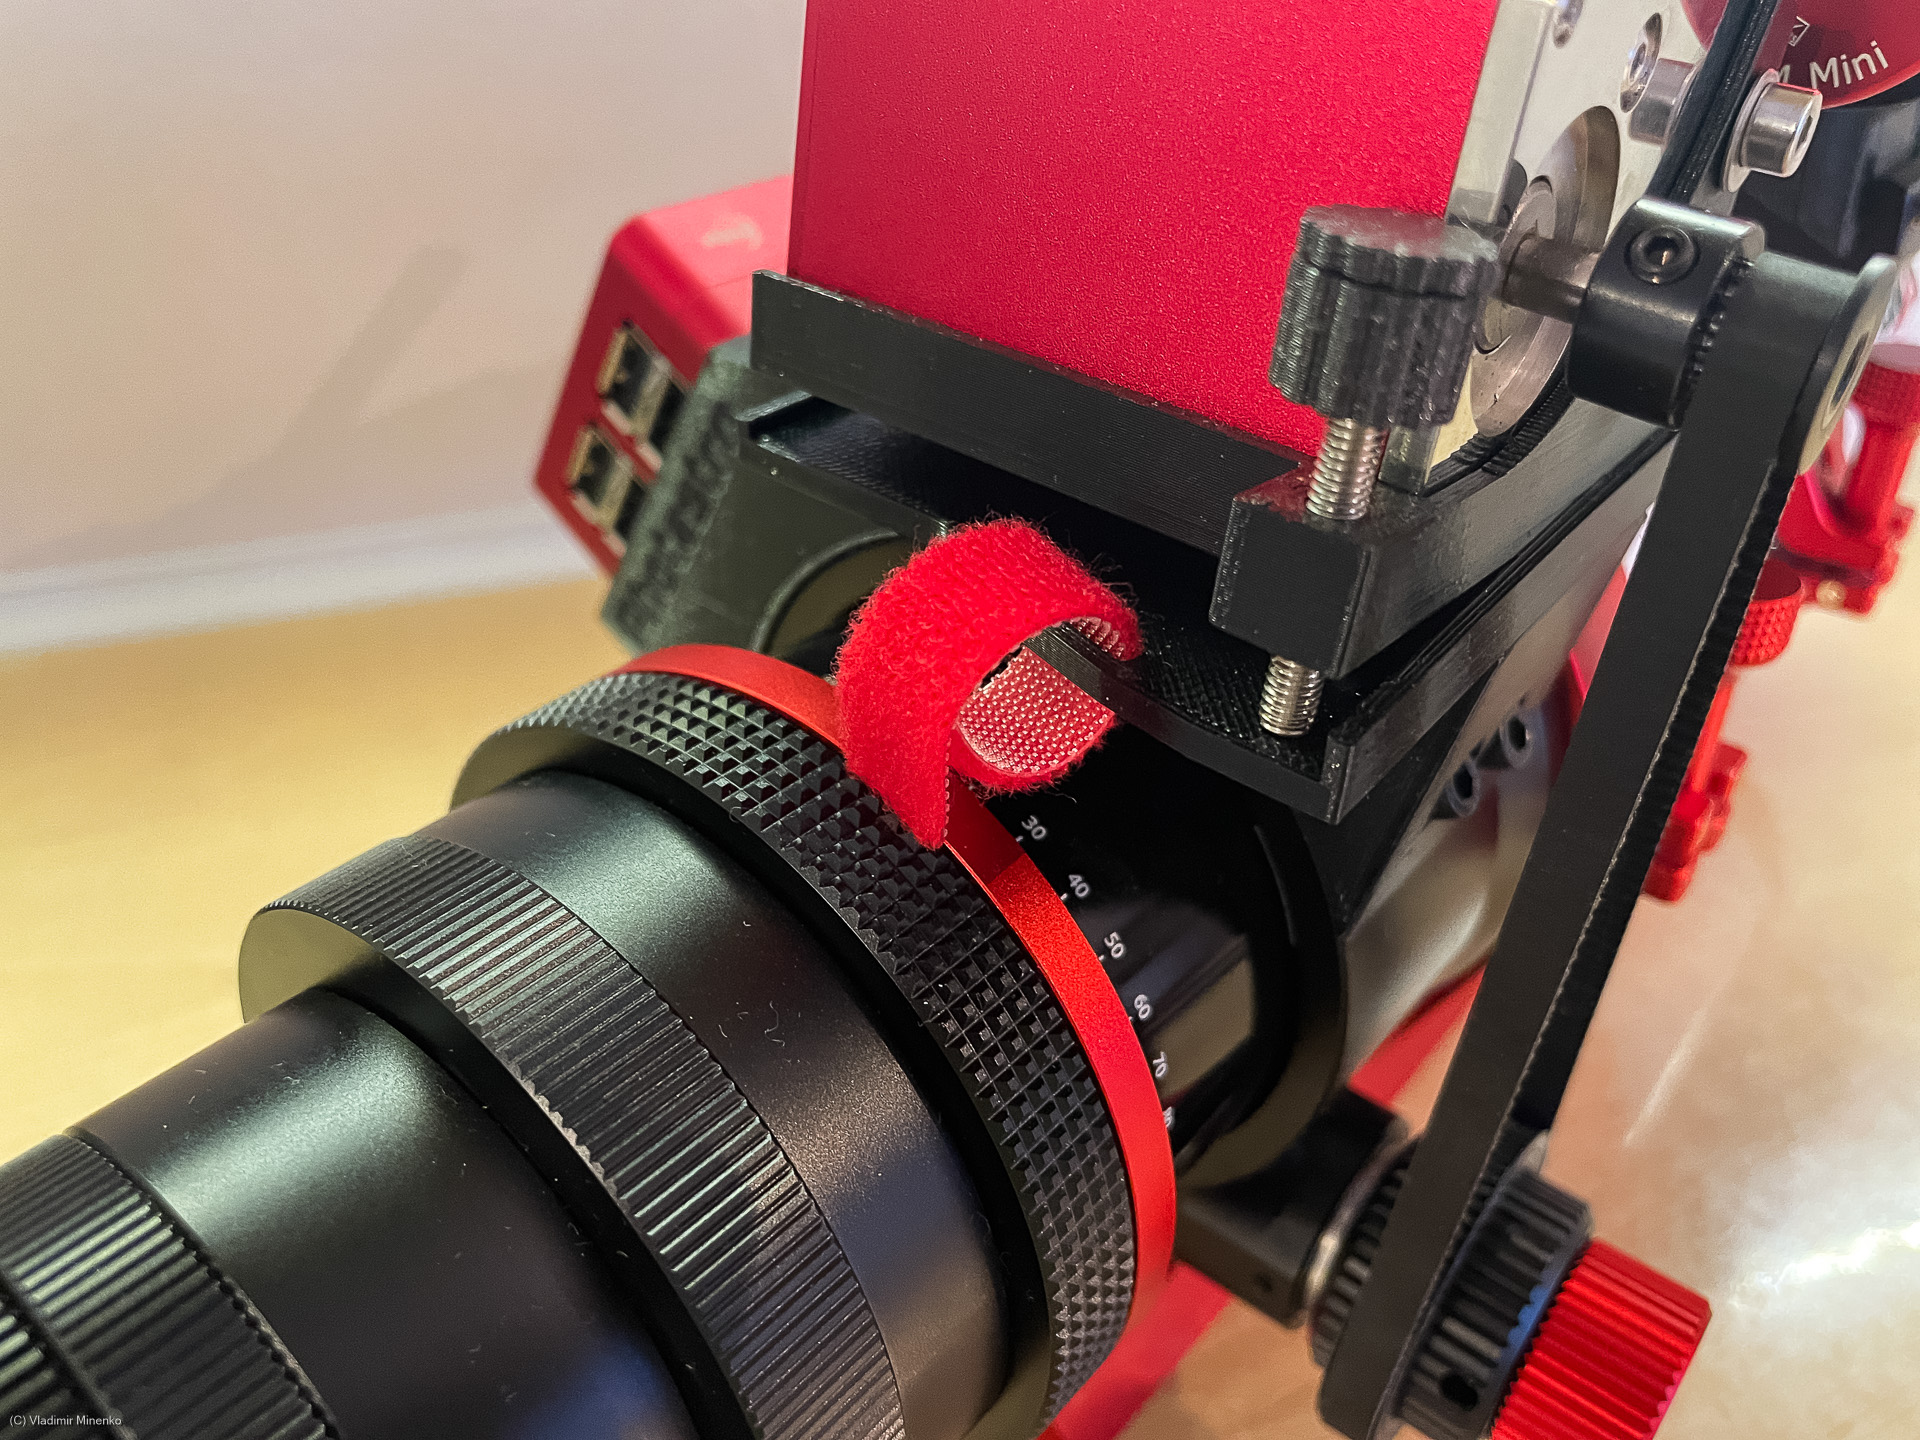
Now, insert the knob adapter into the belt, put the belt on the pulley and slide the adapter on the knob.

You can adjust the tension of the best with the tension belt on the holder frame. It is a good idea to remove tension from the belt for a longer storage. For large movements of the focuser, remove tension from the belt and slide the adapter with the belt on it from the knob.

ZWO ASIAIR can be placed on the main frame in various orientations.

Try them out to see which one would be the best. You want to select one which makes cables running in optimal way and plugs not blocking other parts.

Mount the ASIAIR adapter on ASIAIR so that ASIAIR can be placed on the main frame in the orientation you selected. Use the TBD M4 screws for this.

On the this step, we need to put the scope on its right side to mount ASIAIR on the main frame. The adapter slides into the slot on the main frame. It is fixed with two TBD M3 screws.

This was basically the final step. You now should only have the two original screws left which we removed from the focuser on one of the first steps.

Put the guide scope into the clamp to see how it fits. The adapter is designed with a height which should make a longer guide scope still get over the edges of the EAF.

The TBD straps are provided with kit for easier cable management. The kit makes it possible to keep most cables on one place. It is important to keep them tidy to make sure they do not introduce some wobbling and do not stick on other parts or cables.

After fist sessions, you might want to try putting ASIAIR in another orientation.


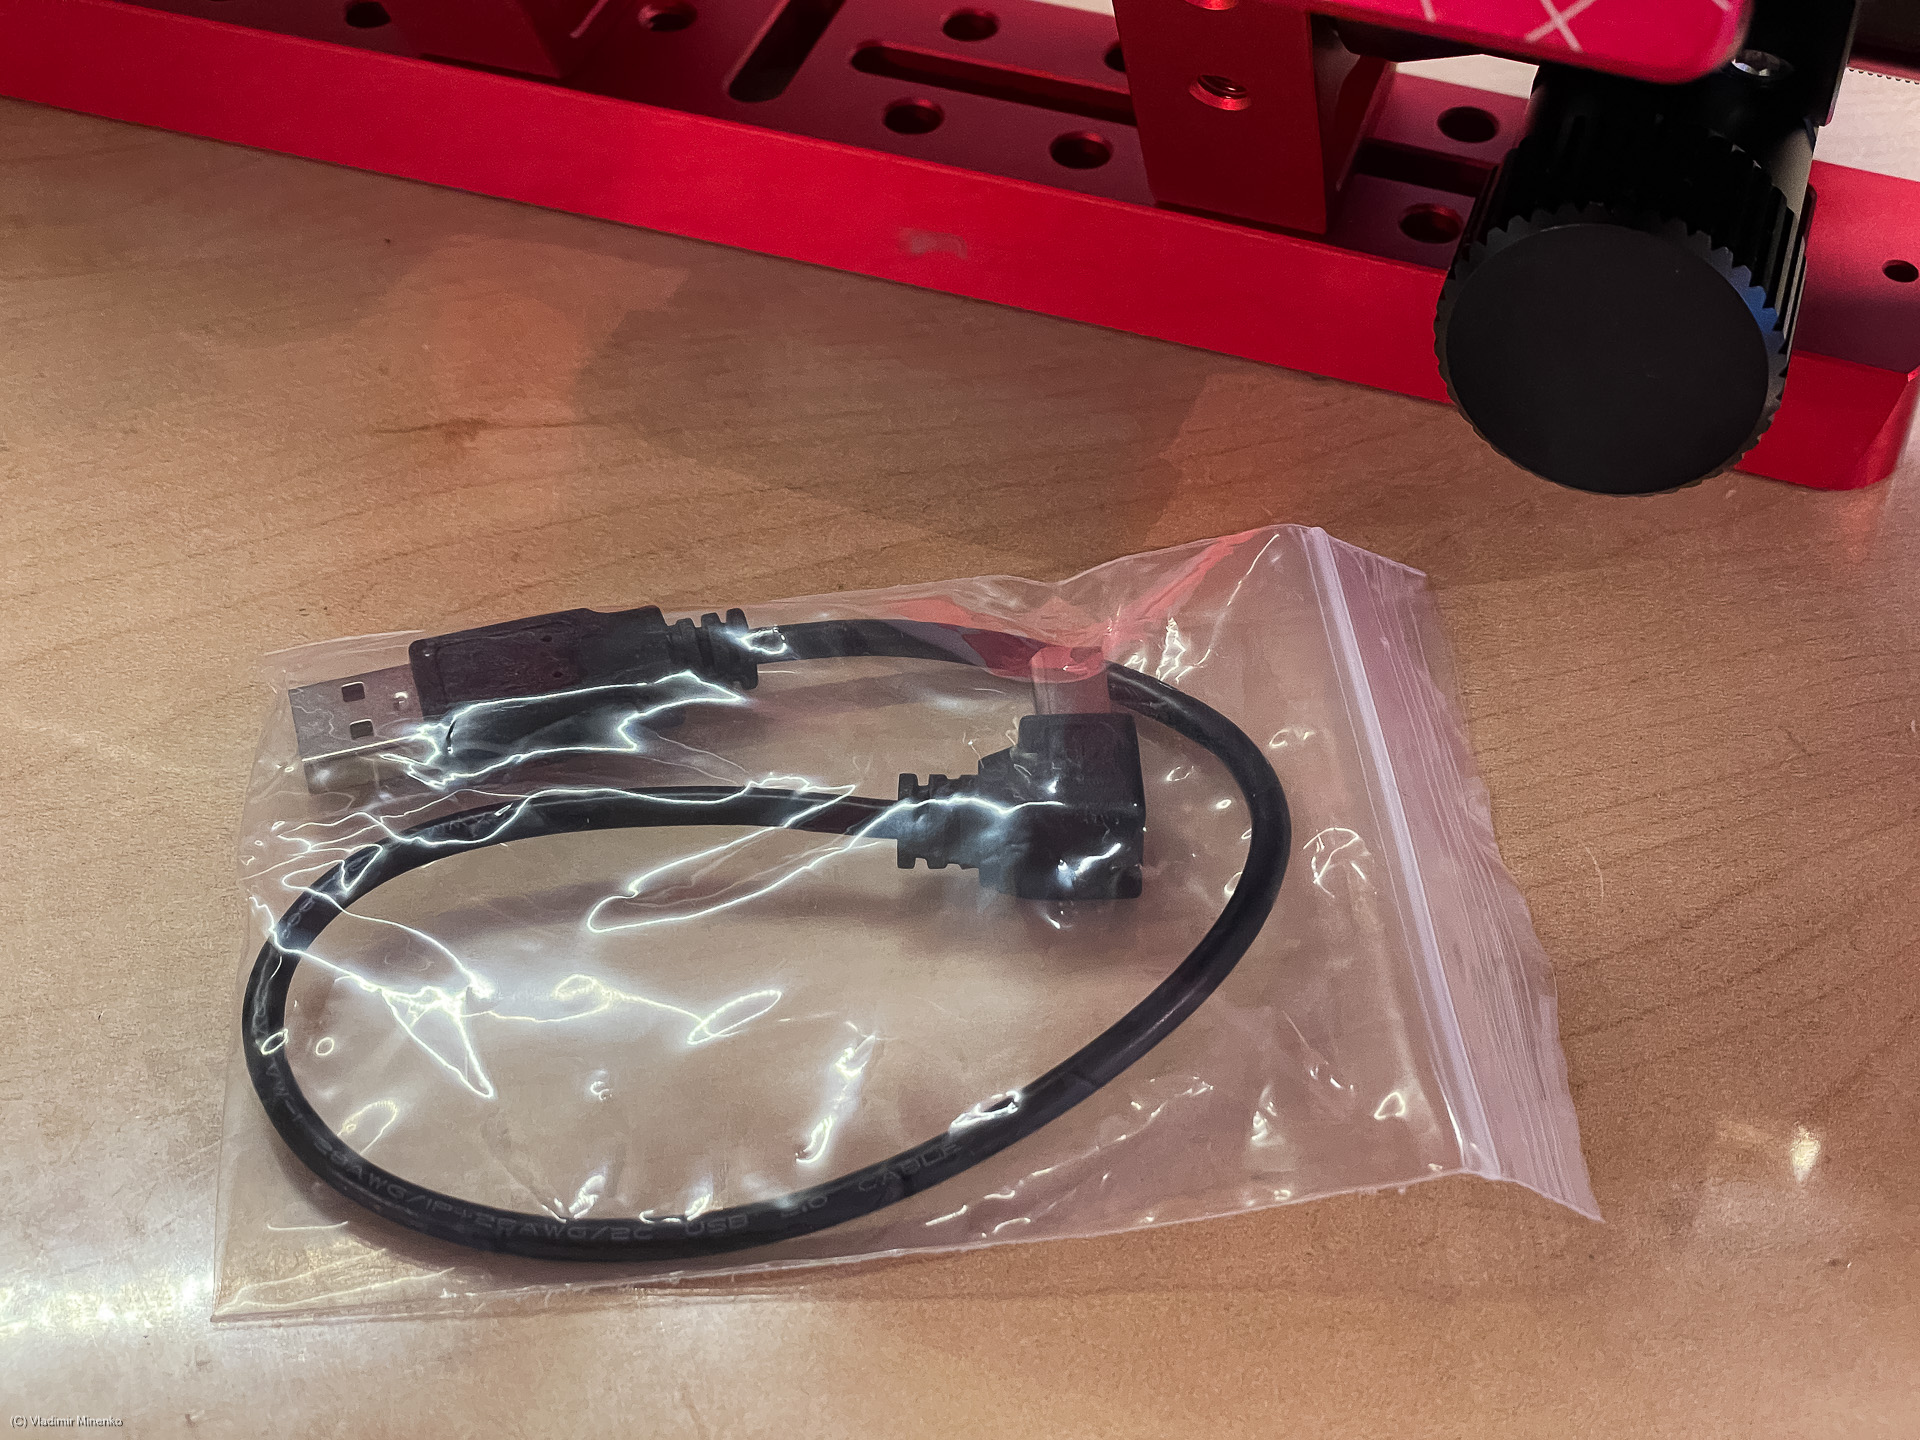
Optionally, you can order a short USB cable with 90-degree USB-B connector on the EAF side which saves space and has compact size.
And now, lets go imaging!
The kit is available in the Photastro shop under this link.
Comments
Got an opinion on this topic or found a mistake? Please add a comment.
0 Comments