Assembly and User Instructions for the ZWO ASIAIR Mounting Kit and EAF Belt Drive for RedCat 51 and 71

Assembling of the kit is simple and can be done in 15-20 minutes. The assembling of the version for the saddle handle bar for the RedCat 71 has an addtional step where the main frame hast to be pushed under the bar, around the focing ring before it can be sled onto the bar.
Common Steps
For all versions, you should start with assembling of the holder frame for the ZWO EAF. It consists of the frame:

The ZWO EAF is mounted in the frame with the screws supplied with EAF. Due to this, these screws are not a part of the kit. The frame sits in the base and moves on joints. Joints use 20mm M3 screws. Occasionally, the frame and the base are pre-assembled.

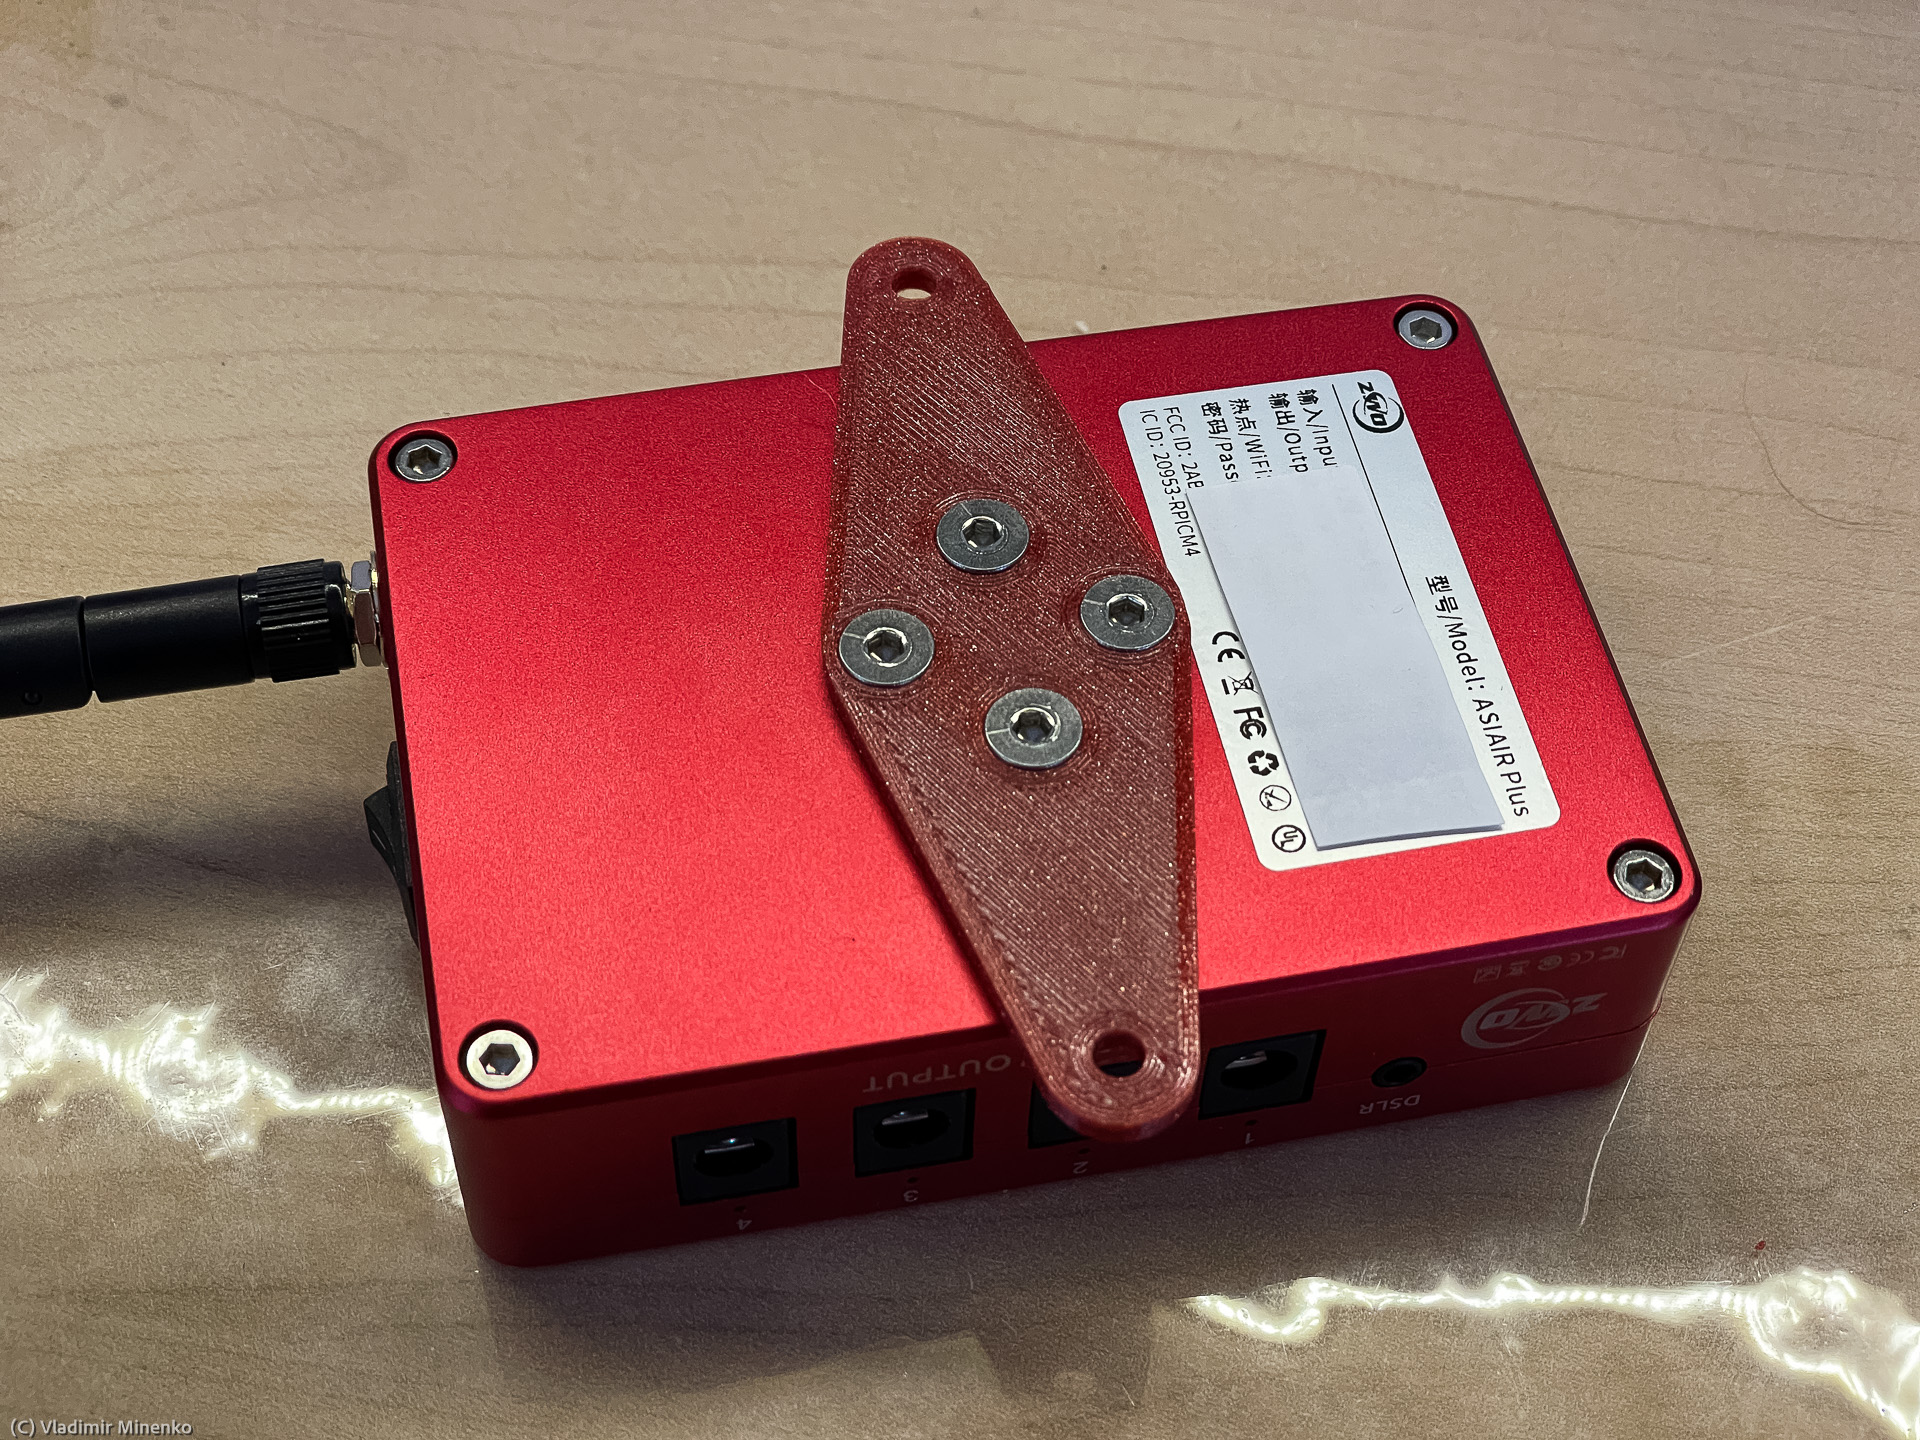
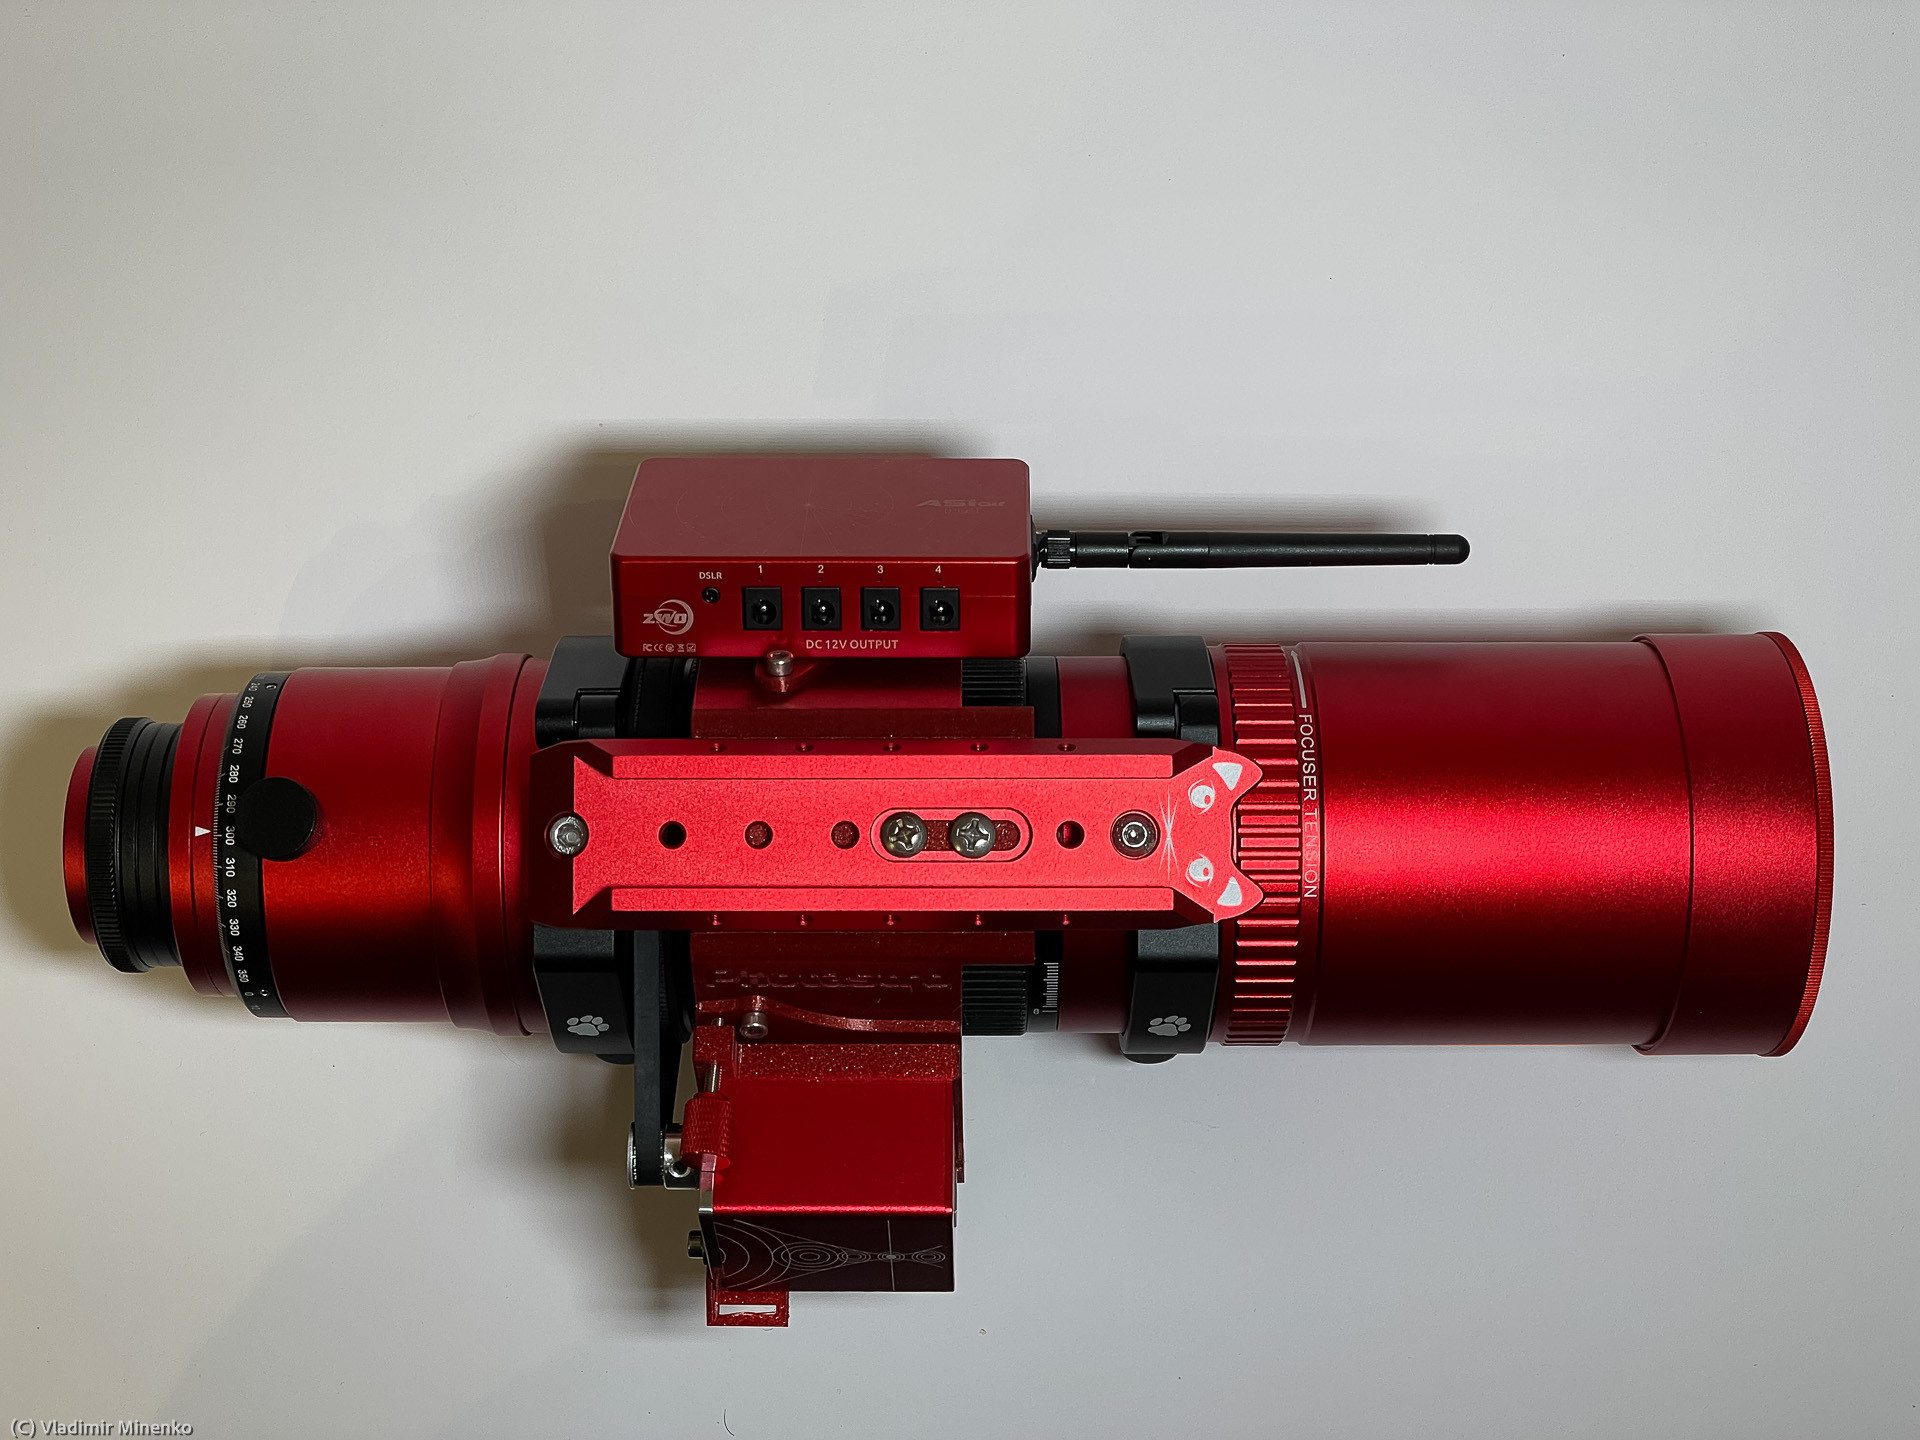
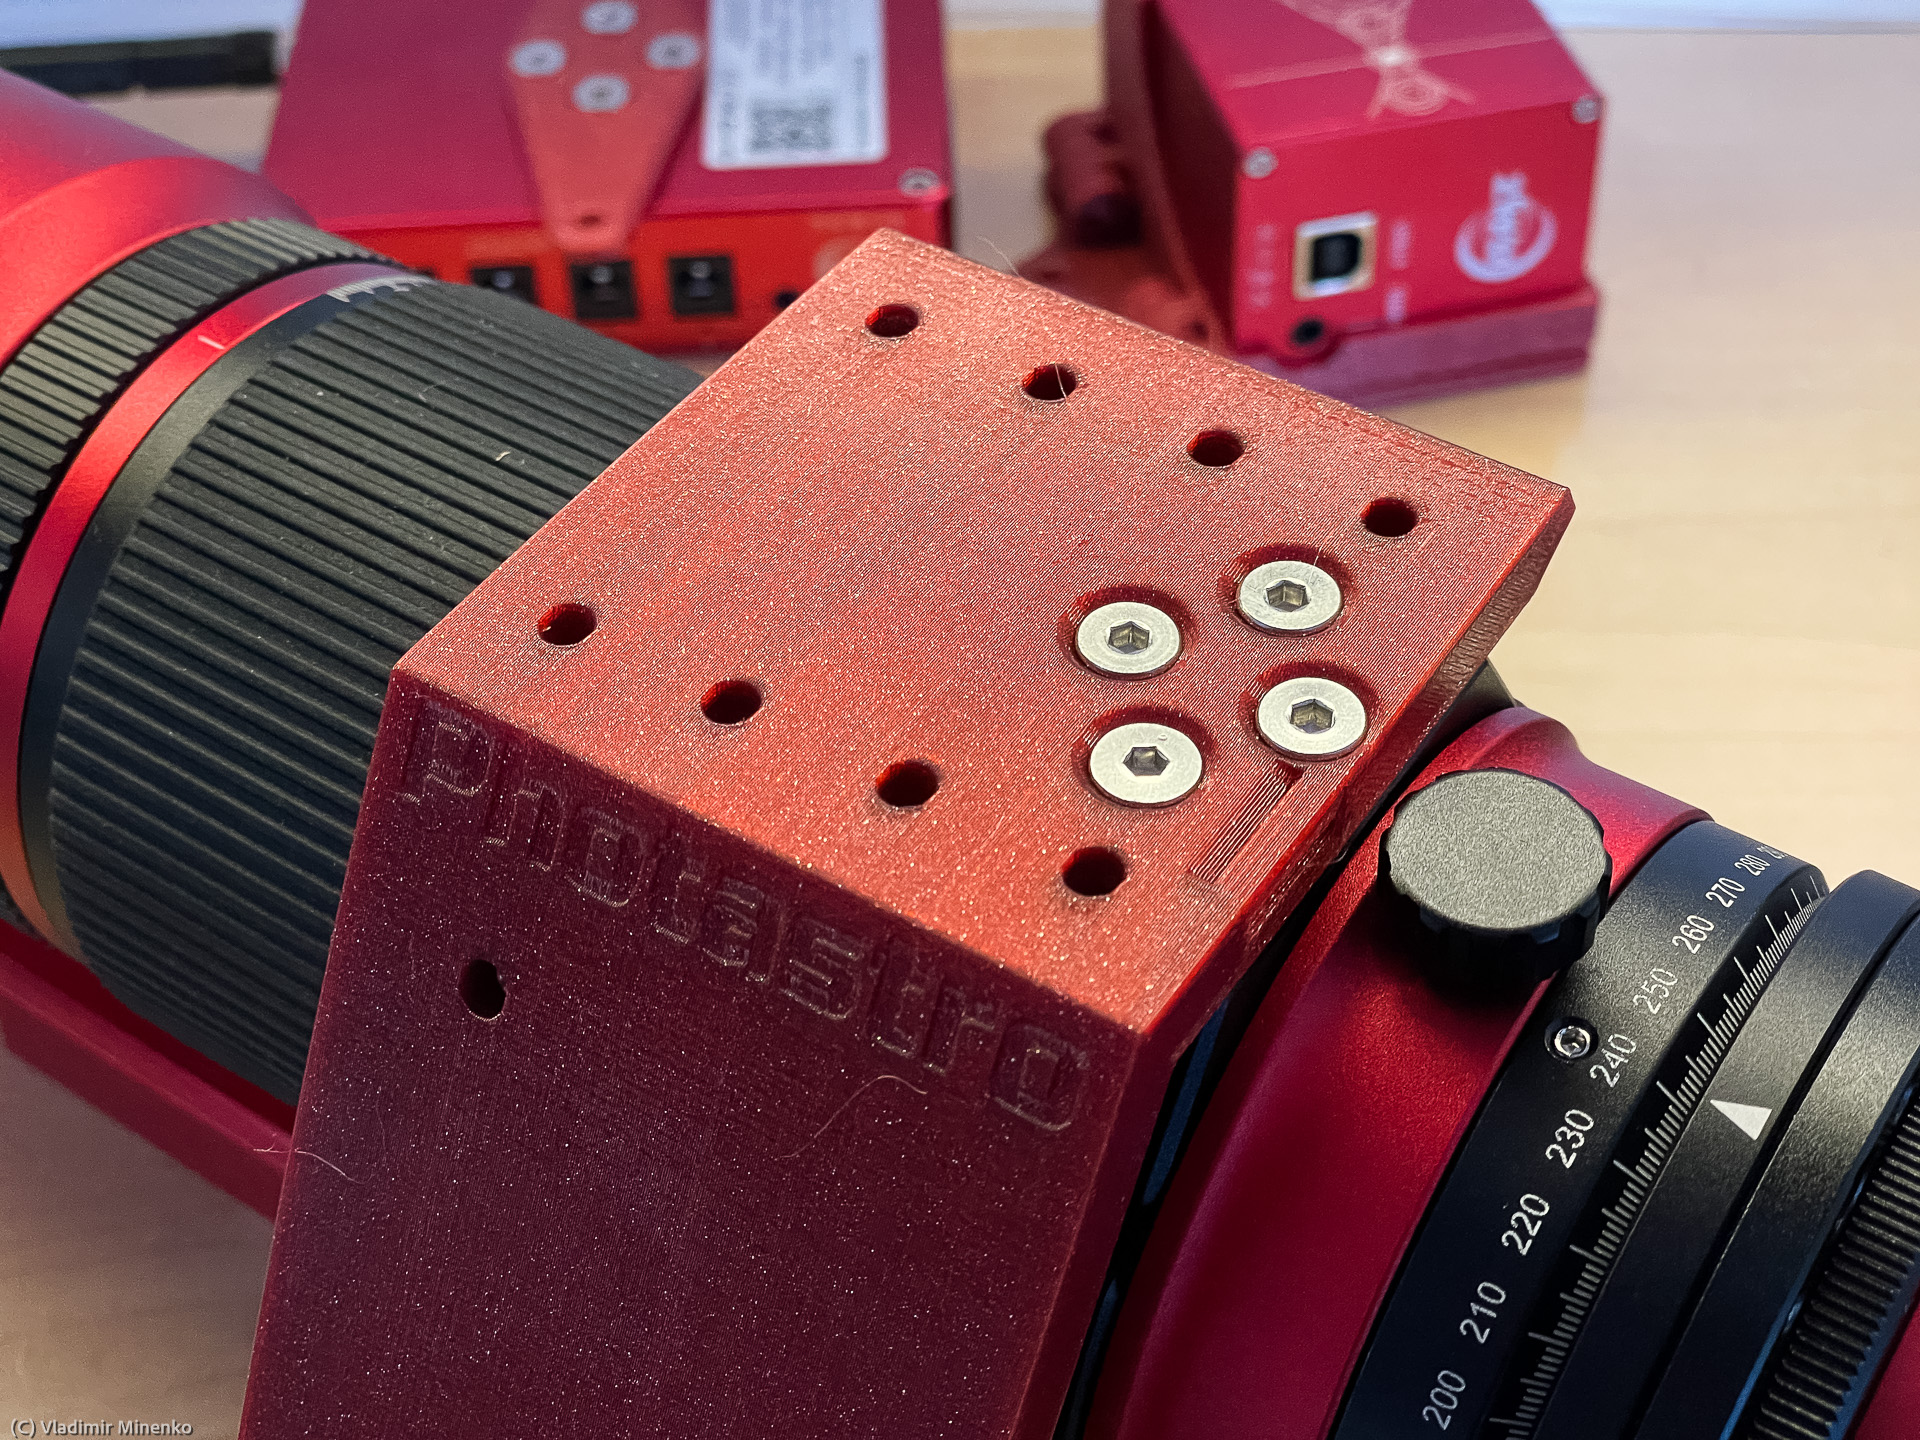
The ZWO ASIAIR (in Pro or Plus edition) sits on a plate and is hold with 2 or 4 M4 screws.
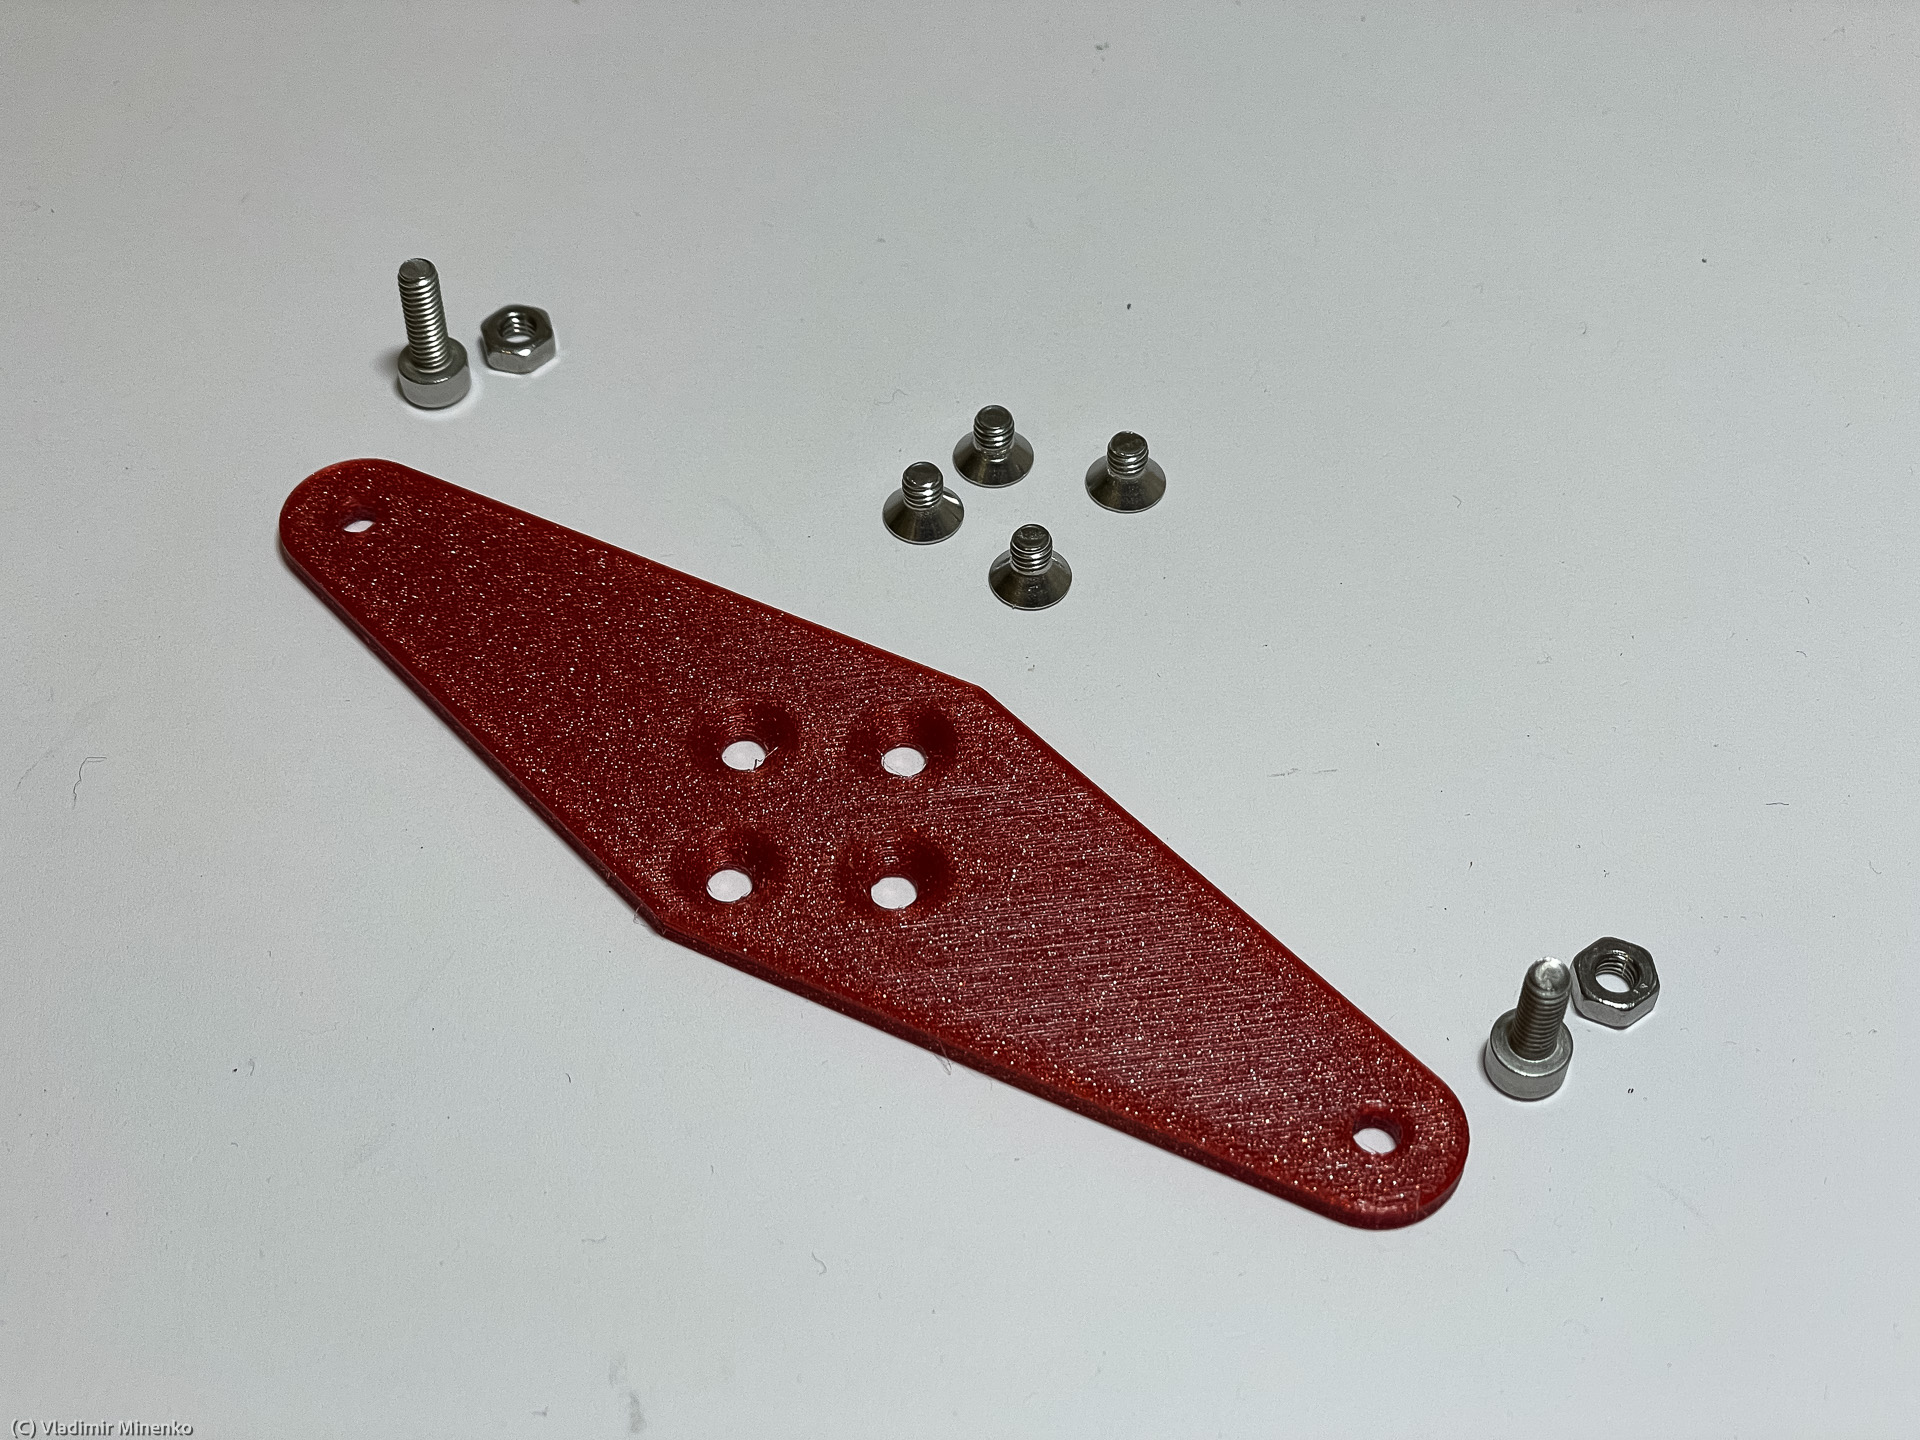
The plate is placed across the long side of the ASIAIR.
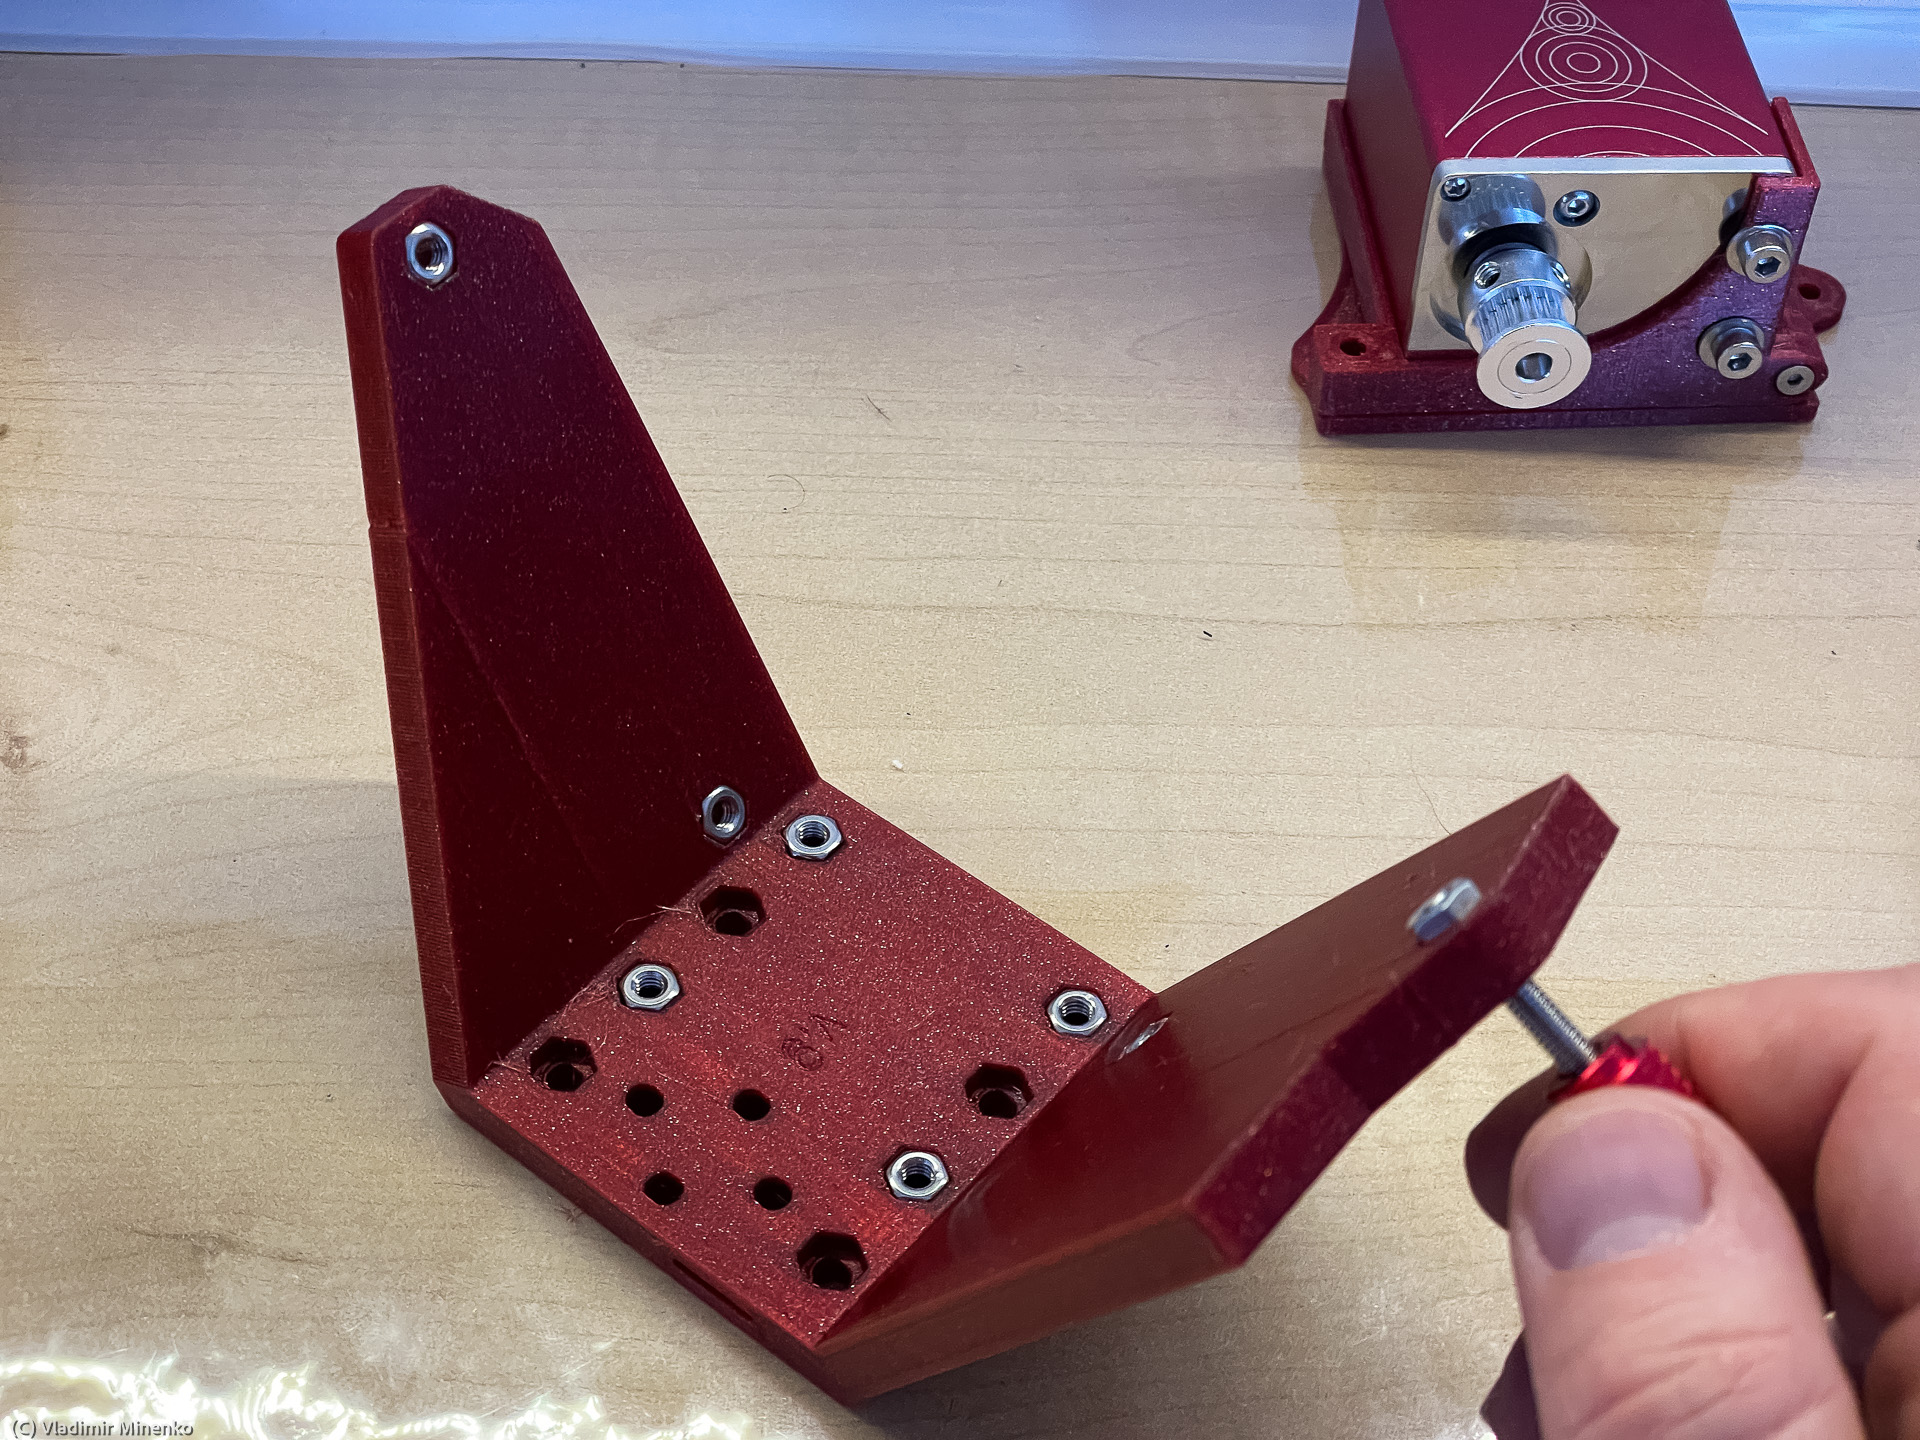
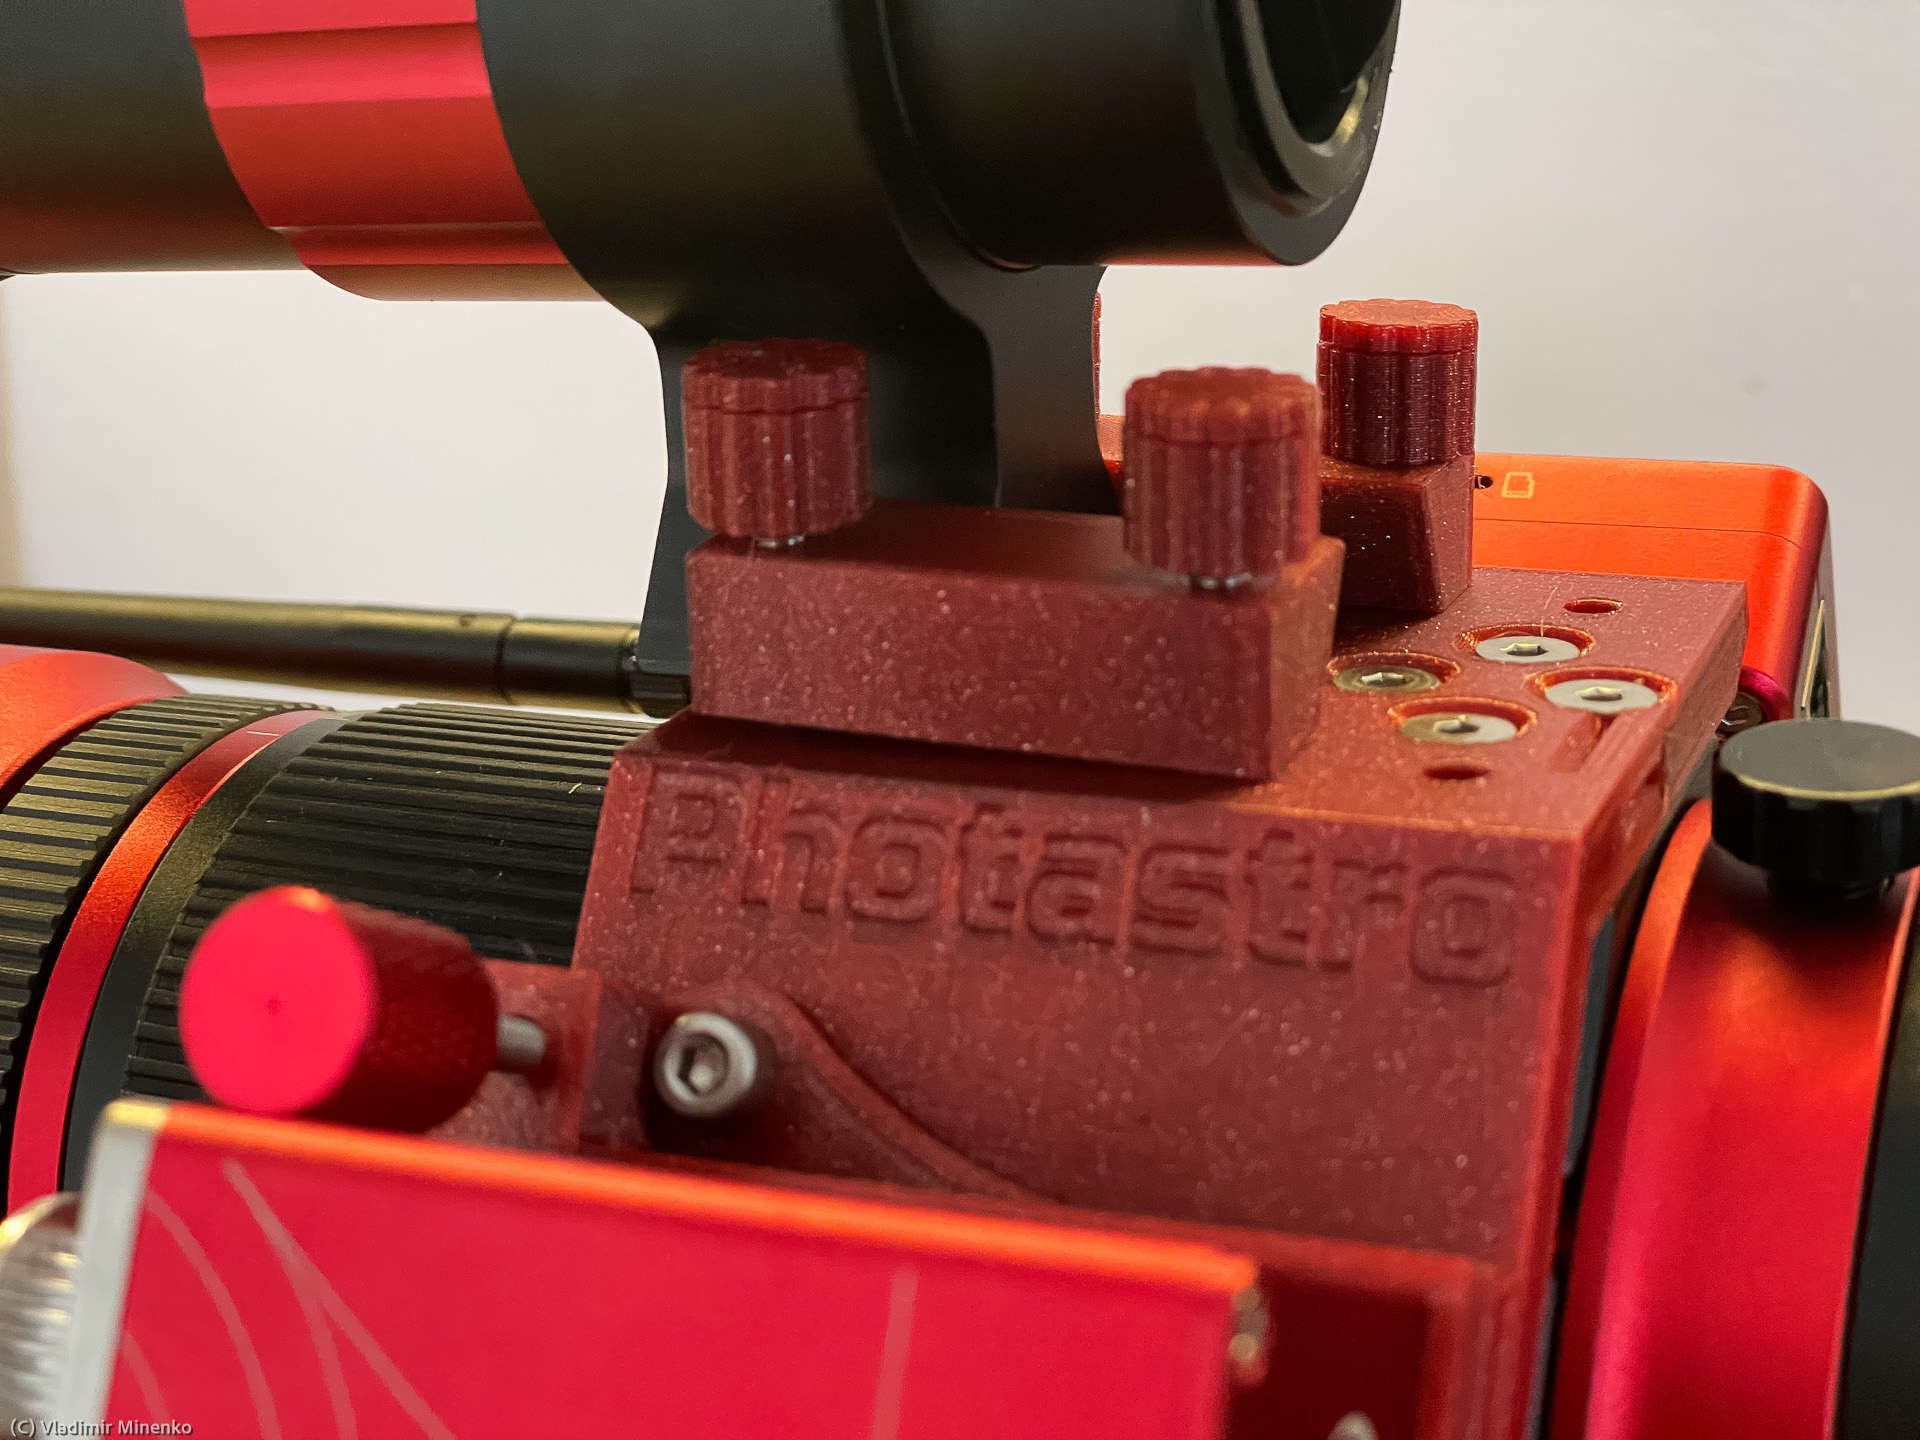
On the next step you should place the nuts into the main frame. The nuts sit tight so that components can be mounted without keys. Use one of the screws to push the nuts.

For the M4 nuts, the belt tension adjustment screw can be used to pull the nuts into the holes.
Specific Steps for the RedCat 71
An additional very first step with RedCat 71 is to open the tube rings and put the belt on the tube. Close the rings and, as mentioned before, push the main frame should be pushed under the saddle handle bar:

After the frame is on its place, it should be fixed with the two M6 screws. The EAF and ASIAIR are mounted after this too:
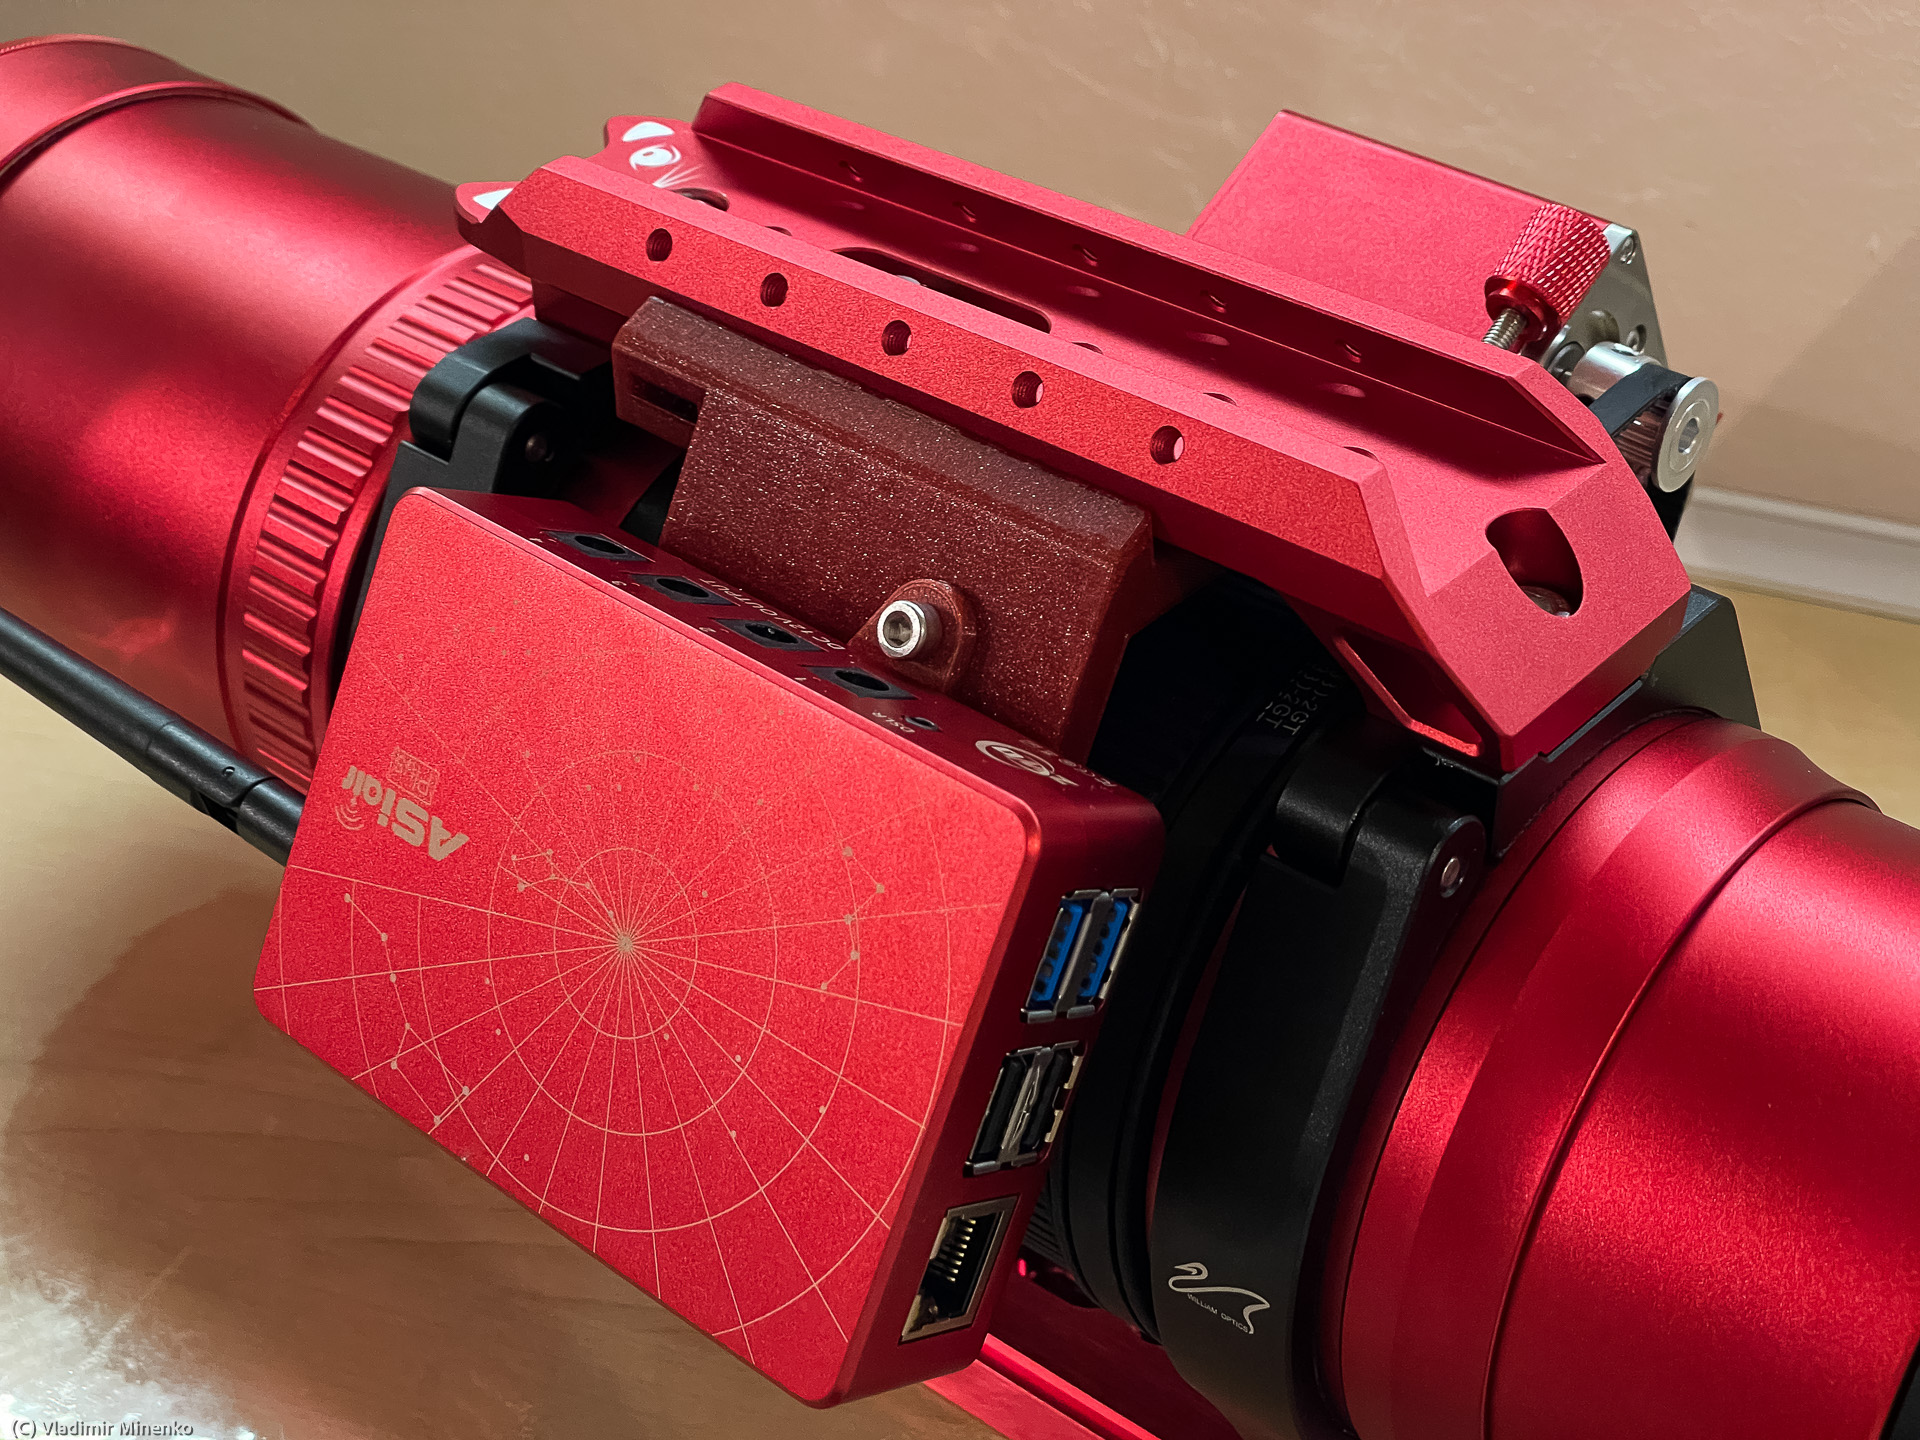
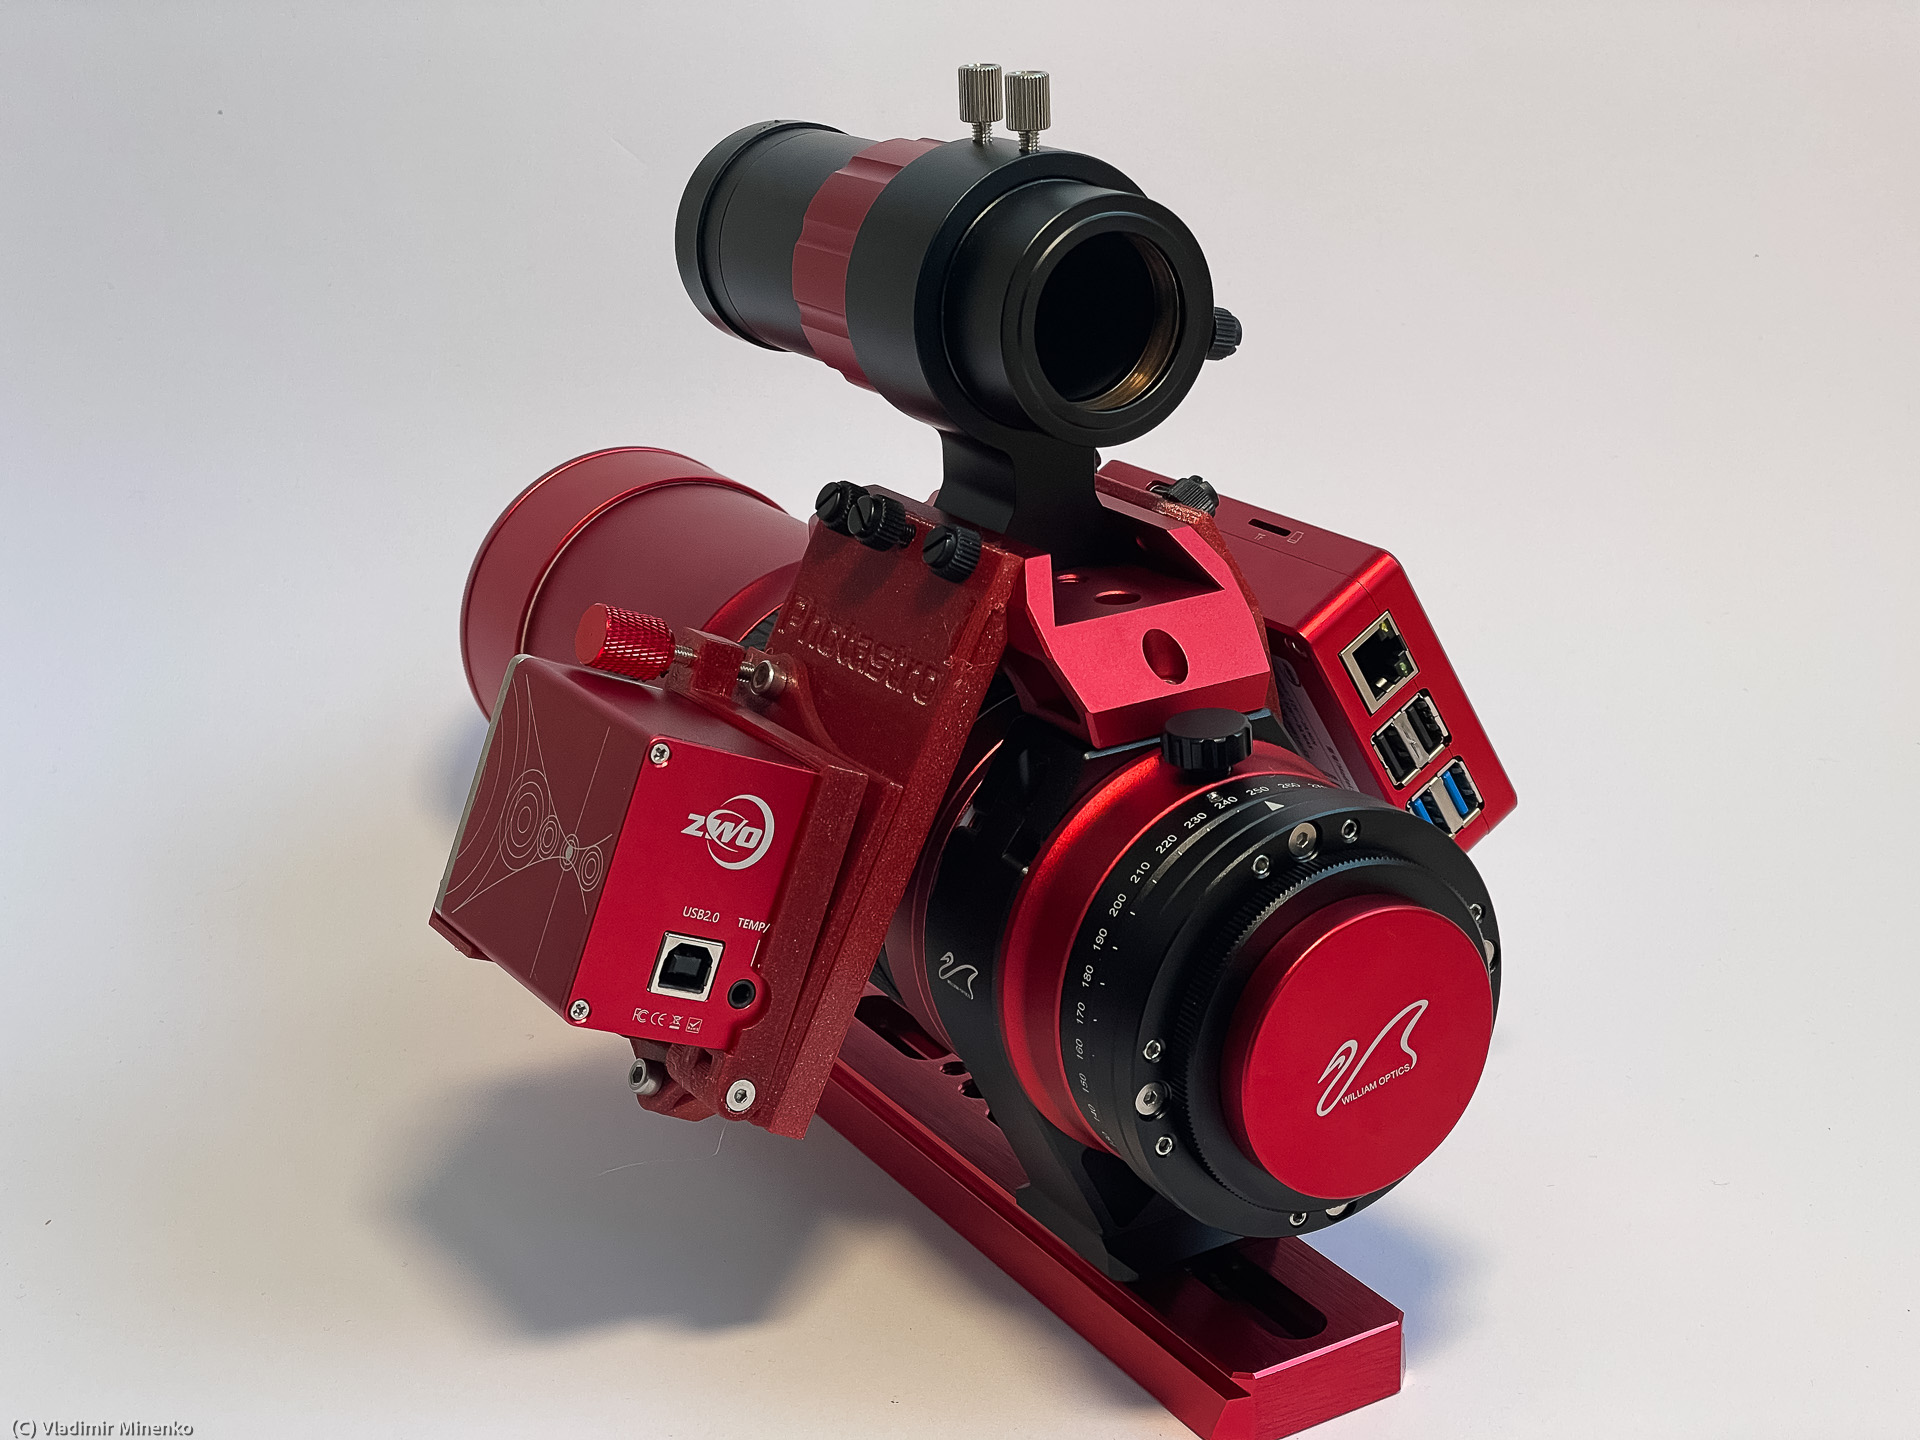
The EAF looks towards the camera and belt runs almost at the edge of the focusing ring:
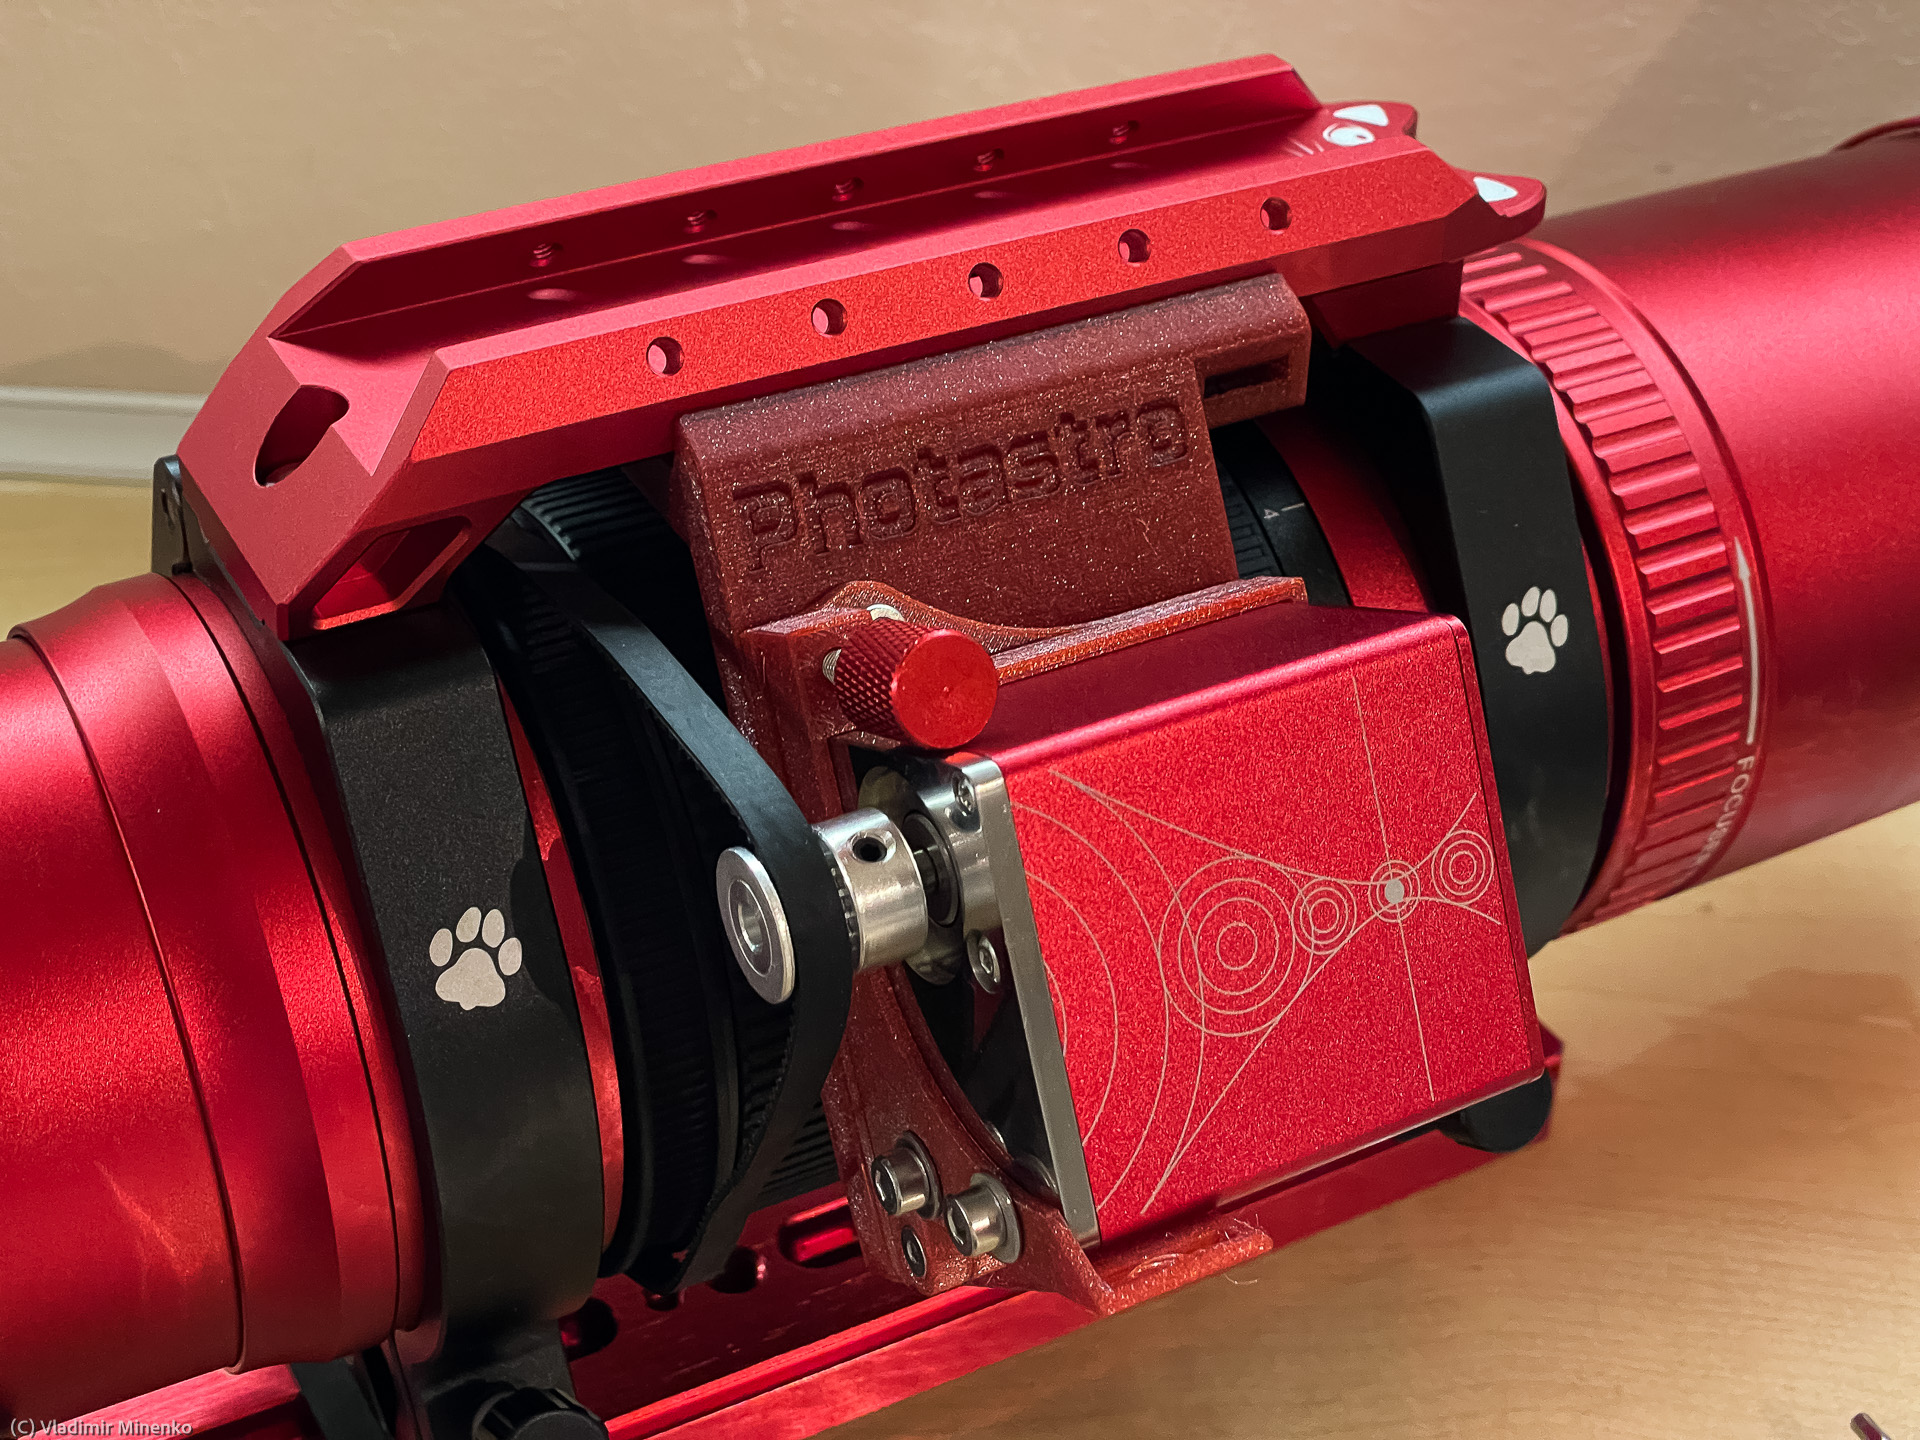
Now the kit is ready for its first light, well, “first hold” 😉

Specific Steps for the RedCat 51 without the Saddle Handle Bar
The frame for the RedCat 51 without the saddle handle bar is mounted on the tube with four M4 screws:
In this version, the kit contains two clamps for holding the guide scope. The position of the clamps can be adjusted along the axis of the tube,
Slightly release the clamp screws to put the guide scope later on.
Specific Steps for the RedCat 51 with the Saddle Handle Bar
In the version for the RedCat 51 with the saddle handle bar, the main frame is sled from the front onto the bar. This can be done with ASIAIR and EAF already mounted on the frame. Since the bar is open on one end (in the front), the belt can be put and remove at any time.
Usage Tips
It is a good idea to slightly reduce the tension of the belt when the gear is not in use. With this, there will be less forces applied to all parts, whereas the focus position of the focus ring can still be retained since the belt would still hold it on its rills.

All kits, are equipped with eyelets for hook-and-loop strips. A piece of such strip is included. The eyelets support strips with 10mm width and around 1.5mm thickness. Strips are a big help in cable managements which prevents cable jams potentially resulting in a damage of the gear. It is a good idea to use the kits for a few nights to find out how cables need to run and where strips can help.
Comments
Got an opinion on this topic or found a mistake? Please add a comment.
0 Comments